

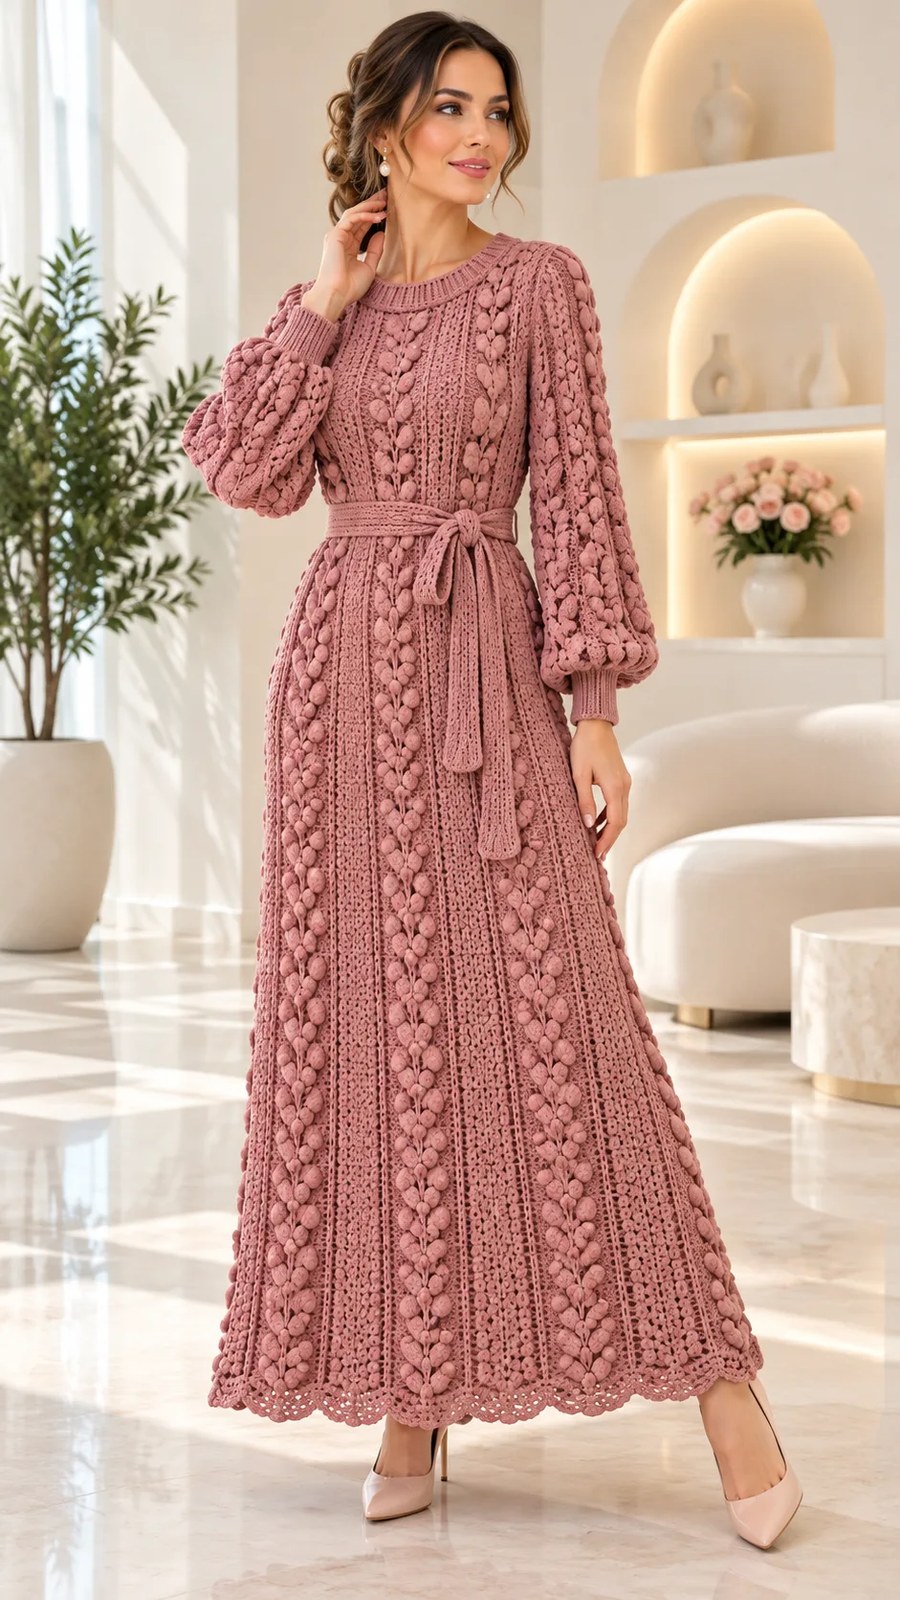
If you’ve been searching for a statement piece that truly showcases the artistry of crochet, this Rose Bobble Vine Dress deserves a place at the top of your list. Among the countless dress patterns available, this one stands apart with its stunning vertical bobble stripes, elegant ankle length, and those dreamy gathered bishop sleeves that add romantic volume without overwhelming the silhouette.
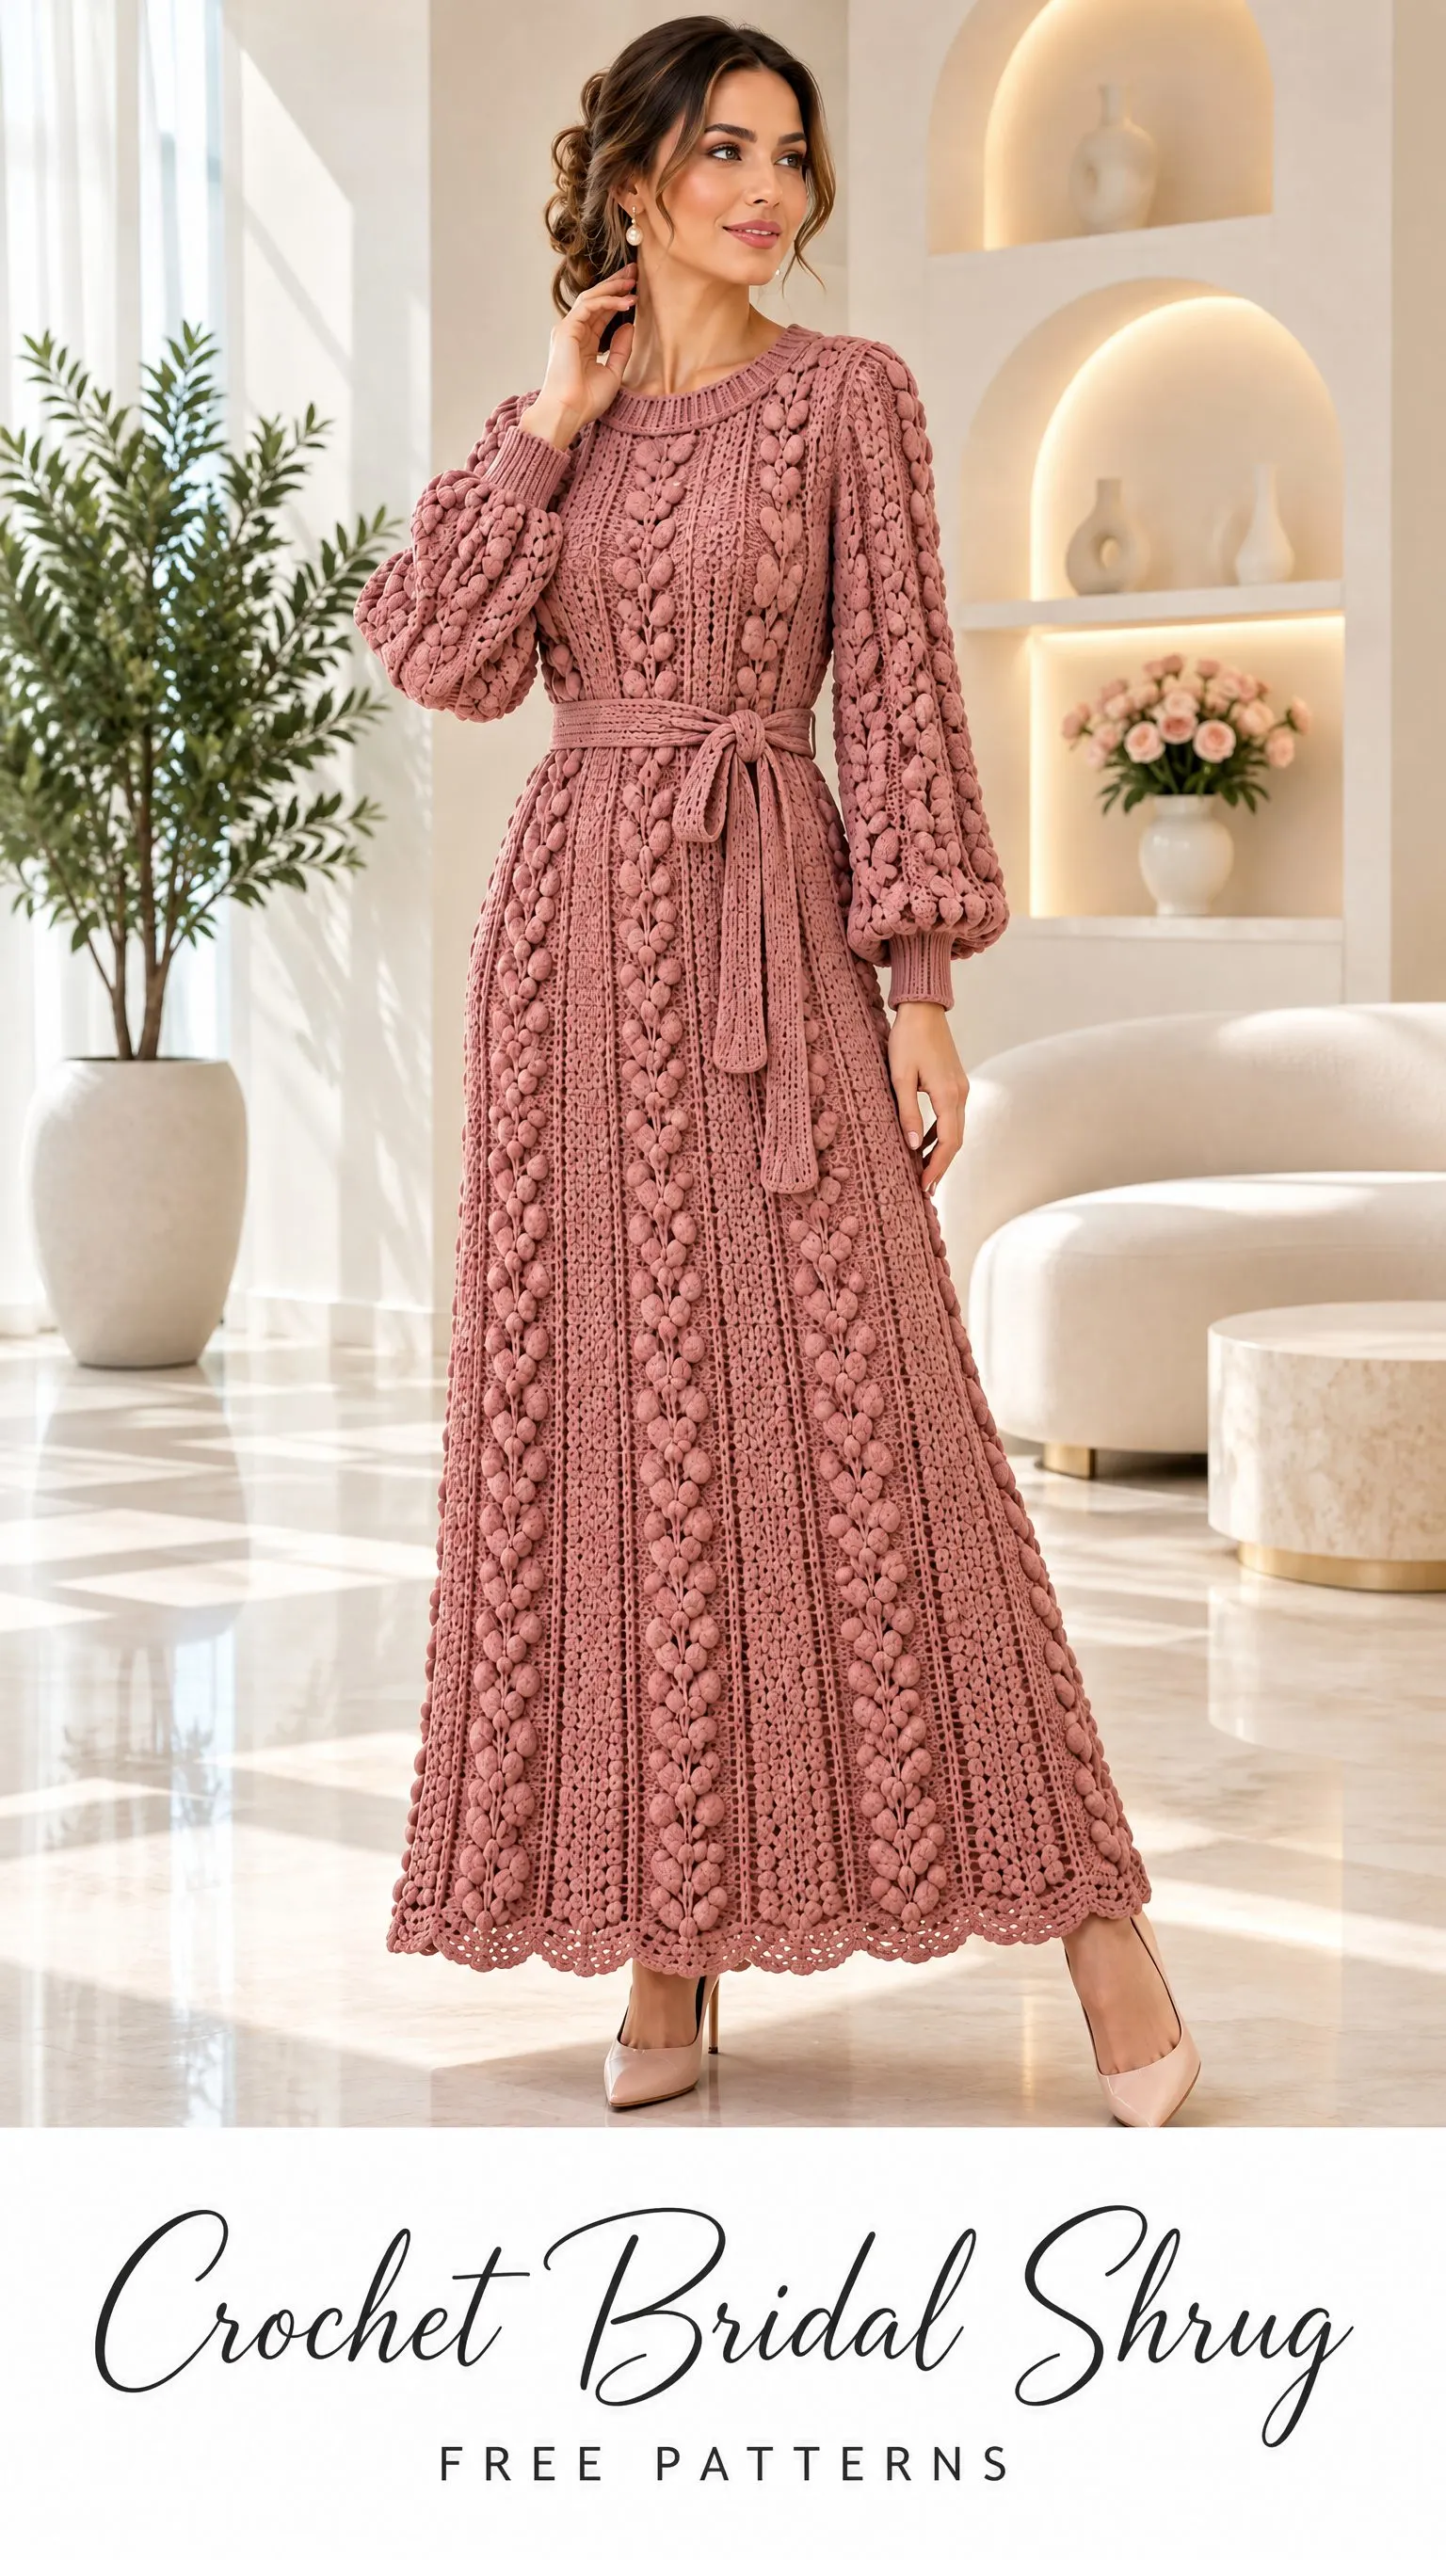
This is not a quick weekend project, and it doesn’t pretend to be. It’s a labor of love designed for the experienced intermediate crocheter who wants to create something genuinely impressive. The construction is straightforward, worked flat in panels with set-in rectangular sleeves, then seamed and finished with ribbed crochet trims. But the visual impact? Absolutely show-stopping.
Whether you’re making this dusty rose beauty for a special occasion, a photo shoot, or simply because you deserve something extraordinary in your handmade wardrobe, this pattern gives you everything you need to bring it to life.
About This Crochet Dress Pattern
The Rose Bobble Vine Dress is an ankle-length garment featuring vertical bobble vine stripes that create stunning texture from shoulder to hem. The design includes gathered bishop sleeves with ribbed cuffs, a classic round neckline with ribbed trim, and a matching crocheted belt to define the waist.
The dress is worked in two body panels (front and back) from hem to shoulder, with a shallower neckline shaping at the back. Two rectangular sleeve panels are worked separately from cuff edge upward. After blocking, all pieces are seamed together, and the edgings are added last.
Finished measurements: The body circumference is approximately 108 to 110 cm (42.5 to 43.3 inches). This size is intended for bust and hip measurements of 98 to 102 cm (38.6 to 40.2 inches), with 6 to 12 cm of ease built in. The length before edging is 120 cm (47.2 inches) from shoulder to hem. Each sleeve panel measures 43.1 cm plus approximately 4 cm for the cuff.
Skill level: Experienced intermediate. You should be comfortable with post stitches, popcorn stitches, working flat panels, seaming, and reading written pattern instructions.
Materials and Tools You’ll Need
Gathering your supplies before you begin ensures a smooth crocheting experience. Here’s everything this crochet pattern requires:
Main Yarn: DK weight (category 3), smooth plied cotton-acrylic blend, approximately 220 meters per 100 grams. You’ll need approximately 2800 meters total in dusty rose. Plan to purchase 13 skeins of 100 grams each. This includes a generous trim allowance. The yardage is estimated, not measured from a completed garment.
Crochet Hooks: 4.0 mm hook for the main fabric and 3.5 mm hook for ribbed trims and any appliques. Adjust as needed to meet your blocked gauge.
Notions: Yarn needle, 12 stitch markers, tape measure, scissors, blocking mats, sewing needle and matching thread. Six sew-on pearl beads are optional for tassel ends if desired.
Lining: A separate matching slip or professionally fitted lining is recommended for opacity. The lining sewing is not included in these crochet instructions.
Gauge Information
Getting gauge right is essential for a garment this size. A long dress can grow significantly under its own weight, so take your time with this step.
Blocked main fabric gauge: 18 stitches (or mesh positions) and 13 rows equals 10 x 10 cm (4 x 4 inches).
To check your gauge, make a swatch using 51 stitches plus 3 turning chains. Work at least 22 rows using the stitch instructions below. Wash your swatch and dry it flat, then measure the central 10 cm section. Change your hook size until both dimensions match. Do not force-stretch the swatch to meet gauge.
Important: Hang the dry swatch for 24 hours and remeasure. If your row gauge changes after hanging, use the hanging row gauge to choose a shorter row total before you begin. Record your yarn, hook size, and measured gauge on paper for reference.
Abbreviations and Special Stitches
Understanding these terms before you begin will make the pattern instructions much easier to follow.
Standard Abbreviations:
- ch = chain
- st(s) = stitch(es)
- sp = space
- sl st = slip stitch
- sc = single crochet (insert hook, yarn over, pull up a loop, yarn over, draw through both loops)
- hdc = half double crochet
- dc = double crochet (yarn over, insert hook, pull up a loop, yarn over, draw through 2 loops, yarn over, draw through remaining 2 loops)
- tr = treble crochet
- RS / WS = right side / wrong side
- yo = yarn over
- rep = repeat
- BLO = back loop only
Post Stitches:
- FPdc = front post double crochet. Work around the vertical post of the indicated stitch instead of its top loops. Insert your hook from front to back to front around the post, then complete a dc normally.
- BPdc = back post double crochet. Insert your hook from back to front to back around the post, then complete a dc normally.
- FPtr = front post treble crochet. Same concept, but using a treble crochet.
Do not also work into that stitch’s top when working post stitches.
Popcorn Stitch (pc): Work 5 dc in one stitch. Remove your hook from the live loop. Insert your hook through the top of the first dc of that group from front to back. Catch the dropped loop and pull it through. No extra securing chain is needed. The closed group counts as one stitch. Push it to the right side of your work.
sc2tog: Insert hook in next stitch, yarn over and pull up a loop. Repeat in the following stitch. Yarn over and draw through all three loops on your hook. Two stitches consumed, one stitch produced.
Shell: 5 dc worked into one stitch.
Picot: Ch 3, sl st into first chain. This is decorative only, not a base stitch.
Pattern Notes Before You Begin
Read through these notes carefully. They’ll answer many questions before they arise.
Turn after every flat row. Chain 3 before each dc-based row and chain 1 before each sc row. Turning chains never count as a stitch. Work into the first stitch after your turning chain.
Stitch counts appear in brackets at the end of each row or round. Brackets within directions enclose one repeat. Fasten off with a 20 cm tail when instructed so you have enough length for weaving.
Join rounds with a slip stitch into the first actual stitch. The joining slip stitch and starting chains never count toward your stitch total.
Keep a row counter handy. This is a long project with many rows, and losing your place can be frustrating.
When a shoulder section begins mid-repeat, preserve the marked physical columns of your texture pattern. Do not restart the texture at a new offset. Work edge stitches as plain dc if a cable or bobble would cross a cut edge.
Construction Overview
The dress comes together in a logical sequence:
- Make front body panel from hem to shoulder
- Make back body panel from hem to shoulder (with shallower neck shaping)
- Make two sleeve panels from cuff edge upward
- Block all pieces to measurements
- Join shoulders
- Set in sleeves
- Close sleeve underarms and body side seams
- Add cuffs, neckline trim, hem edging, and belt
Target measurements before seaming:
| Piece | Measurement |
|---|---|
| Body panel width | 99 stitches / 55 cm |
| Each shoulder | 33 stitches / 18.3 cm |
| Neck opening | 33 center stitches / 18.3 cm |
| Front neck depth | 6.2 cm |
| Back neck depth | 1.5 cm |
| Armhole | 26 row ends / 20 cm on each edge |
| Sleeve width | 77 stitches / 42.8 cm |
Step-by-Step Crochet Pattern Instructions
Main Stitch Pattern for Body Panels
With your 4.0 mm hook and main color yarn, ch 102. The first 3 chains provide height only. Begin working in the fourth chain from your hook.
Row 1 (RS):Dc in fourth ch from hook and in each ch across.
Row 2 (WS):Dc in each st across.
Row 3 (RS): Dc in next 3 sts, dc in next 3 sts, pc in next st repeat from to 24 times.
Rows 4 through 6:Dc in each st across, working one st into each pc top.
Following rows:Work a popcorn row on rows 7, 11, 15, and every fourth row thereafter. All other rows are worked in dc across.
Front Dress Panel
Work the main stitch pattern through Row 148.
Row 149:Work next 33 positions in established pattern for the first shoulder. Leave remaining 66 stitches unworked. Turn.
Rows 150 through 156:Continue over these 33 positions, preserving pattern columns. Fasten off.
Return to Row 148. Leave the center 33 positions unworked. Join main yarn at the outer edge of the other 33 positions with the correct side facing for Row 149. Work 8 rows to match the first shoulder.
