

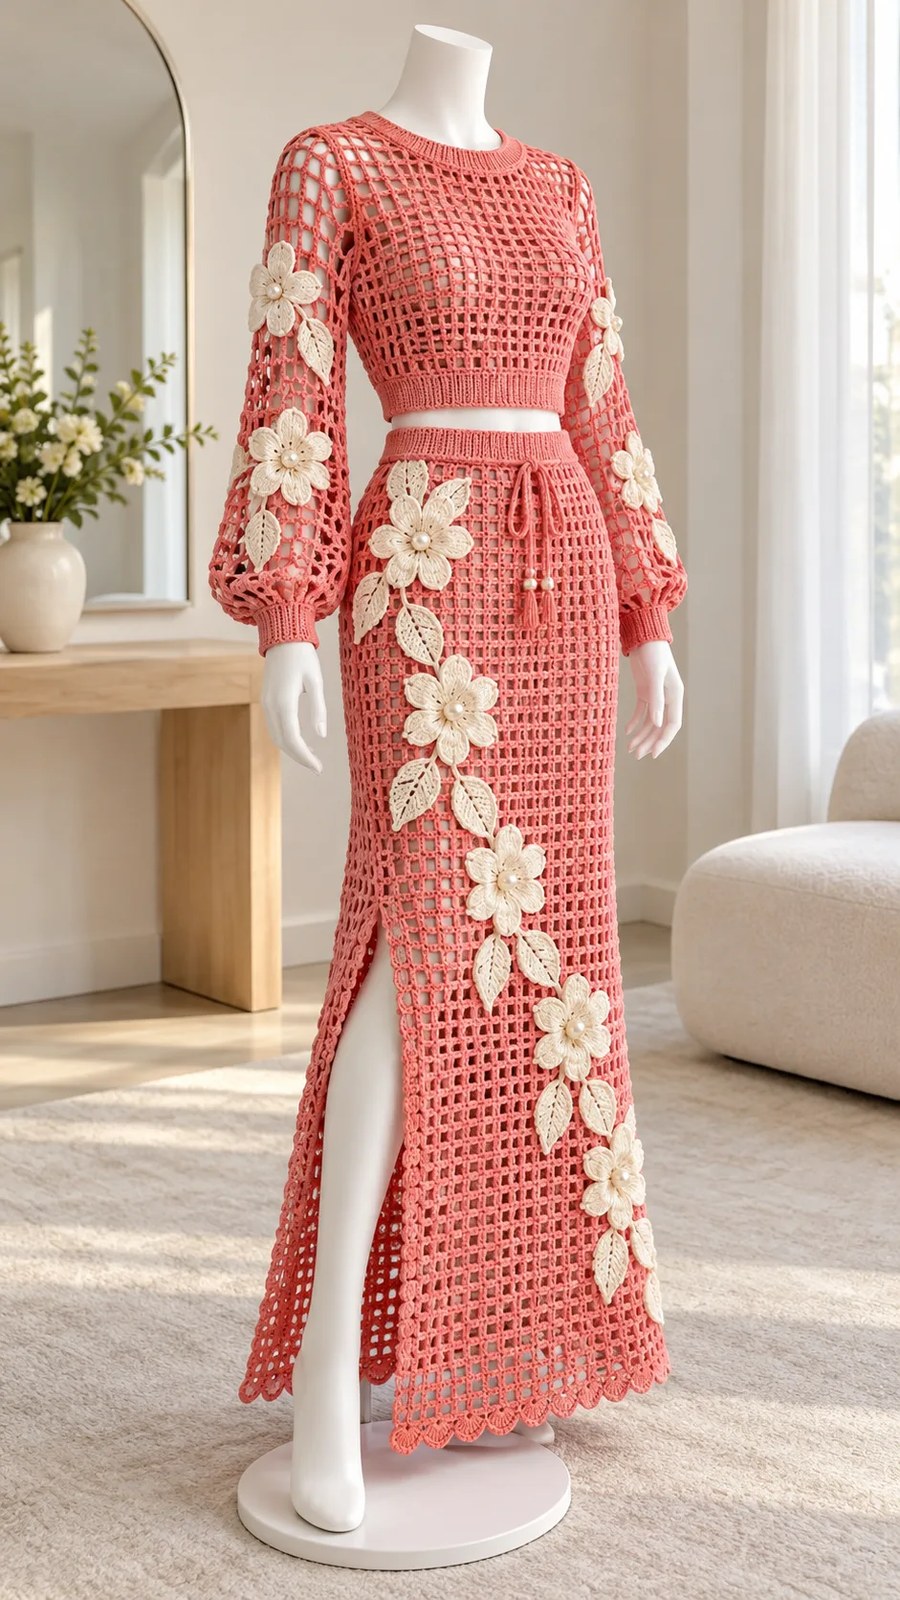
This two-piece ensemble brings together everything you want in a statement crochet garment. A fitted lace top pairs with a floor-length skirt, both built from simple mesh panels and finished with dimensional hibiscus flowers and trailing leaves. The construction is straightforward panel work with no complex shaping until the neckline, making it approachable for confident intermediate crocheters ready to tackle a larger project.
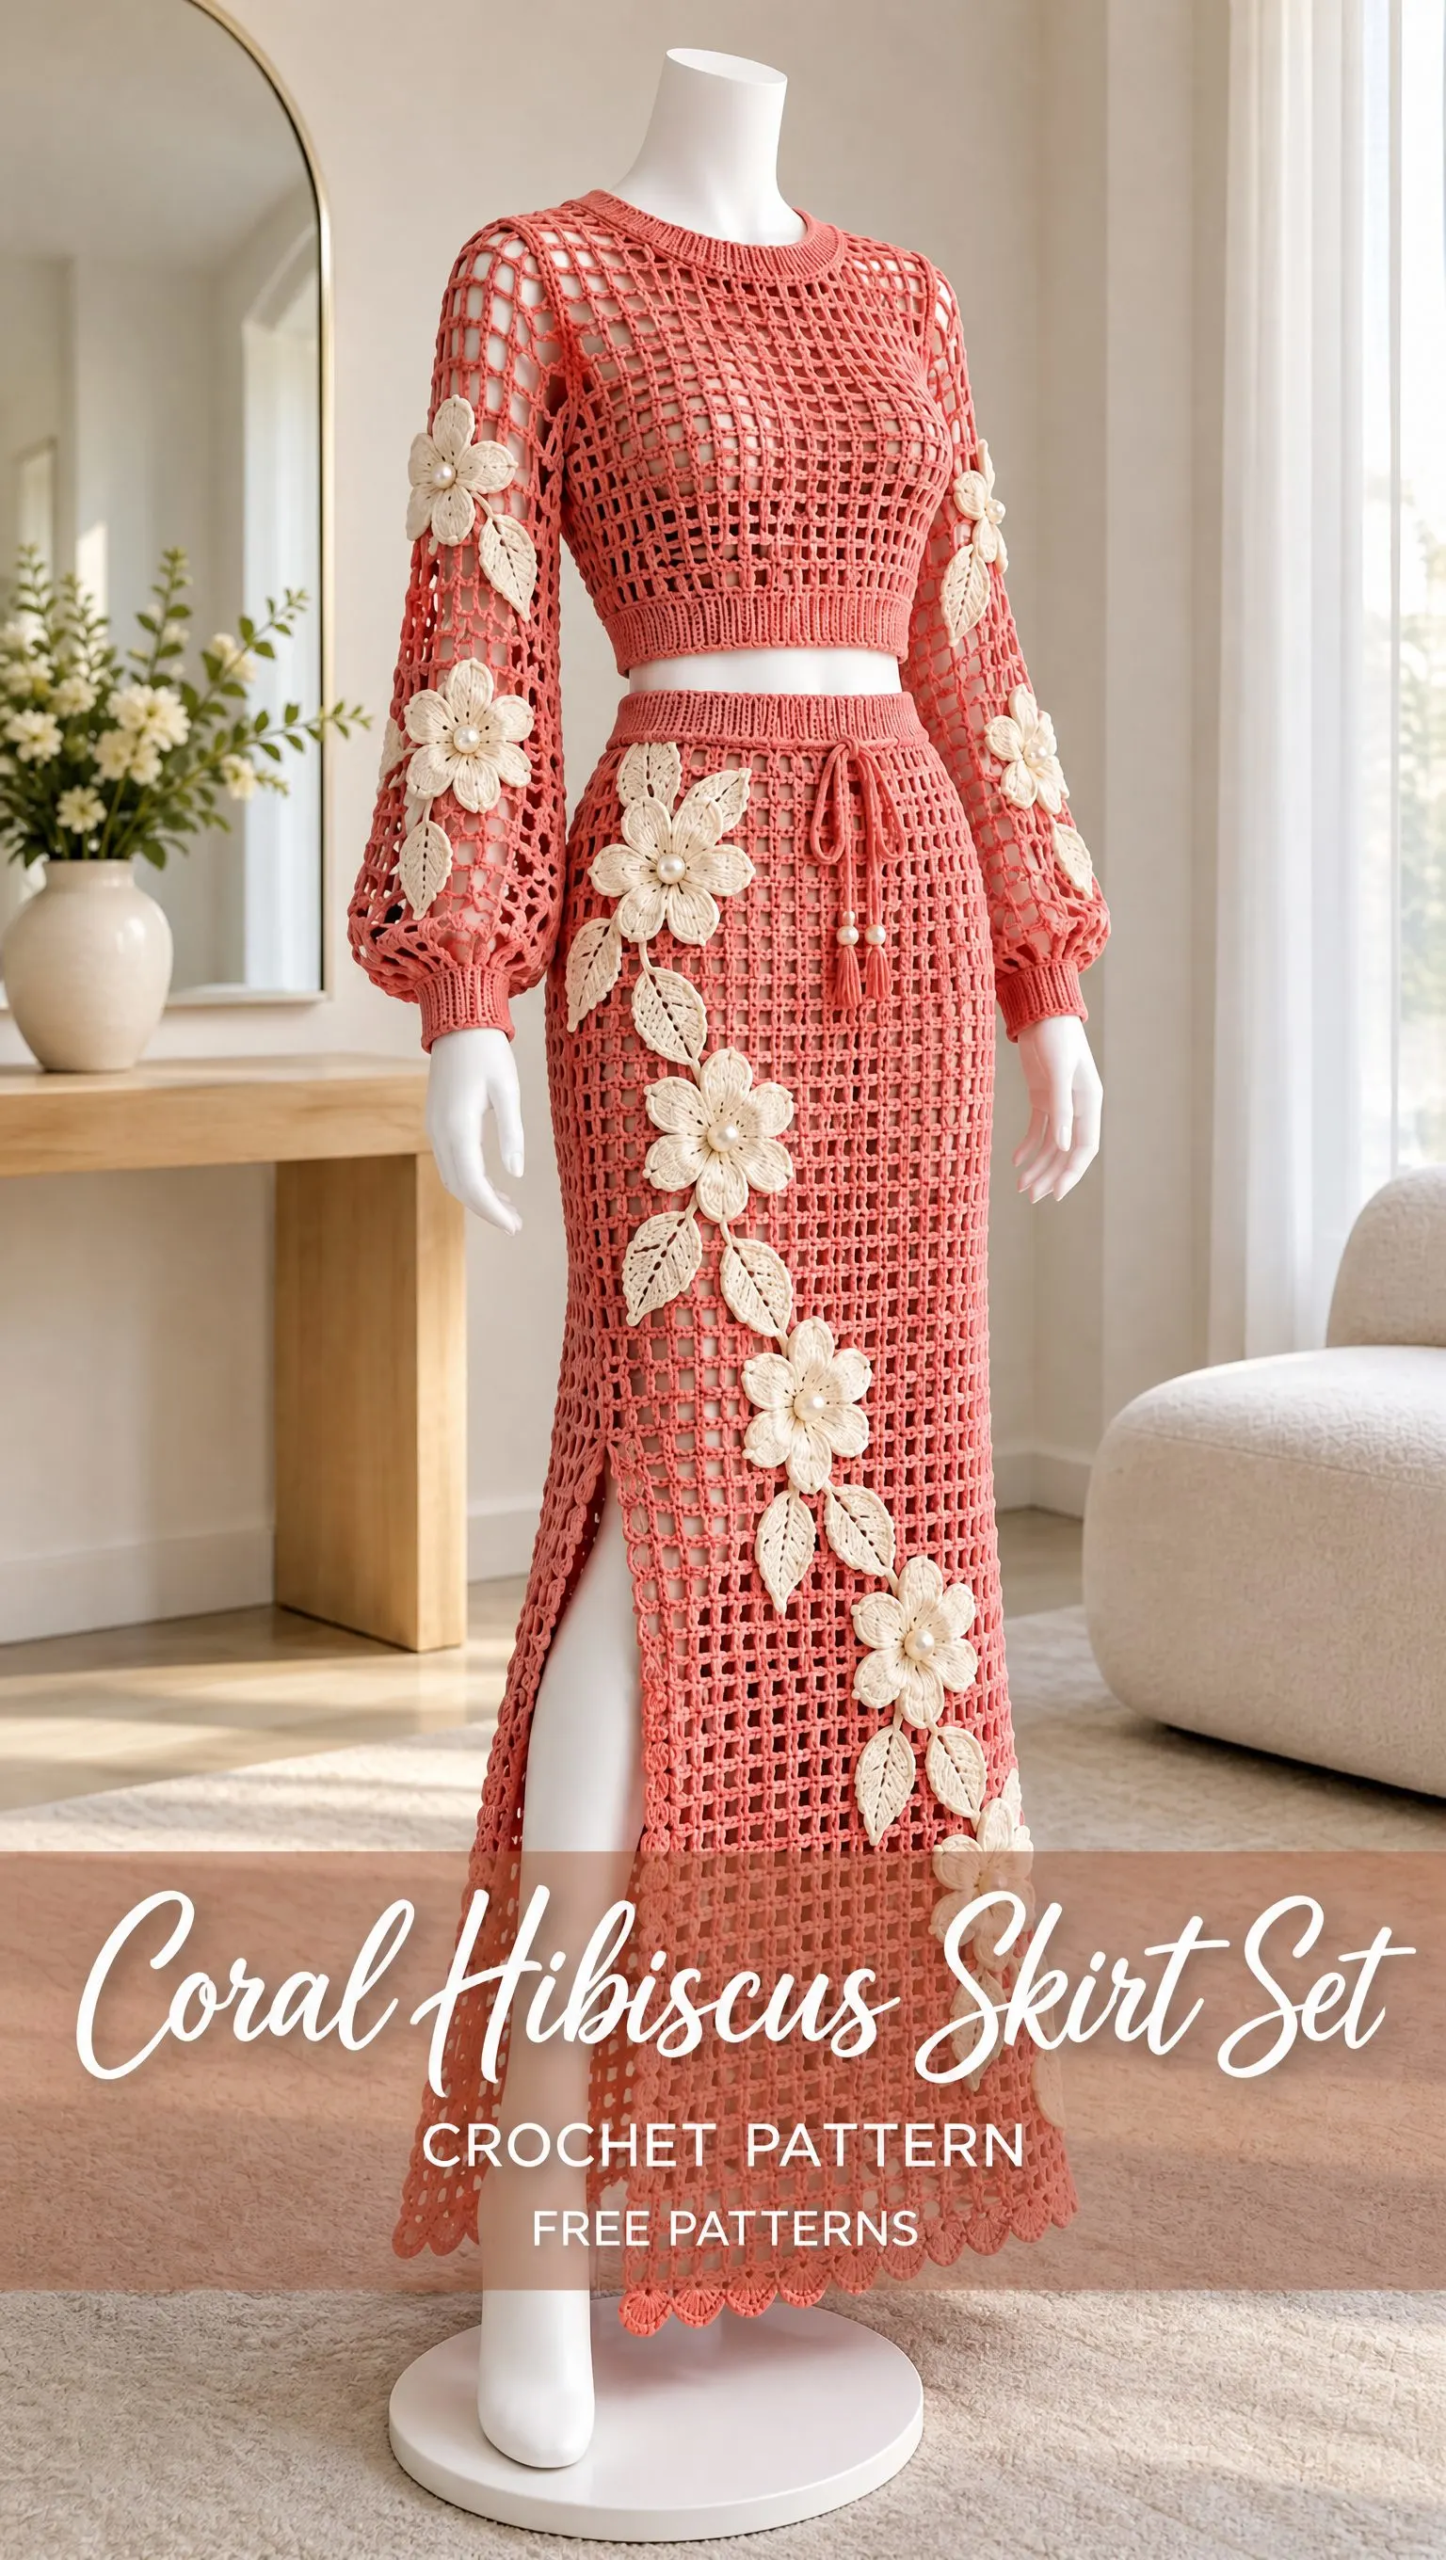
The coral pink and cream color palette feels fresh and tropical, while the open mesh keeps the fabric lightweight and breathable. You will love how the appliqué flowers transform basic filet-style panels into something truly special. Each bloom gets sewn on while the pieces are still flat, so there is no awkward maneuvering around a finished garment.
Whether you are planning for a beach vacation, a summer wedding, or simply want a showstopping project that builds your garment-making skills, this set delivers. The skirt features a flattering side slit and elastic waist casing with a decorative drawstring, while the top has ribbed trims at the neck, hem, and cuffs for a polished finish. Let’s walk through everything you need to bring this design to life.
About This Coral Hibiscus Skirt Set Pattern
This pattern creates a coordinated lace top and maxi skirt in one adult size. The finished body circumference measures approximately 108 to 110 cm (42.5 to 43.3 inches), designed for bust and hip measurements of 98 to 102 cm (38.6 to 40.2 inches) with 6 to 12 cm of ease built in. Before you begin, measure your largest relevant circumference to confirm this size works for you.
The skirt length before edging is 86.2 cm (33.9 inches), while the top measures 46.2 cm (18.2 inches). Each sleeve panel is 36.9 cm plus approximately 4 cm for the ribbed cuff. The skill level is experienced intermediate, meaning you should be comfortable with basic stitches, post stitches, seaming, and following a multi-piece construction sequence.
Both pieces use a simple mesh stitch pattern throughout the main body. This creates the signature open grid look you see in the photos. The flowers and leaves are worked separately as appliqués and sewn on before assembly, which makes placement easy to customize.
Materials You Will Need
Main Yarn: DK weight (category 3), smooth plied cotton-acrylic blend, approximately 220 meters per 100 grams. You will need roughly 2100 meters in coral pink, which means buying 10 skeins of 100 grams each. This estimate includes a generous trim allowance.
Contrast Yarn: Same yarn weight in cream (250 meters) and leaf green (100 meters).
Hooks: 4.0 mm hook for the main fabric panels and 3.5 mm hook for ribbed trims and appliqués. Use whatever sizes you need to match the blocked gauge.
Notions: Yarn needle, 12 stitch markers, tape measure, scissors, blocking mats, sewing needle with matching thread, 30 mm soft elastic (0.9 meters for the skirt waist), and 36 small sew-on pearl beads (optional for flower centers).
Lining: A separate matching slip or professionally fitted lining is recommended for opacity. The lining is not covered in these crochet instructions.
Gauge Information
Getting gauge right matters enormously for a fitted garment like this. Your blocked main fabric should measure 18 stitches (or mesh positions) and 13 rows per 10 cm (4 inches) square.
The pattern offers three swatch options depending on which stitch you want to test:
- For cables: chain 44 stitches (4 repeats)
- For mesh: chain 39 positions (20 double crochet plus 19 spaces)
- For other textures: chain 51 stitches plus 3 turning chains
Work at least 22 rows using the stitch instructions, then wash and dry your swatch flat before measuring the central 10 cm. Change your hook size until both dimensions match. Do not force-stretch the swatch to meet gauge.
Here is an important tip for long garments: hang your dry swatch for 24 hours and measure again. A long skirt can grow under its own weight. If your row gauge changes when hanging, use that hanging row gauge to choose a shorter row total before you start. Record your yarn, hook size, and measured gauge on paper for reference.
Abbreviations and Special Stitches
Before diving into the instructions, familiarize yourself with these terms:
ch = chain
st(s) = stitch(es)
sp = space
sl st = slip stitch
sc = single crochet (insert hook, yarn over, pull up loop, yarn over, pull through both loops)
hdc = half double crochet
dc = double crochet (yarn over, insert hook, pull up loop, yarn over, pull through 2 loops, yarn over, pull through remaining 2 loops)
tr = treble crochet
RS / WS = right side / wrong side
yo = yarn over
rep = repeat
BLO = back loop only
FPdc = front post double crochet
BPdc = back post double crochet
FPtr = front post treble crochet
pc = popcorn
Post Stitches Explained
Post stitches are worked around the vertical post of a stitch from the previous row instead of through its top loops. For front post stitches (FPdc), insert your hook from front to back to front around the post. For back post stitches (BPdc), insert from back to front to back. Complete the double crochet as normal. Do not also work into that stitch’s top loops.
Other Special Stitches
sc2tog (single crochet two together): Insert hook in next stitch, yarn over and pull up a loop. Repeat in following stitch. Yarn over and draw through all three loops on hook. This decreases two stitches into one.
Shell: Work 5 double crochet stitches into one stitch.
Picot: Chain 3, slip stitch into the first chain. This creates a decorative bump and is not a base stitch.
Understanding Mesh Position
This pattern uses “mesh position” as a counting term. Each double crochet and each chain-1 space counts as one position. So a 99-position row contains 50 double crochet stitches and 49 chain-1 spaces. When working edgings, place one single crochet in each dc and one in each space.
Pattern Notes to Remember
Turn after every flat row. Chain 3 before each dc-based row and chain 1 before each sc row. Turning chains never count as a stitch. Work into the first stitch at the beginning of each row.
Stitch counts appear in brackets at the end of instructions. Brackets within directions enclose one repeat. Fasten off with a 20 cm tail when instructed so you have enough length for weaving in ends.
When joining rounds, slip stitch into the first actual stitch. The joining slip stitch and starting chains never count toward your stitch total.
Keep a row counter handy. This is a large project with many rows, and losing count is frustrating.
Construction Overview
The set is built from six main pieces: two top panels, two skirt panels, and two sleeves. You will add the flower and leaf motifs while the panels are still flat (much easier than sewing onto a finished tube). Then you seam the shoulders, set the sleeves, close the top side seams, seam the skirt with one side slit left open, and finish with the waist casing, trims, and drawstring cord.
Target Measurements Before Seaming
| Piece | Target |
|---|---|
| Body panel width | 99 stitches = 55 cm |
| Each shoulder | 33 stitches = 18.3 cm |
| Neck opening | 33 center stitches = 18.3 cm wide |
| Front neck depth | 6.2 cm |
| Back neck depth | 1.5 cm |
| Armhole | 26 row ends = 20 cm on each front/back edge |
| Sleeve width | 77 stitches = 42.8 cm (eased into 40 cm total armhole) |
| Side slit | 39 rows = 30.0 cm |
Main Stitch Pattern for Body Panels
With your 4.0 mm hook and coral pink main color, chain 102 for each 99-stitch panel. The first 3 chains provide height only. Begin working in the fourth chain from the hook.
Row 1 (RS):Dc in fourth ch from hook, 49 times. Turning chain does not count.
Row 2:Dc in first dc, 49 times.
Following rows:Repeat Row 2, maintaining straight columns. Count each dc and ch-1 space as one position.
Front Top Panel Instructions
Work the main stitch pattern through Row 52.
Row 53:Work next 33 positions in established pattern for the first shoulder. Leave remaining 66 positions unworked. Turn.
Rows 54-60:Continue over these 33 positions, preserving pattern columns. Fasten off.
Return to Row 52. Leave the center 33 positions unworked for the neck opening. Join main yarn at the outer edge of the other 33 positions with the correct side facing for Row 53. Work its 8 rows to match the first shoulder.
Back Top Panel Instructions
Work a second 99-position panel through Row 58.
Rows 59-60:Work each outer group of 33 positions separately for 2 rows, leaving the center 33 positions unworked. Fasten off.
Skirt Panels (Make Two)
Chain 102. Work the main mesh pattern for Rows 1 through 112 without any neck shaping. Fasten off.
Mark the lower edge as the hem and the upper edge as the waist. Do not taper these panels. The soft waist casing will gather the excess evenly when assembled.
Sleeves (Make Two)
With coral pink main yarn and 4.0 mm hook, chain 80. Work the sleeve pattern through Row 48, then fasten off. The starting edge becomes the cuff side, and the last row becomes the shoulder side.
Row 1 (RS):Dc in fourth ch from hook, 38 times. Turning chain does not count.
Row 2:Dc in first dc, 38 times.
Following rows:Repeat Row 2, maintaining straight columns.
Hibiscus Flower Appliqués (Make 36)
Switch to your 3.5 mm hook for all appliqués.
