

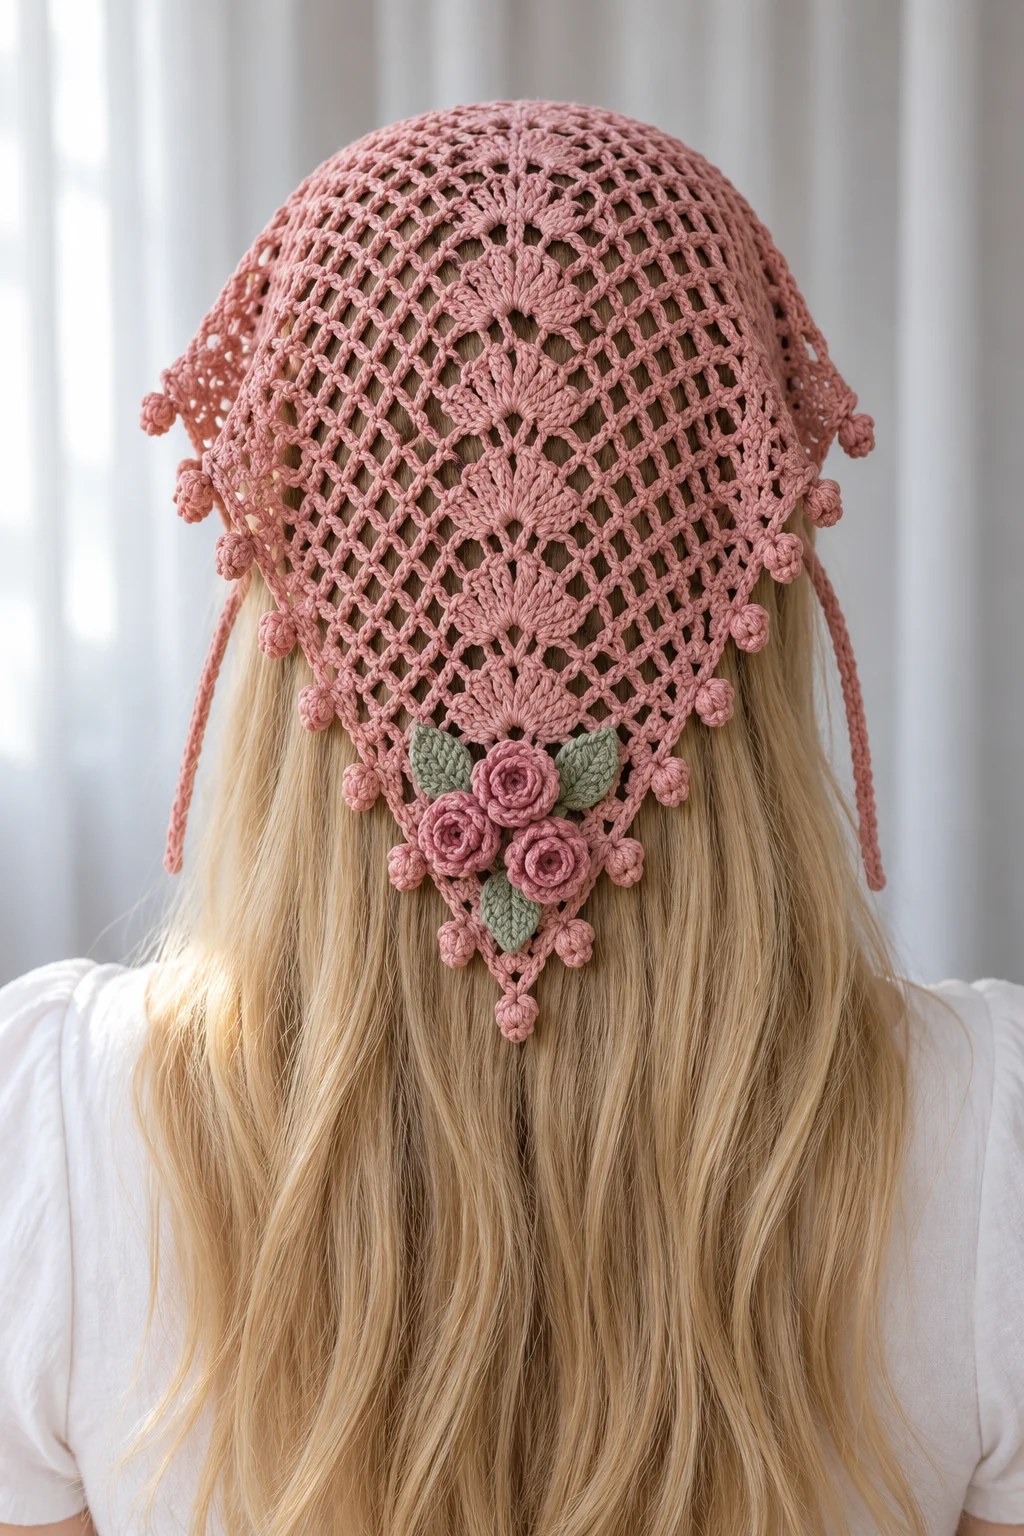
Looking for a lightweight accessory that keeps hair off your face while adding a touch of handmade elegance? This Rose Garden Headscarf fits the bill perfectly. It works up in fingering weight cotton, uses basic mesh stitches that even confident beginners can tackle, and makes a thoughtful gift for anyone who appreciates delicate, vintage inspired accessories.
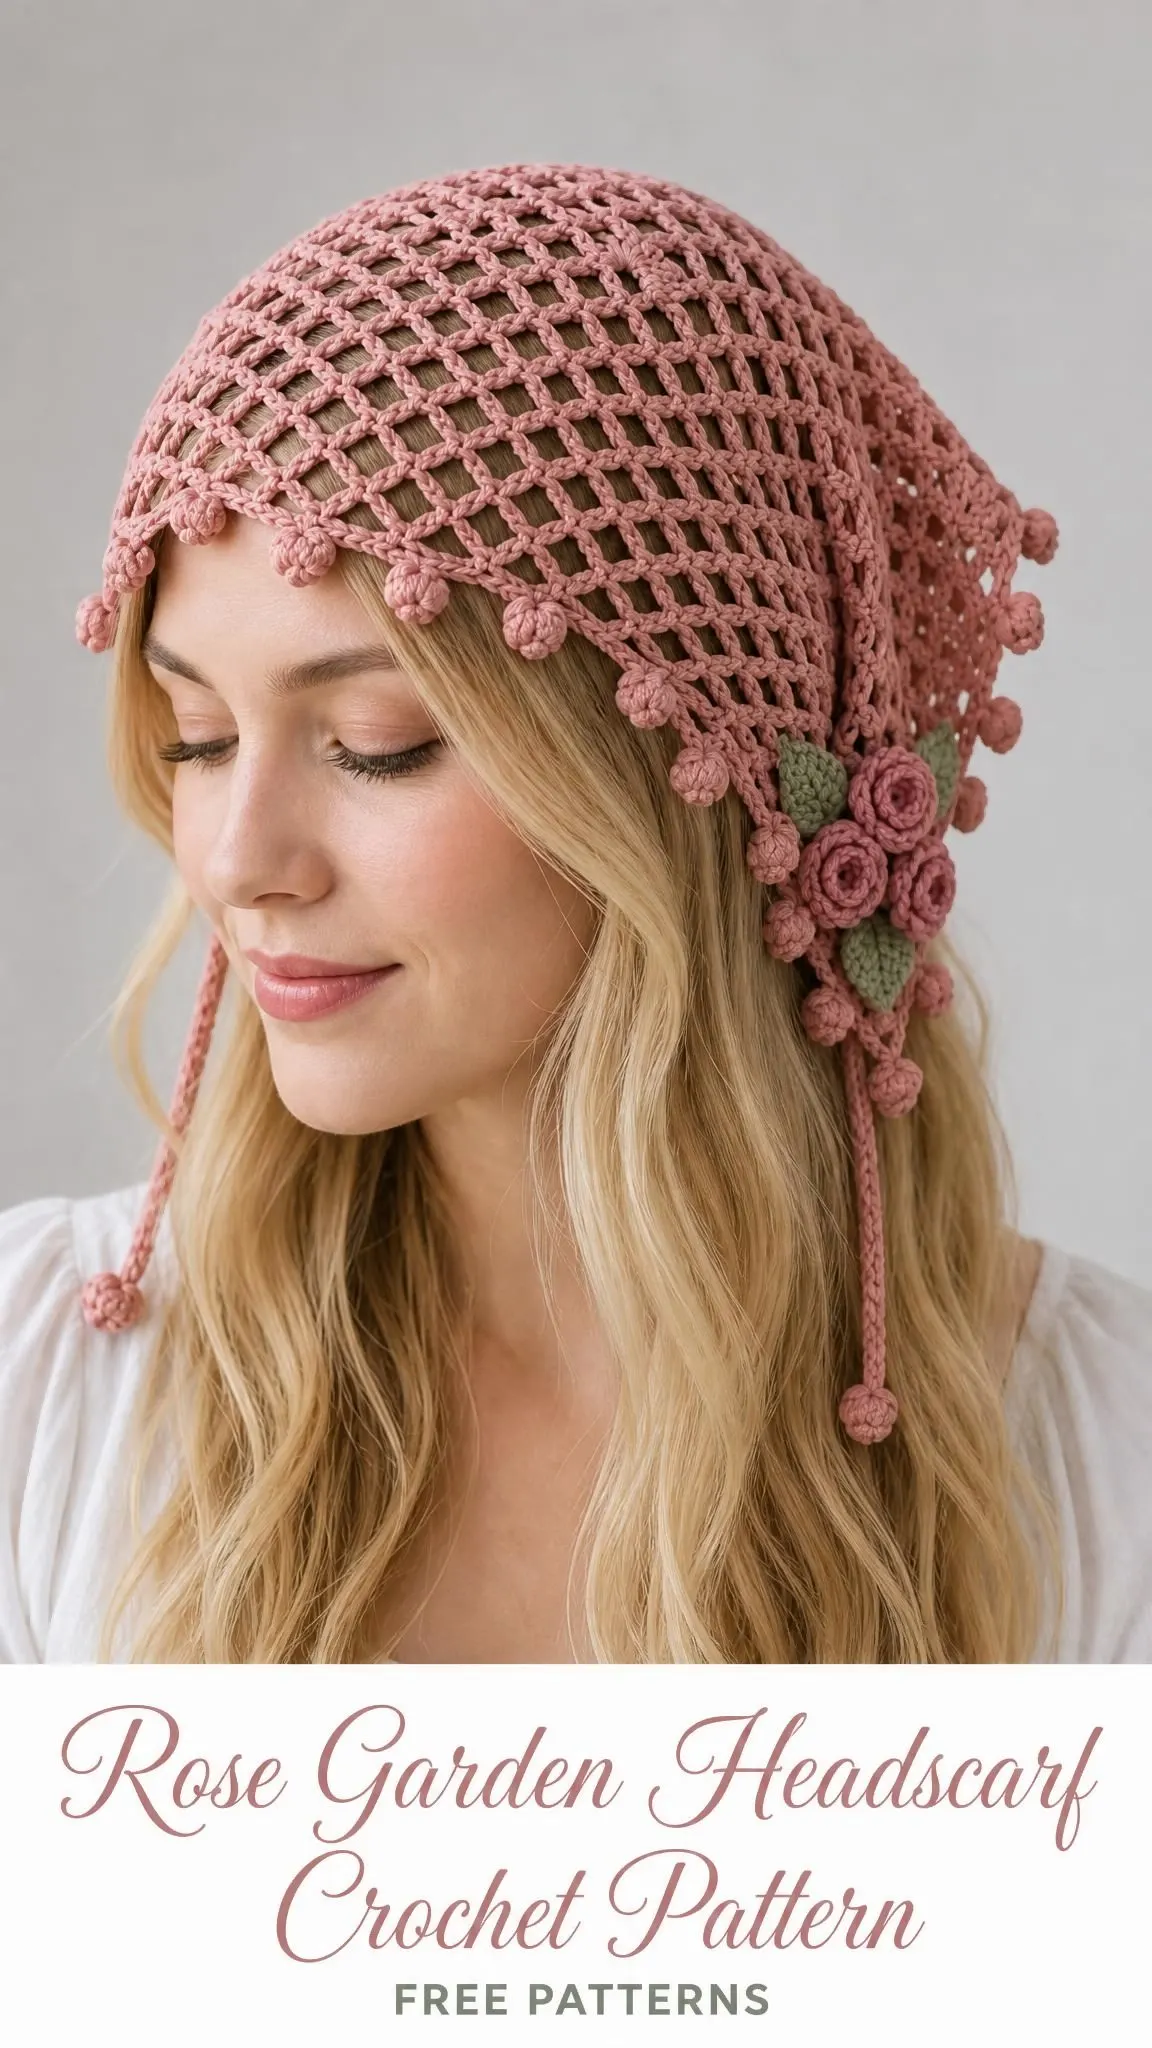
The construction is straightforward. You start at the bottom point and increase one chain arch per row until you reach the top edge. Then you add a simple border, attach ties at the corners, and sew on decorative fan motifs and roses. The whole project comes together faster than you might expect from something that looks this intricate.
Whether you want to dress up a casual outfit or need a pretty way to manage your hair on breezy days, this headscarf delivers. Let me walk you through everything you need to know to make your own.
About This Pattern
This Rose Garden Headscarf is a triangular mesh design worn with the longest edge across the forehead and the point hanging down the back. Two ties at the upper corners secure it at the nape of your neck beneath your hair. The central fan spine and rose appliques give it that romantic garden feel without adding complicated integrated lace work.
Skill Level: Intermediate beginner. If you can work basic stitches and follow a simple increase pattern, you can absolutely make this.
Finished Measurements (after blocking):
The design uses a mesh and applique approach, meaning the decorative elements are made separately and sewn onto the finished mesh triangle. This simplifies the construction considerably compared to integrated lace patterns.
Materials You Will Need
Yarn:
Hook:
Notions:
For the pearl version only: Small smooth beads with holes wide enough for sewing thread and a fine needle.
Gauge
Getting your gauge right matters for fit with this headscarf. Work at least 12 rows of the triangle as a swatch, wet block it, and measure the center.
Target mesh gauge (lightly blocked):
If your triangle comes out too dense or too open, change your hook size. Go up a hook size if too tight, down if too loose.
Abbreviations and Special Stitches
Let me define every stitch and term you will encounter in this pattern. Even if you know these well, a quick refresher never hurts.
Important notes:
Special Stitches:
Picot: Chain 3, slip stitch in the first of those 3 chains. This creates a small decorative bump.
Bobble:five times in that same stitch. You will have 6 loops on your hook. Yarn over and pull through all 6 loops. Chain 1 to close.
Section 01: Increasing Mesh Triangle
This is the main body of your headscarf. You will start at the bottom point and work upward, adding one arch per row until you reach the desired width.
Setting up the ring:
With dusty rose (Color A), chain 4 and slip stitch to the first chain to make a ring.
Row 1: Chain 1, single crochet in ring, chain 5, single crochet in ring. (1 arch; 2 sc)
Mark this ring as your lower point. This is the tip of the triangle.
Row 2: Chain 1, turn. Single crochet in first sc, chain 5, single crochet in the chain 5 arch, chain 5, single crochet in last sc. (2 arches; 3 sc)
Work into the open arch, not into its individual chains. This keeps your mesh looking even.
Row 3:Chain 1, turn. Single crochet in first sc, twice, chain 5, single crochet in last sc. (3 arches; 4 sc)
Rows 4 through 24:Chain 1, turn. Single crochet in first sc, across all arches, chain 5, single crochet in last sc.
Each row gains one arch and one single crochet. Row n has n arches and n+1 single crochets.
Checkpoints to verify your count:
