

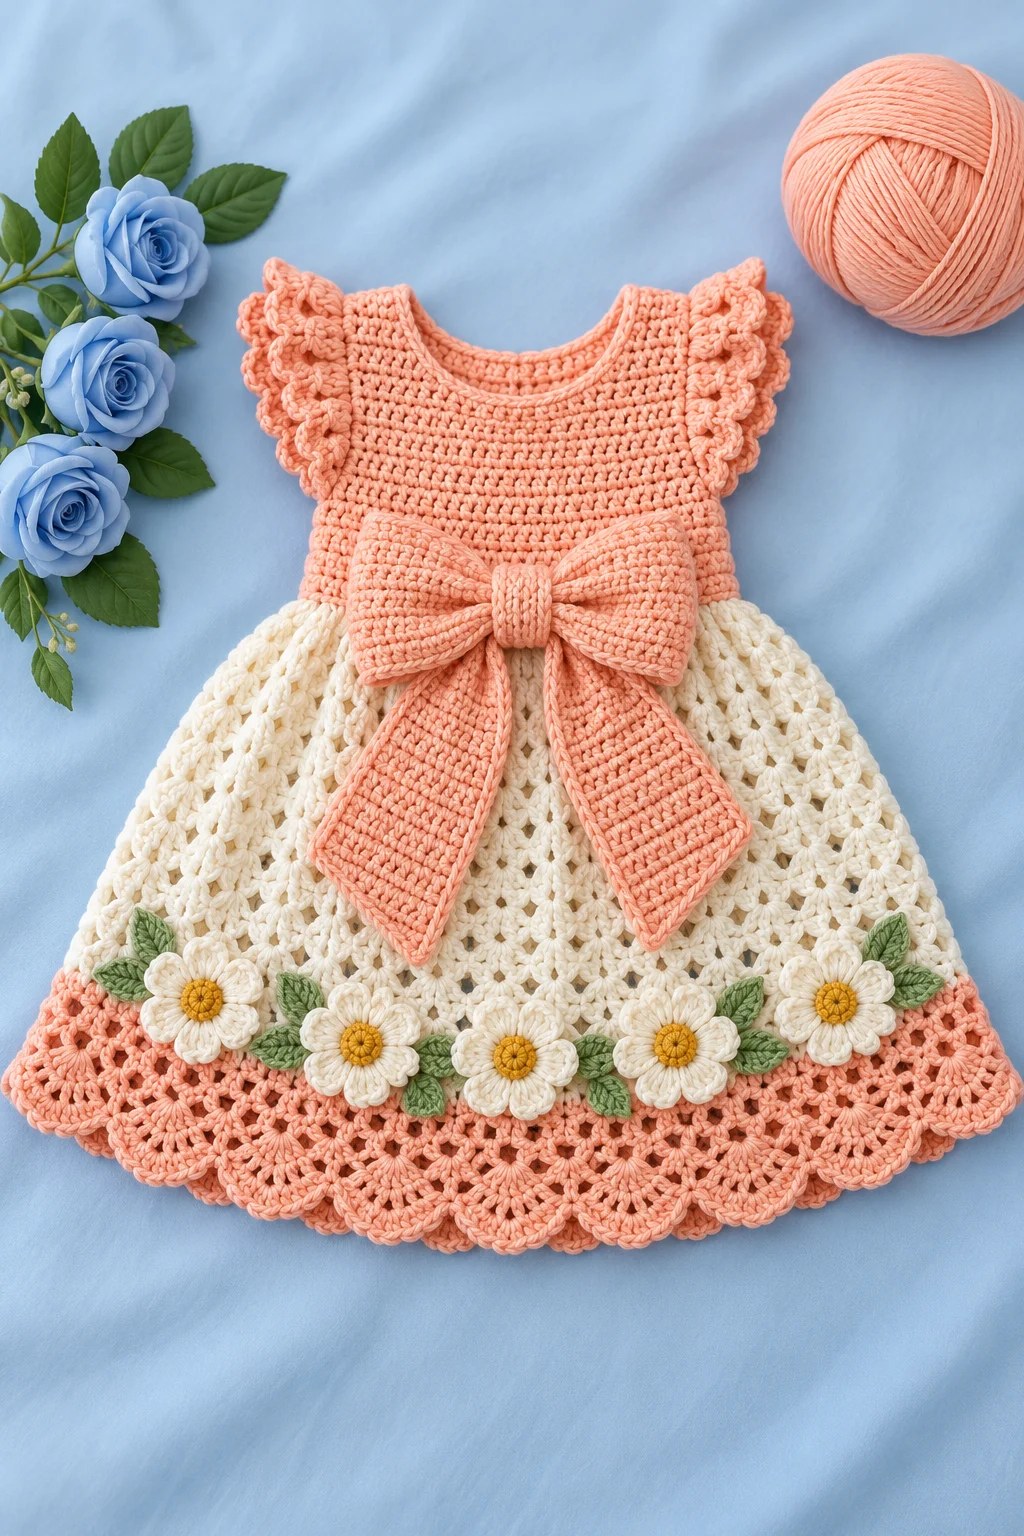
Baby dresses with bows and gathered skirts look intimidating. I get it. You see all those delicate details and think, “There’s no way I can make that.” But here’s the truth: this Peach Daisy Bow Baby Dress breaks down into simple, manageable pieces that even confident beginners can tackle.
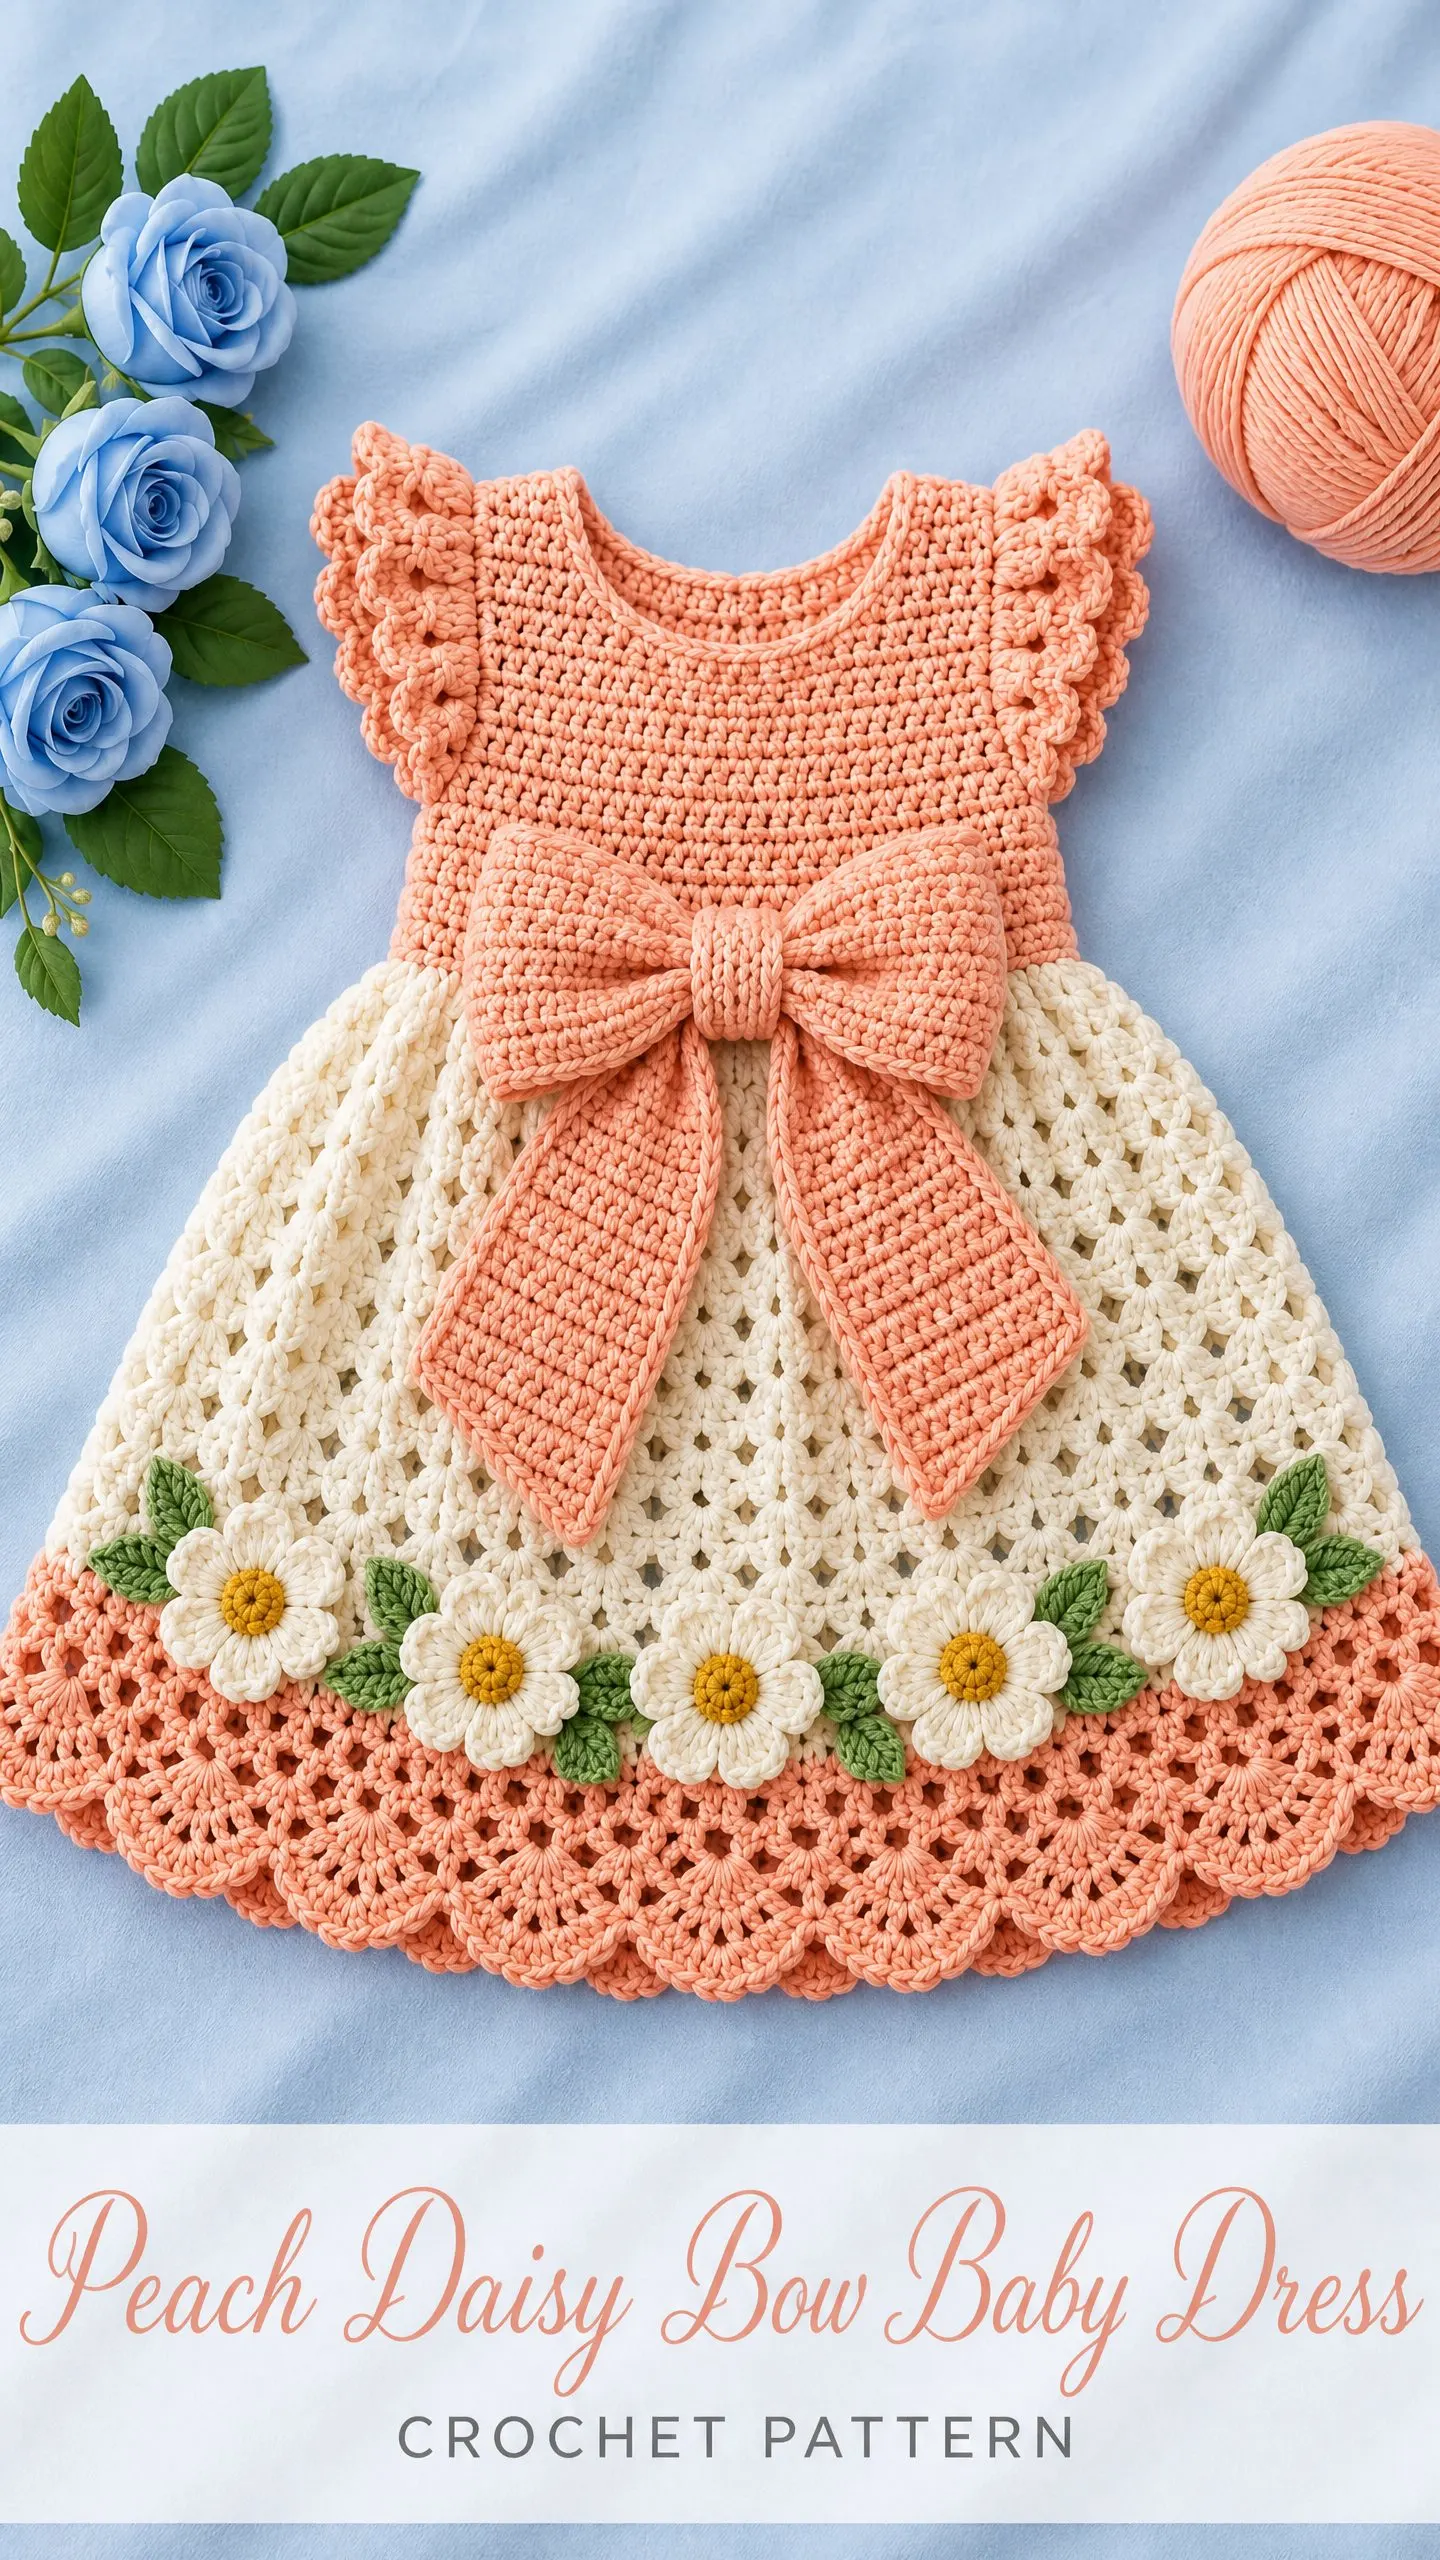
The bodice? Solid double crochet rows. That’s it. The skirt? Shell stitches worked in rounds. The bow? A rectangle you fold and wrap. When you look at each component separately, you’ll realize this gorgeous dress is absolutely within your reach.
Whether you’re an intermediate crocheter looking for your first garment project or a beginner ready to level up, I’m walking you through every single step. Let’s bust the myth that pretty baby clothes require expert skills.
About This Pattern
This adorable baby dress features a fitted peach bodice, a flared cream shell skirt, flutter sleeves, and a stunning oversized bow at the waist. The finishing touch? Sweet daisy appliqués with sage leaves scattered across the lower skirt.
The construction is surprisingly straightforward. You’ll make flat bodice panels from the waist up, seam the shoulders and sides, then crochet the skirt downward in joined rounds. The sleeves, neckline edging, bow, and decorative motifs get added at the end.
Finished Measurements:
This sizing fits approximately 3 to 6 months, but always select size by measured chest with 4 to 6 cm of ease rather than by age alone.
Materials You’ll Need
Yarn:
Tools:
Closure:
Gauge
Target bodice gauge after gentle blocking: 20 stitches and 10 double crochet rows equals 10 x 10 cm.
Make a 26 stitch swatch at least 14 rows tall using the bodice stitch pattern. Measure its center. If your swatch is too wide, switch to a smaller hook. If it’s too narrow, go up a hook size. Row gauge affects armhole depth and overall length, so take time to get this right.
Abbreviations and Special Stitches
Let me define every stitch you’ll encounter:
Special Stitch Combinations:
Important Notes:
Section 01: Front Bodice
With peach yarn and your 3.0 mm hook, ch 49.
Row 1: Sc in second ch from hook and across. (48 sc)
Row 2: Ch 2, turn. Dc in each st across. (48 dc)
Keep every bodice row in solid double crochet to create a close textured fabric. Chain 2 and turn at the start of each dc row. Remember, the chain does not count as a stitch.
Rows 3 through 6: Work across 48 positions using the texture above. Fasten off at the end of Row 6. Mark the first and last 3 stitches for the underarm steps.
Row 7: Join yarn in the fourth stitch, ch 2, dc in that stitch and the next 41 stitches. Leave the last 3 stitches unworked. (42 dc)
Rows 8 through 10: Work straight across 42 positions using the texture above.
Row 11 (First Shoulder): Ch 2, turn. Dc in first 11 stitches, leaving the remaining stitches unworked. (11 dc)
Rows 12 through 16: Ch 2, turn. Dc across 11. Fasten off.
Second Shoulder: With the front facing you, identify the 11 stitches at the opposite outer edge of Row 10. Join yarn at the edge nearest the neck and work those 11 stitches toward the armhole. Work five more rows of 11 dc to match the first shoulder. The center 20 stitches stay unworked for the neckline.
Checkpoint: You should have 48 positions at waist, 42 across chest above underarm steps, and two shoulders of 11 stitches each. Lay flat and verify both shoulders have equal height. Do not add a decorative drawstring around the neck.
