

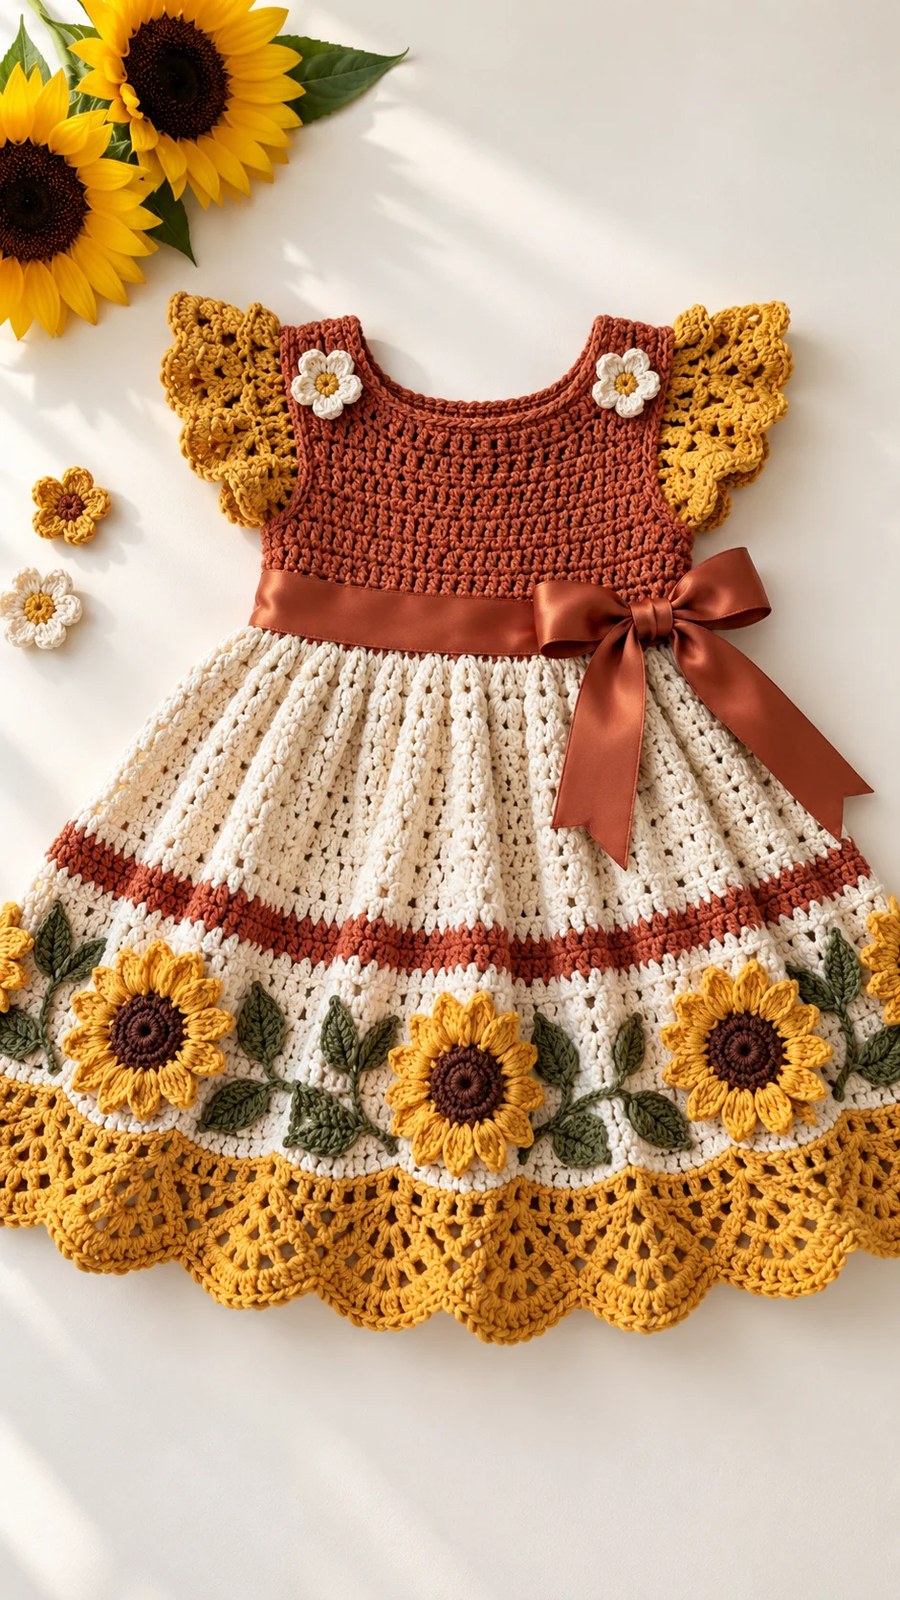
This is one of those patterns that looks WAY more complicated than it actually is, and I am HERE for it! If you have been wanting to make a show-stopping toddler dress with gorgeous sunflower appliques, flutter sleeves, and a dreamy lace hem, this is your sign to grab your hook and get started.
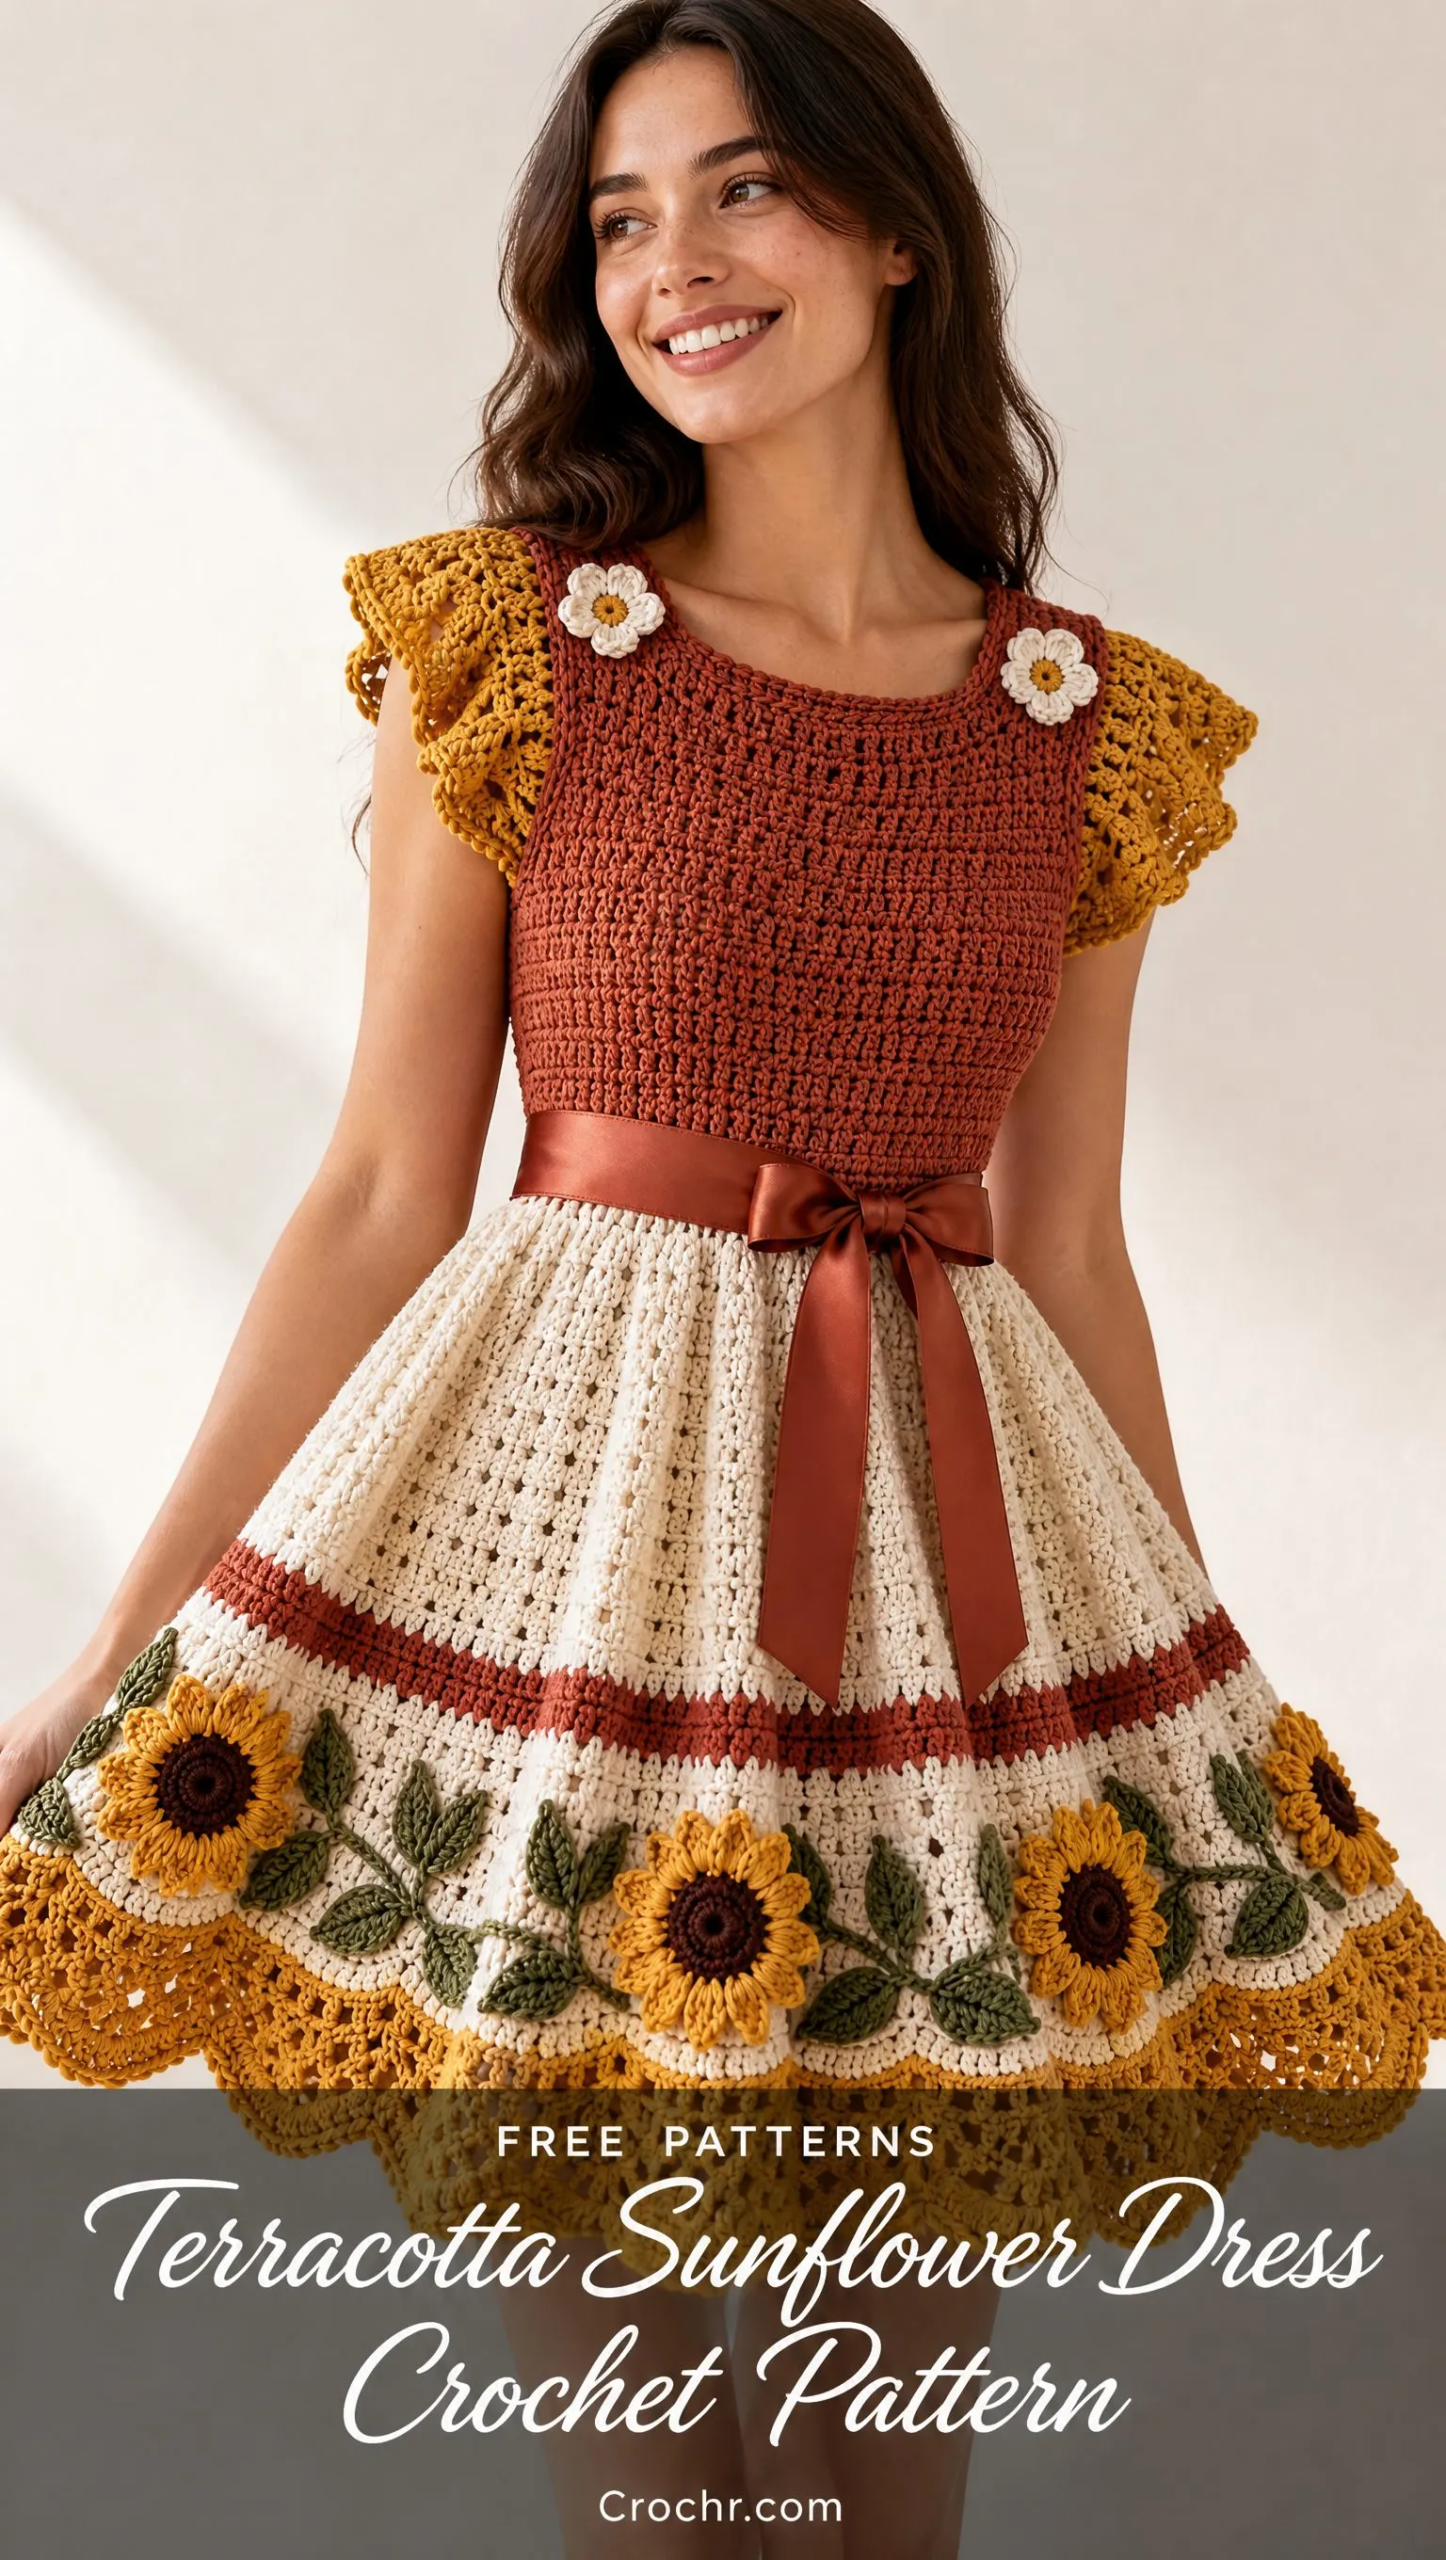
I know garment construction can feel intimidating. But trust me when I say this dress breaks down into totally manageable pieces. The bodice is just two flat panels. The skirt works in the round. The sleeves are simple ruffles. And those stunning sunflowers? They are worked separately and sewn on at the end.
The finished dress fits approximately ages 2 to 3 years with a 56 cm (22 inch) finished chest and measures about 46 to 49 cm from shoulder to hem. It is occasion clothing at its finest, perfect for birthday parties, family photos, or any special celebration where your little one deserves to shine.
Materials You Will Need
Before you start, gather everything so you can work uninterrupted. Here is what the pattern calls for:
Yarn: Sport or fine weight cotton, approximately 125 meters per 50 grams. You will need roughly:
Total yarn needed is approximately 1,050 meters before small contrasts. Combine allowances when colors repeat.
Hooks:
Adjust your garment hook size to achieve gauge.
Notions:
Gauge
Getting gauge right is essential for this dress to fit properly.
Blocked gauge: 20 double crochet (dc) stitches and 12 rows equals 10 x 10 cm.
To make your gauge swatch, chain (ch) 32. Work a dc in the 3rd ch from hook and in each remaining chain. You will have 30 dc. Work 18 rows total. Wash and dry the swatch as you plan to care for the finished garment, then measure the central 20 dc and 12 rows.
Change your hook size and re-swatch until both dimensions match. This step is not optional for garments!
Abbreviations and Terminology
This pattern uses US crochet terminology throughout. Here are all the abbreviations you will encounter:
Important counting rule: Turning ch 1 or ch 2 does NOT count as a stitch anywhere in this pattern. Join rounds to the first actual stitch. Mark that stitch and count every shaping row.
Skill Level
This pattern is rated intermediate to advanced. You should be comfortable with garment assembly, lace edging, small shaped motifs, and detailed applique work.
The skirt is worked downward from a two-panel bodice, and the back has a center opening with snap closures. If you have made baby clothes or worked lace borders before, you are ready for this project.
Front Bodice
The front bodice is worked flat in rows.
Rows 1 to 14:
With terracotta and 3.5 mm hook, ch 58.
Row 1: dc in 3rd ch from hook and each remaining ch. (56 dc) Turn.
Rows 2 to 14: ch 2, dc in every st. (56 dc) Turn after each row. Do not add a stitch into the turning chain.
Armhole Row 15:
Sl st in the first 4 stitches. Ch 2, dc in each of the next 48 stitches. Leave the final 4 stitches unworked. Turn. (48 dc)
The 4 unworked stitches on each side form a 2 cm underarm ledge.
Rows 16 to 20:
Ch 2, dc in all 48 stitches. Turn. (48 dc)
At gauge, the full panel is now about 16.7 cm tall. Place removable markers around the outermost 10 stitches at each edge. The central 28 stitches form the neckline opening.
First Shoulder, Rows 21 to 26:
Ch 2, dc in the first 10 stitches. Leave the remaining 38 stitches unworked and turn. (10 dc)
Work 5 further rows of 10 dc, turning each row. Fasten off with a sewing tail.
Second Shoulder, Rows 21 to 26:
With the same face of the panel toward you, attach yarn at the opposite outer edge of Row 20. Work toward the center: ch 2 and dc across only the outermost 10 stitches. Turn.
Work 5 further rows of 10 dc. Fasten off.
Both straps must have 6 rows above Row 20.
Checkpoint: Panel width below the armholes should be 28 cm. Width above the underarm ledges should be 24 cm. Shoulder width should be 5 cm each. Neckline gap should be 14 cm. Overall height should be approximately 21.7 cm.
Back Bodice and Seams
Rows 1 to 14:
Using terracotta, make a second panel exactly as Front Rows 1 to 14: 56 dc each row. Mark the center between stitches 28 and 29.
Left Half, Rows 15 to 23:
Row 15: sl st in first 4 sts, ch 2, dc in next 24 sts, stopping at the center marker. Leave the other half unworked. Turn. (24 dc)
Rows 16 to 23: ch 2, dc in each st. Turn. (24 dc) Fasten off.
Right Half, Rows 15 to 23:
Return to the unworked half of Row 14. Attach at the center marker and work toward the outer edge: ch 2, dc in the next 24 sts, leaving the final 4 sts unworked. Turn. (24 dc)
Work Rows 16 to 23 as for the left half. Fasten off. The center edges remain separate.
Back Shoulders, Rows 24 to 26:
On each half, attach yarn at the outer armhole edge of Row 23 and dc across the outermost 10 sts. Leave the inner 14 sts unworked. Turn.
Work 2 more rows of 10 dc. Fasten off.
The two 14 st inner gaps make a 28 st back neckline.
Joining the Bodice:
Block the panels to the target measurements. With right sides together, join each pair of 10 st shoulder tops using mattress stitch (align matching edges and pick up one small strand from each edge alternately with a tapestry needle, tightening gradually so the join lies flat).
Join side edges from the foundation edge through Row 14 only, matching rows carefully. Keep all upper edges open for armholes. Turn right side out.
The lower edge now has 56 foundation stitches on each panel, 112 total. The back slit begins above Row 14.
Skirt Construction
The skirt is worked in joined rounds from the bodice lower edge.
Round 1:
