

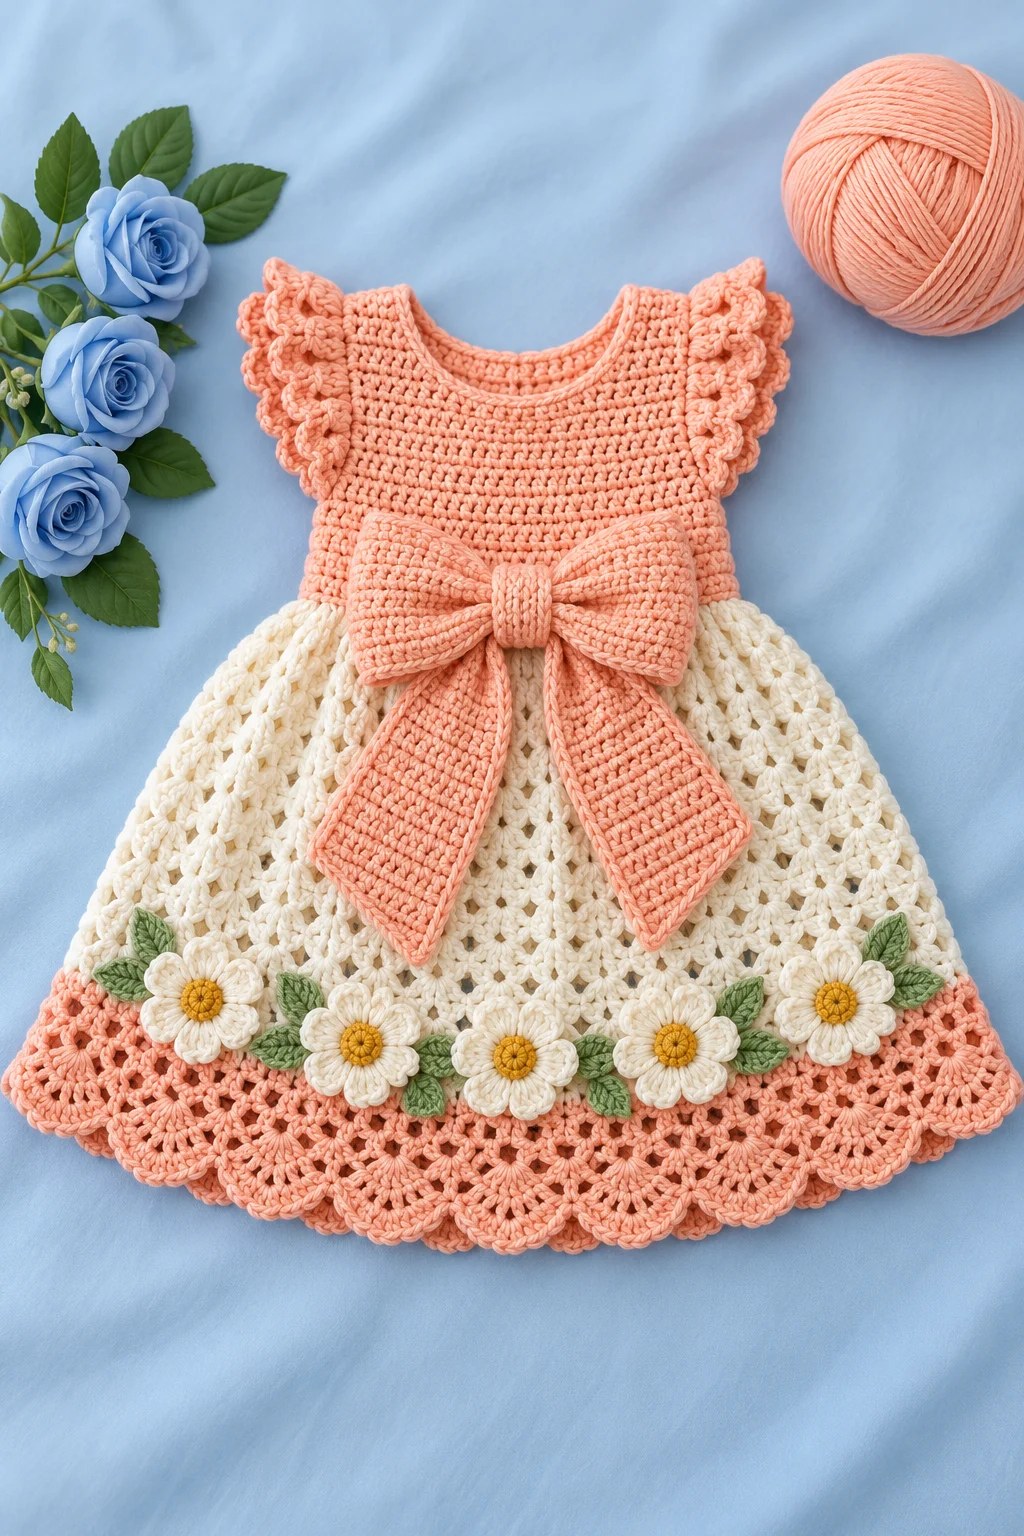
With peach yarn, work back Rows 1 through 6 exactly as for the front. At Row 7, reduce by leaving 3 stitches unworked at each end, giving 42 positions. Keep the upper back in solid double crochet.
Divide Upper Back: Work only the first 21 stitches for Row 7. Ch 2 and turn. Work 21 dc for Rows 8 through 12. Mark the armhole edge so it stays identifiable.
Rows 13 through 16: Work only the outer 11 stitches nearest that armhole, leaving the inner 10 stitches unworked for the back neckline. Join yarn again at the outer edge if needed so no yarn is carried across the neck. Fasten off.
Join yarn to the remaining 21 stitches of Row 6, omitting the outermost 3 stitches as on the first half. Work Rows 7 through 12 over these 21 stitches. Shape the other shoulder over its outer 11 stitches for Rows 13 through 16. This leaves a center back opening above the waist panel.
Assembly:
Place front and back with right sides together. Sew each 11 stitch shoulder seam using mattress stitch. Sew side seams from waist through the end of Row 6 only. Leave the stepped armholes open. Turn right side out.
Back Bands: With bodice color, work sc evenly down one slit edge and up the other, about 2 sc per dc row end. Add a second sc row to each band. Sew three snaps to the bands: one near top, one at middle, and one near bottom. Secure each snap through several stitches and check that the opening allows dressing without stretching the neck.
Section 03: Gathered Shell Skirt
With right side facing, join cream at the center back waist.
Round 1: Ch 1, sc in each unused foundation loop across both panels, 48 per panel. (96 sc) Join to first sc. Place a marker at the join.
Round 2:Ch 2. 32 times. Join. (32 V-stitches) The final two skipped stitches lead back to the first V-stitch.
Round 3: Sl st into first V center. Ch 2. Small shell in that space, then small shell in each remaining V center. Join. (32 small shells)
Rounds 4 and 5: Sl st to first shell center and work one small shell into each shell center. (32 shells each round) Do not work between shells.
Round 6: Work one large shell into each shell center. (32 large shells)
Rounds 7 through 18: Repeat Round 6. Check length instead of pulling the fabric to fit a row count. The target before border is approximately 18 cm below waist.
Rounds 19 through 21: Change to peach. Continue one large shell in each shell center. If needed, add or remove full shell rounds before this color change so the final skirt reaches about 22 cm.
Final Scallop Round: Work 7 dc into each shell center. Between adjacent shells, work 1 sc into the gap. Join and fasten off. (32 scallops)
Checkpoint: All skirt rounds have 32 repeats. If the join develops a hole, use the tail to close it gently. Block the skirt into an even flare without stretching the waist.
Section 04: Neckline, Sleeves, and Bow
Neckline:
With peach, work sc around the full neckline, using approximately 2 sc per dc row end and 1 sc per horizontal stitch. At each inner corner, work sc2tog across the corner to soften the stepped shape. Add a second sc round if needed. Stop if the edge begins to pucker.
Flutter Sleeves:
Join peach at underarm. Work sc evenly around armhole, approximately 2 sc per dc row end and 1 per horizontal stitch. Count and adjust by at most 2 stitches to obtain a multiple of 6. Mark the upper half of the opening, centered on the shoulder seam.
Over the marked upper half only, work . Repeat in groups of 6 to the end marker, then fasten off. Leave lower armhole in sc. Repeat identically on the other side.
Large Waist Bow:
With Color A, ch 31.
Row 1: Sc in second ch and across. (30 sc)
Rows 2 through 10: Ch 1, turn. Sc across.
Fold the rectangle lengthwise into two shallow pleats and bind the center.
Center Wrap: Ch 5, work 4 sc for 10 rows. Wrap around pleats and sew ends behind. Sew the whole back of bow firmly to center front waist.
Bow Tails (Make 2):
With Color A, ch 9. Work 8 sc for 14 rows.
Row 15: Sc2tog, sc in next 4, sc2tog. (6 sts)
Row 16: Sc2tog, sc in next 2, sc2tog. (4 sts)
Row 17: Sc2tog twice. (2 sts)
Row 18: Sc2tog. (1 st)
Fasten off. Sew each tail beneath the center wrap, angled outward. Tack its lower end to the skirt so it cannot hang loose.
Section 05: Decorative Motifs
Daisy:
With center color, make 6 sc into an adjustable ring. Pull closed and join. Change to petal color. In each sc work twice. (12 narrow loop petals) Secure every petal when sewing the daisy down. Use gold centers for daisies and brown for sunflowers.
Leaf:
Ch 8. Starting in second ch, work sc, hdc, dc, 2 dc in next ch, dc, hdc, 3 sc in last ch. Rotate. Along unused loops work hdc, dc, 2 dc in next ch, dc, hdc, sc. Join with sl st. Fasten off. Sew a contrasting line of stem stitch along its center.
Use the smaller 2.5 mm hook for appliqués. Leave long sewing tails, weave ends through several stitches, and attach the entire motif edge to the garment so loops and points do not lift.
Section 06: Placement and Finishing
Make five flowers. Place across the front lower skirt about 3 cm above the color change border. Space evenly from one side seam to the other. Add ten sage leaves between and around the flowers. Tack motifs without closing the skirt openings.
Color Details: Use cream petals with golden yellow embroidered centers and sage leaves.
Finishing:
Weave every yarn end in two directions for at least 5 cm. Gently soak according to the yarn label, press water out in a towel, pin the garment to the target dimensions, and let it dry flat. Do not stretch the neck or armholes.
Safety Note for Infant Wear:
Omit beads, buttons used only as decoration, loose cords, detachable ornaments, and wire. Embroider centers and sew appliqués securely. Use with supervision over suitable clothing. This decorative dress is not sleepwear.
Care: Follow the yarn label. A gentle cool hand wash and flat drying are the conservative default. Recheck seams, appliqués, and snaps after washing.
Tips for Success
For the bodice: Keep your tension consistent throughout. The solid double crochet fabric should feel sturdy but not stiff. If your fabric feels too loose, try going down a hook size.
For the skirt: The shell pattern grows quickly once you get into the rhythm. Count your shells at the end of each round to make sure you still have 32.
For the bow: Don’t skip tacking the tails to the skirt. Loose bow tails can be a safety concern and will also lose their shape over time.
For the flowers: The loop petals can feel fiddly at first. Work slowly and count your chains. Once you’ve made one daisy, the rest go much faster.
Final Thoughts
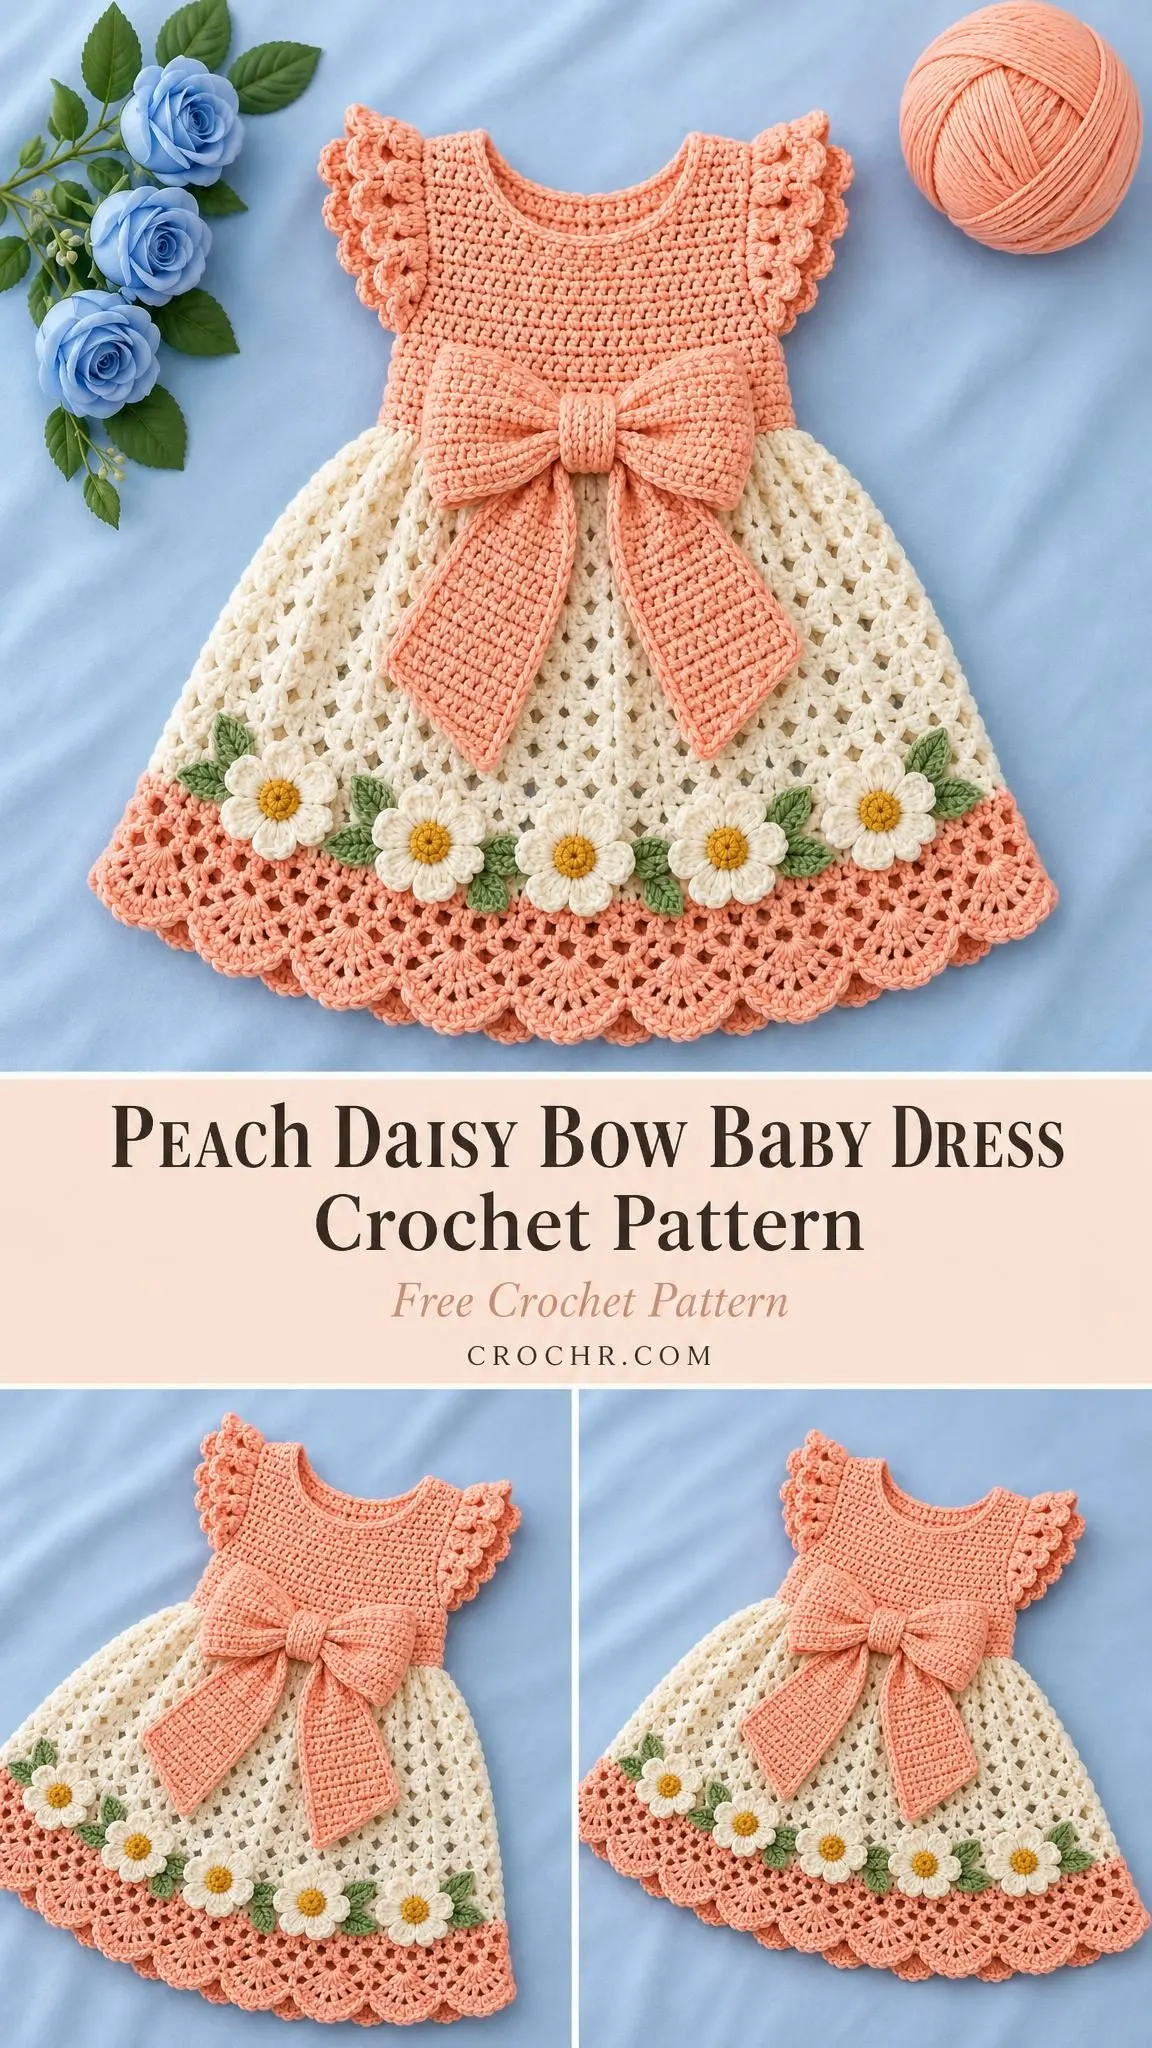
This Peach Daisy Bow Baby Dress is proof that stunning baby garments don’t require advanced skills. You’ve got this pattern broken down into bite sized sections, each one manageable on its own.
Take your time with the bodice shaping, enjoy the meditative rhythm of the shell skirt, and have fun embellishing with those sweet daisies. The result is a keepsake quality dress that looks far more complicated than it actually is to make.
Thank you so much for choosing this pattern for your next project. I truly hope you love making it as much as I loved designing it. If you make this dress, I’d absolutely love to see it! Share your photos on Instagram or in my Facebook group.
If you’re excited to make this little dress, go ahead and save this pattern to your Pinterest boards so you can find it when you’re ready to start. And please drop a comment below if you give it a try. I love hearing about your projects and seeing how you make each pattern your own!
You Might Also Like
- Cream Cable Knit Baby Onesie Set Free Crochet Pattern
- Rose Garden Butterfly Shawl Crochet Pattern
- Pink Frosted Cupcake Hooded Cape Free Crochet Pattern
- Blush Rose Curtain Tieback Crochet Pattern
CONTENT END 1
