

Round 25: Ch 1, hdc blo around. Join. You will have 50 sts.
Round 26: Ch 1, hdc blo around. Join. You will have 50 sts.
Round 27: Repeat Round 23. You will have 50 stitch positions.
Round 28: Repeat Round 24. You will have 50 hdc.
Round 29: Hdc blo around. Join. You will have 50 sts.
Round 30: Hdc blo around. Join. You will have 50 sts.
Round 31: Repeat Round 23. You will have 50 stitch positions.
Round 32: Repeat Round 24. You will have 50 hdc.
Round 33: Hdc blo around. Join. You will have 50 sts.
Round 34: Hdc blo around. Join. You will have 50 sts.
Round 35: Repeat Round 23. You will have 50 stitch positions.
Round 36: Repeat Round 24. You will have 50 hdc.
Fasten off, leaving a long tail for joining the sleeve to the body.
Finished sleeve measurements: Approximately 18 inches (46 cm) long, with a 12-inch (30 cm) cuff circumference and a 20-inch (51 cm) upper circumference.
Repeat the entire sleeve pattern for the second sleeve.
Part 4: Assemble the Body Panels
Lay the back panel flat with the right side facing upward. Place one front panel on each side, aligning their outer top corners with the corresponding corners of the back panel.
- Position the first front panel against the left side of the back panel.
- Position the second front panel against the right side.
- Match the top edges at the shoulder areas.
- Using the yarn needle and a mattress stitch, sew 13 stitches, approximately 5 inches (13 cm), from each outer shoulder edge inward.
- Leave the remaining neckline area open.
The front panels should hang down on either side of the open front. The center remains unjoined, giving the shrug its relaxed open-front design.
Next, align the side edges of the front and back panels. Starting at the lower hem, sew the first 6 inches (15 cm) upward on each side.
Leave the remaining upper 10 inches (25 cm) open on each side. These openings form the armholes.
Repeat the same side-seaming process on the opposite side.
Part 5: Attach the Sleeves
Turn the shrug inside out and place one sleeve inside an armhole, with the right sides facing each other.
Align the sleeve’s upper edge with the entire armhole opening. The sleeve has 50 stitches, corresponding to an approximate 20-inch (51 cm) circumference. The armhole is formed by the 10-inch (25 cm) unseamed edges of the front and back panels.
- Mark the sleeve into four equal sections using stitch markers.
- Divide the armhole into four approximately equal sections.
- Match the markers, adjusting the fabric gently so the sleeve sits evenly.
- Use a mattress stitch or whip stitch to sew the sleeve into the armhole.
- Check that the seam is smooth and that no section is gathered excessively.
- Repeat for the second sleeve.
Turn the garment right side out and check that both sleeves hang evenly. The upper sleeve should have enough room to create a relaxed, oversized appearance.
Part 6: Add the Front and Hem Edging
The edging gives the garment a more finished appearance while maintaining its soft texture.
Attach the yarn at the lower front corner of one front panel.
Edging Round 1: Ch 1, work sc evenly along the front edge, around the neckline opening, down the opposite front edge, and across the lower hem. Place approximately one sc in each stitch along horizontal edges and two sc for every three rows along vertical edges. Adjust slightly where needed to keep the fabric flat. Join with a sl st to the first sc.
Edging Round 2: Ch 1, sc in each stitch around. Join with a sl st to the first sc.
Fasten off and weave in the yarn ends.
For a more pronounced finish, work one additional round of sc around the opening and lower hem.
Part 7: Finish the Sleeve Cuffs
To create a neat cuff, attach yarn to the bottom edge of a sleeve.
Cuff Round 1: Ch 1, sc in each stitch around. Join with a sl st to the first sc. You will have 30 sts.
Cuff Round 2: Ch 1, hdc blo in each stitch around. Join. You will have 30 sts.
Cuff Round 3: Repeat Round 2. Join and fasten off.
Repeat the cuff edging on the second sleeve.
The finished cuff should sit comfortably around the wrist without feeling restrictive.
Final Finishing Instructions
- Check all shoulder and side seams for loose sections.
- Secure any remaining yarn ends with a yarn needle.
- Trim excess yarn after weaving in each end.
- Lay the garment flat and gently arrange the sleeves.
- Steam or wet block according to the yarn care instructions.
- Allow the shrug to dry completely before wearing.
Blocking helps even out the openwork sections and gives the garment a more polished shape.
How to Customize Your Crochet Shrug Size
The pattern is written for an oversized S/M base size, but the dimensions can be adjusted to create a smaller or roomier garment. Before changing the stitch counts, measure the wearer and compare those measurements with the finished garment dimensions.
Adjusting the Body Width
The back panel is 22 inches (56 cm) wide, while the two front panels add approximately 17.6 inches (45 cm) to the overall body width.
- For a smaller fit, reduce the back panel width by approximately 2 inches (5 cm).
- For a larger fit, add approximately 2 to 4 inches (5 to 10 cm) to the back panel.
- Adjust both front panels equally to maintain a balanced appearance.
For the mesh pattern, use an even stitch count so the chain-space repeat remains consistent. Add or remove stitches in multiples of two when adjusting the front panels and back panel.
Adjusting the Body Length
The base pattern has a body length of approximately 16 inches (41 cm). To create a longer shrug, add complete six-row pattern repeats to the body panels.
Each additional six-row repeat adds approximately 3 inches (7.5 cm) at the recommended row gauge. Add the same number of rows to the back and both front panels.
Adjusting the Sleeve Length
The sleeves are approximately 18 inches (46 cm) long. To create shorter sleeves, remove some of the straight rounds after Round 20. To make longer sleeves, add additional straight rounds before completing the final mesh sections.
For a three-quarter sleeve, try reducing the sleeve length by approximately 3 inches (7.5 cm). For a more dramatic oversized sleeve, add 2 to 4 inches (5 to 10 cm).
Adjusting Sleeve Circumference
The sleeve begins with 30 stitches and increases gradually to 50 stitches. For a tighter cuff, reduce the starting chain and maintain an even stitch count. For a roomier sleeve, increase the starting circumference and add evenly spaced increases.
Remember that the finished sleeve opening must match the armhole perimeter. If you change the sleeve circumference, adjust the body armhole depth or sleeve construction accordingly.
Crochet Insight: Getting the Right Fit
Measure the upper arm, wrist, shoulder width, and desired back length before changing the pattern. Compare the finished measurements rather than relying only on clothing sizes. A little extra ease is particularly important for this relaxed crochet shrug because the sleeves are intentionally oversized.
Common Crochet Shrug Mistakes and How to Fix Them
Even a relatively straightforward crochet garment can present a few challenges. Checking your work as you go makes assembly easier and helps prevent problems that are difficult to correct later.
Uneven Body Panels
If the back or front panels become wider or narrower as you work, you may accidentally add or skip stitches at the edges.
Solution: Count your stitches at the end of every row. Use stitch markers at the first and last stitch to make the edges easier to identify.
Mesh Rows Look Uneven
Openwork sections can become inconsistent if chain spaces are too tight or if stitches are accidentally worked into the wrong locations.
Solution: Keep your chain tension relaxed and work each double crochet into the correct stitch. On the next row, place one half double crochet in every chain space and every double crochet.
Sleeves Do Not Match
Different stitch counts or tension can make one sleeve wider or longer than the other.
Solution: Count the rounds and compare the measurements of both sleeves before attaching them. Use the same hook and yarn throughout.
Armhole Seams Pucker
Puckering usually happens when the sleeve opening and body armhole are not distributed evenly during assembly.
Solution: Divide both openings into four equal sections and match the markers before sewing. Redistribute the fabric gently rather than pulling the yarn tightly.
The Fabric Feels Too Stiff
Bulky yarn can produce a heavy fabric if the hook is too small or the stitches are too tight.
Solution: Make another gauge swatch with a larger hook. Choose a yarn with a softer drape if the finished fabric still feels rigid.
The Front Edges Curl
Uneven tension along the open front can cause the edges to curl inward or outward.
Solution: Work the edging evenly and avoid pulling the yarn too tightly. Gentle blocking can help the front edges settle into a smoother shape.
Blocking, Finishing, and Caring for Your Handmade Shrug
Finishing is an important part of creating a polished crochet garment. It helps the body panels sit evenly, opens the mesh sections, and improves the overall appearance of the sleeves.
How to Block the Crochet Shrug
First, check the care instructions for your chosen yarn. Different fibers respond differently to water and heat.
- Lay the shrug flat on a clean blocking surface.
- Gently arrange the body panels to their intended measurements.
- Shape the sleeves evenly without stretching the cuffs excessively.
- Use rust-resistant pins if the fiber and blocking method allow.
- Open the mesh sections gently with your fingers.
- Allow the garment to dry completely before removing the pins.
For acrylic yarn, use gentle shaping and avoid applying excessive heat. Wool and cotton blends may respond well to gentle wet blocking, depending on the yarn manufacturer’s recommendations.
How to Wash and Store Your Shrug
- Follow the yarn label’s washing instructions.
- Use a gentle detergent suitable for the fiber.
- Avoid wringing or twisting the garment.
- Reshape the shrug while damp.
- Dry flat to prevent stretching.
- Store folded in a clean, dry space.
Because the sleeves are oversized and the fabric contains openwork sections, avoid hanging the garment for long periods. Its weight may gradually stretch the shoulders and sleeves.
Creative Ways to Customize Your Crochet Shrug
One of the best things about handmade crochet clothing is the freedom to personalize it. Small changes in yarn, color, length, and stitch placement can create a completely different look without changing the basic construction.
Choose a Different Yarn Color
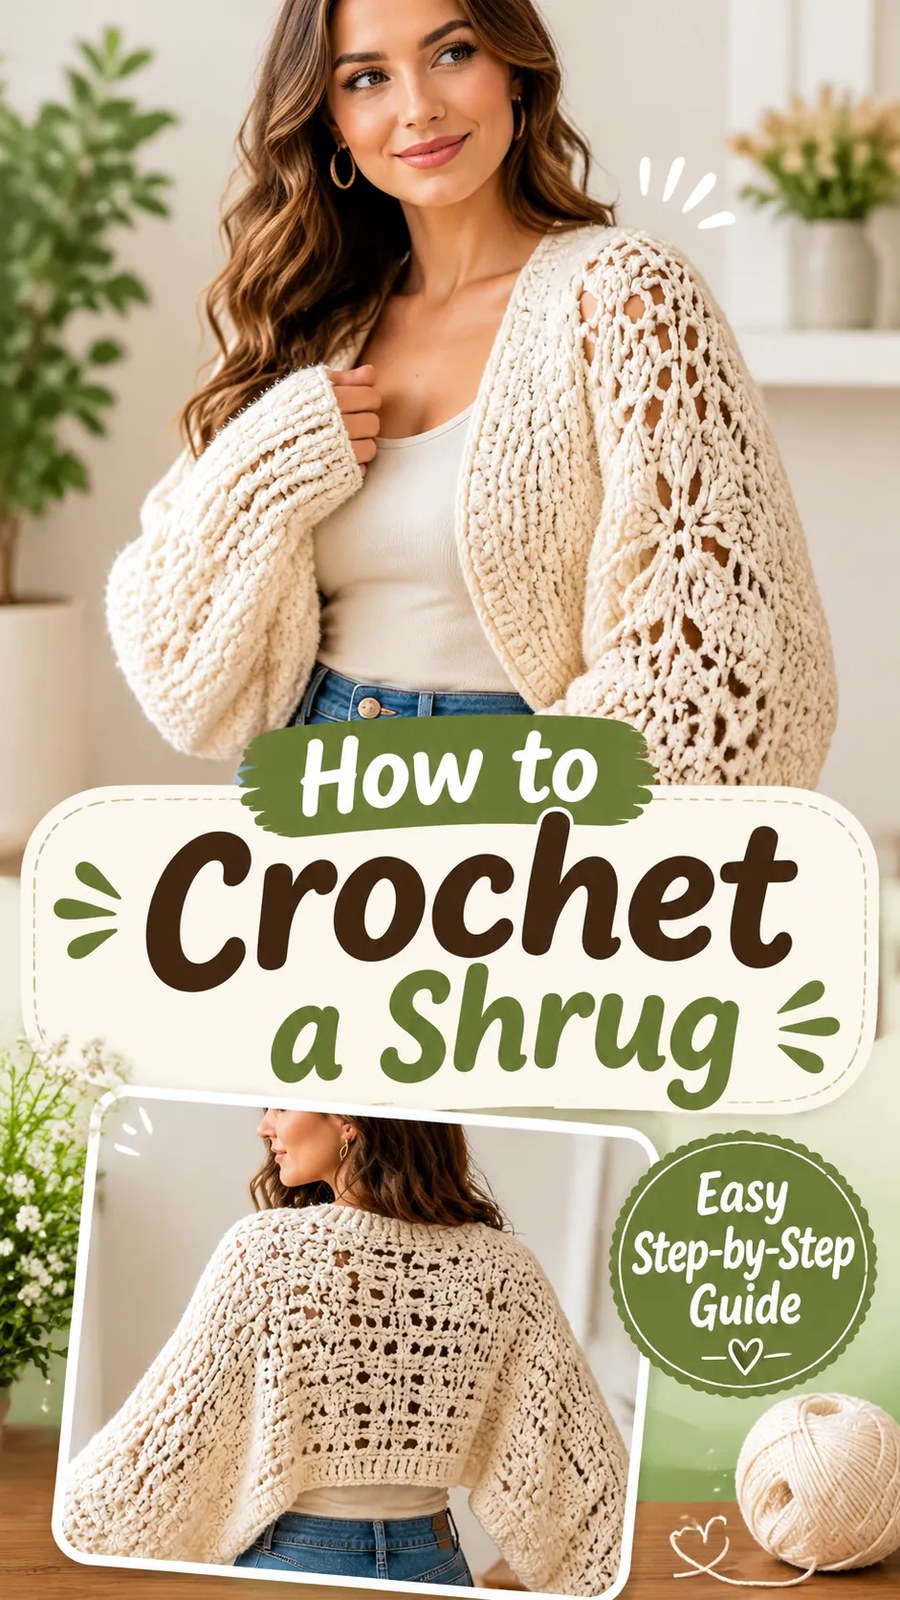
The ivory version has a soft, neutral appearance, but this design works beautifully in other colors. Try oatmeal, beige, dusty rose, sage green, warm gray, or soft lavender.
For a more dramatic style, choose a deep chocolate, burgundy, or charcoal shade. The raised stitches and openwork sections will remain visible while the overall mood becomes more contemporary.
Create a More Dramatic Sleeve
For extra volume, increase the upper sleeve circumference or add additional sleeve length. You can also use a slightly softer yarn to create a more fluid balloon effect.
Add More Openwork Details
Replace additional textured rows with mesh rows to create a lighter, more decorative fabric. Keep enough solid rows around the shoulder and underarm seams to maintain stability.
Experiment with the Length
A cropped shrug works well with dresses and high-waisted outfits. Adding several rows to the body creates a longer layering piece that provides more coverage.
At a Glance: Your Crochet Shrug Project
- Best yarn: Soft bulky-weight yarn with a flexible drape.
- Skill level: Advanced beginner to intermediate.
- Key techniques: Half double crochet, back-loop stitches, mesh crochet, and simple seaming.
- Size adjustment: Change body panel widths, row counts, and sleeve rounds while maintaining matching seam measurements.
- Finishing: Mattress-stitch assembly, simple single crochet edging, and gentle blocking.
Make Your Own Beautiful Crochet Shrug
This cozy crochet shrug pattern is a lovely way to create a handmade layering piece with plenty of texture and personality. Its oversized balloon sleeves, openwork details, and relaxed silhouette make it a versatile addition to a handmade wardrobe.
Choose a soft yarn in your favorite color, make a gauge swatch, and take time to read through the complete pattern before beginning. Pay particular attention to the body measurements and sleeve construction so that all the pieces fit together comfortably.
Whether you prefer a classic ivory shrug, a soft pastel version, or a bold seasonal color, this design gives you plenty of room to experiment. Personalize the length, adjust the sleeve volume, or add extra lace-inspired rows to create a garment that reflects your own style.
Gather your yarn and crochet hook, follow the instructions step by step, and enjoy creating a beautiful handmade shrug that you can wear over your favorite outfits throughout the year!
Tags
Crochet Shrug Pattern
Easy Crochet Shrug
Crochet Cardigan
Boho Crochet
Crochet Balloon Sleeves
Openwork Crochet
Handmade Crochet Clothing
Oversized Crochet Shrug
