

The source’s eleventh stage begins with three chains plus one height chain and works three singles back along that short chain. Join with a slip stitch at the extension base, as shown by the small projection on the base chart. This creates a short attachment feature rather than another enlarged round around the berry.
Keep that extension distinct from the five remaining circumference positions. The source calls the joining step part of its eleventh-round finish. No additional chain length, bead or long crocheted stem is given for this orange component.
Start Each Beige Leaf from Fifteen Chains
Chain fifteen in beige, then use the source’s one-chain height allowance for the first path. The leaf is worked around the foundation, creating two sides. There are four leaves in all, each following the same sequence before its support is joined to the orange base.
The chart shows the central chain line and the graded stitch heights around it. Keep the foundation identifiable while working the return side. Do not add an independent second leaf chain or replace the beige leaf with a conventional green oval from another pattern.
Work the First Leaf Path around Both Sides
Work three singles, three doubles, three trebles and three doubles. Continue with six singles around the far end, then three doubles, three trebles, three doubles and three singles on the return. The source writes thirty worked stitches in this continuous path.
The six-single section spans the end between the two taller side runs, rather than being labeled as six singles in one original. Preserve the around-the-foundation chart path and its thirty-stitch total. The graded double and treble sections create the elongated beige shape visible in the component photograph.
MD in the written line corresponds to the two-bar treble symbol in this leaf chart and the chapter legend. This guide uses US treble crochet for that stitch. Do not silently replace it with half double crochet, which would shorten the tall central areas on both sides.
Add the Wired Second Path and Short Tip
Work the next path while incorporating wire. Work fifteen single crochets, then begin two chains plus one height chain and work two singles back along that small extension. Continue with fifteen singles around the other side of the leaf.
The thirty ordinary singles correspond to the thirty incoming stitches of the first path. The short two-single projection adds the pointed tip feature without changing the count of side anchors. Keep the support aligned with the edge while the stitches enclose it.
Make four leaves. The source does not provide an individual wire-cut length or a required wire loop diameter. Leave working support ends appropriate to the later twist while keeping those allowances distinct from a numerical source specification.
Leaf checkpoint: Four leaves share one pattern: thirty stitches around the first path, then fifteen singles on each side of the wired edge with a short two-single tip between them.
Prepare the Orange Base Support
Insert wire at the top of the base and twist it as instructed. The component photograph shows the orange piece with its short crochet extension and support arranged among the separate beige leaves. Use that actual image to follow the connection rather than inferring an unlisted support from the finished view alone.
The source supplies a 0.6 mm wire diameter but no exact insertion depth or cut length. Keep the wire supported through the intended attachment area and retain the short crocheted extension. No added rigid rod or glued center bead belongs to this assembly.
Join the Base and Four Leaves
Bring the four wired leaves around the orange base and join their support ends by twisting. The source process photograph lays out two leaves above and two below the center before they are gathered. Their final overlap creates the opened-husk presentation.
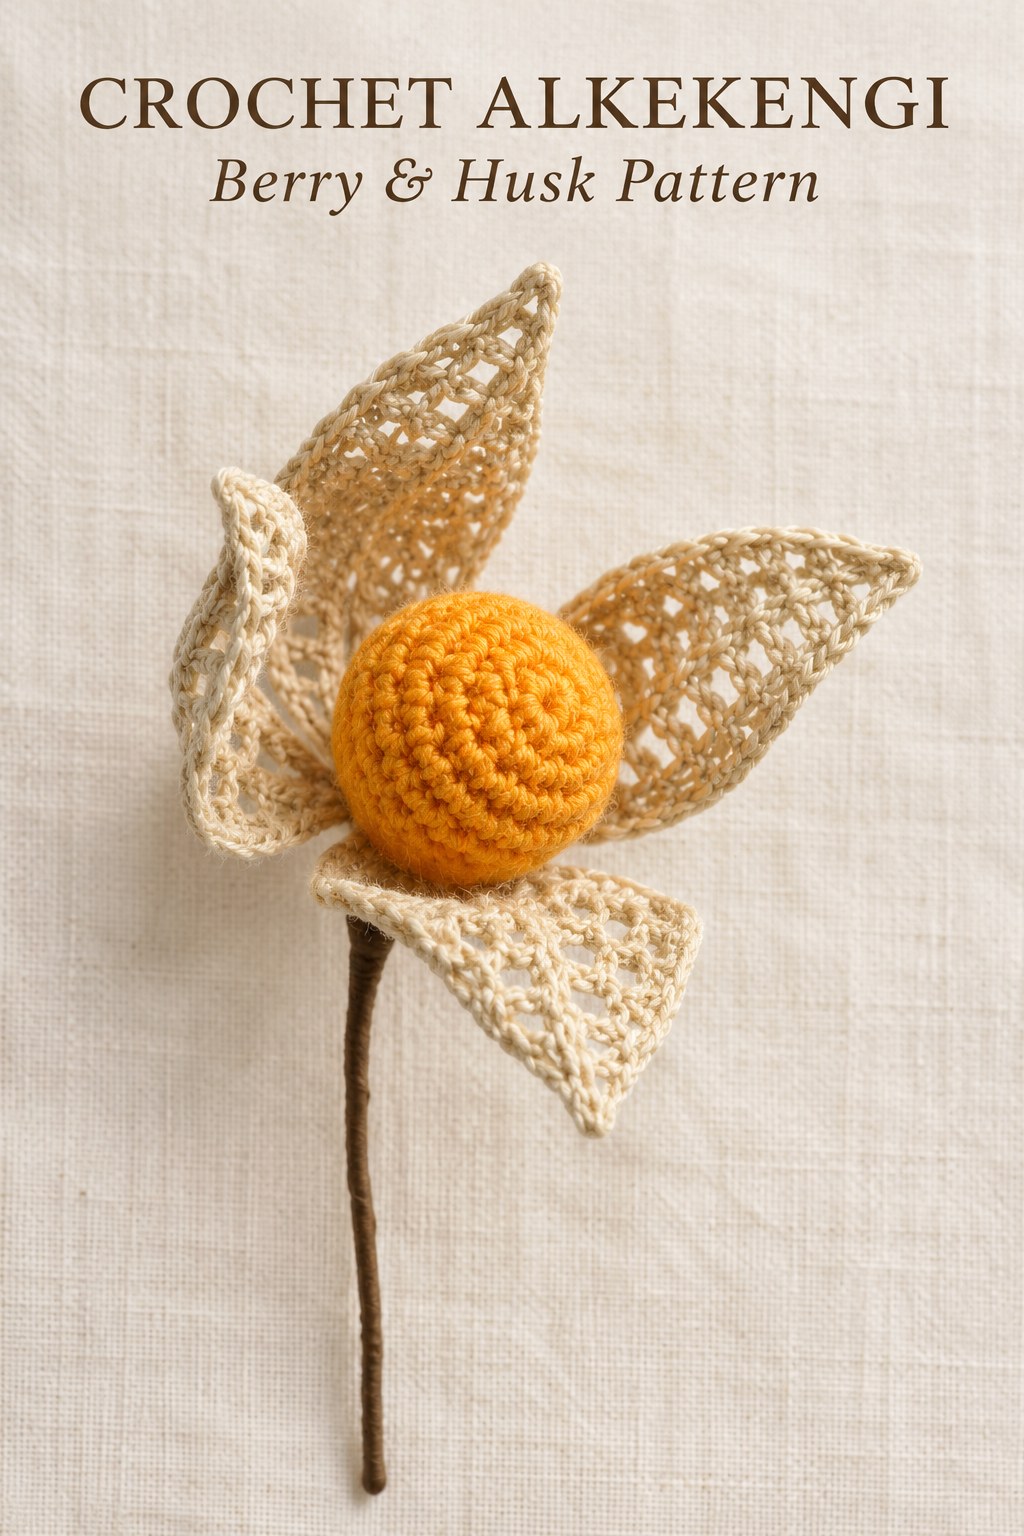
The completed photograph shows some leaves partly hidden behind the berry. Keep all four prepared components even if only three are prominent from one viewing angle. The source gives no measured spacing or mandatory opening angle, so assess the arrangement in your actual supported pieces.
Cover the Stem with Brown Floral Tape
Cover the combined supporting stem with brown floral tape. The source process panel shows the tape beside a wired beige component, while the written assembly line completes the support covering after joining the base and leaves.
No separate yarn wrapping, adhesive amount or washing-resistant finish is specified. Keep the tape on the supporting stem and the beige crochet surfaces visible around the orange center. The final arrangement is a supported decorative motif rather than a soft unstructured ball with loose leaves.
Keep Variations Separate from the Source
Beige and light orange reproduce the written color palette. A more saturated orange or another husk shade would be a personal variation, not an additional printed option. Keep the four-leaf count and the base’s complete shaping sequence when considering those color changes.
Changing cotton thickness may alter the finished proportions. The source supplies no gauge or measured berry diameter for calculating an exact scale conversion. Make and assess your own base and one leaf before preparing a larger group of ornaments, without presenting an unmeasured result as a source guarantee.
Troubleshoot the Base, Leaf Paths and Assembly
If the base fails to reach twenty, check the five increases in rounds two through four. If the plain section appears too wide, confirm that sixty describes three rounds of twenty. If narrowing leaves the wrong count, review the five skip-and-single groups instead of adding an unlisted decrease row.
If a leaf is too short in its middle, check the treble interpretation of MD and the three-stitch tall sections on both sides. If the wired edge runs out of anchors, compare its fifteen-plus-fifteen singles with the thirty-stitch first path. If the husk appears to have only three leaves, check for a fourth hidden behind the center before making extra components.
Source Credit and Care
This guide follows Alkekengi on PDF page 118 of the supplied 350 page 1 (1).pdf. Its illustrations include the finished ornament, both original charts, all prepared components and the actual support-covering photograph. The expanded explanations preserve the stuffing stage, short terminal extensions, four leaves and wire-twist assembly without claiming a physical crochet test.
Follow care guidance appropriate to the actual cotton, stuffing, wire and floral tape. No washing, blocking, stiffening or heat-treatment method is supplied. Support the taped stem when moving the decoration and protect the pointed beige crochet edges from unnecessary pulling or compression.
At a Glance
- Light-orange base: five to twenty, three plain rounds, then fifteen, ten and five.
- Add stuffing after the first narrowing round.
- Make four beige leaves with wired single-crochet edges.
- Twist the supports together and cover the stem with brown floral tape.
Finish Your Crochet Alkekengi
Check the base counts, stuffing point and four matching leaves before assembly. Keep the short extensions clear, arrange the beige husk around the orange center and finish the supporting stem neatly. Click the Pin to see the crochet Alkekengi pattern and illustrated guide, and save both charts and the component photograph before beginning.
Tags
Crochet AlkekengiCrochet BerryCrochet PatternWired LeavesCotton YarnHusk OrnamentCrochet Charts
