

Fasten off with 20 cm tails.
Skirt Panels (Make 6)
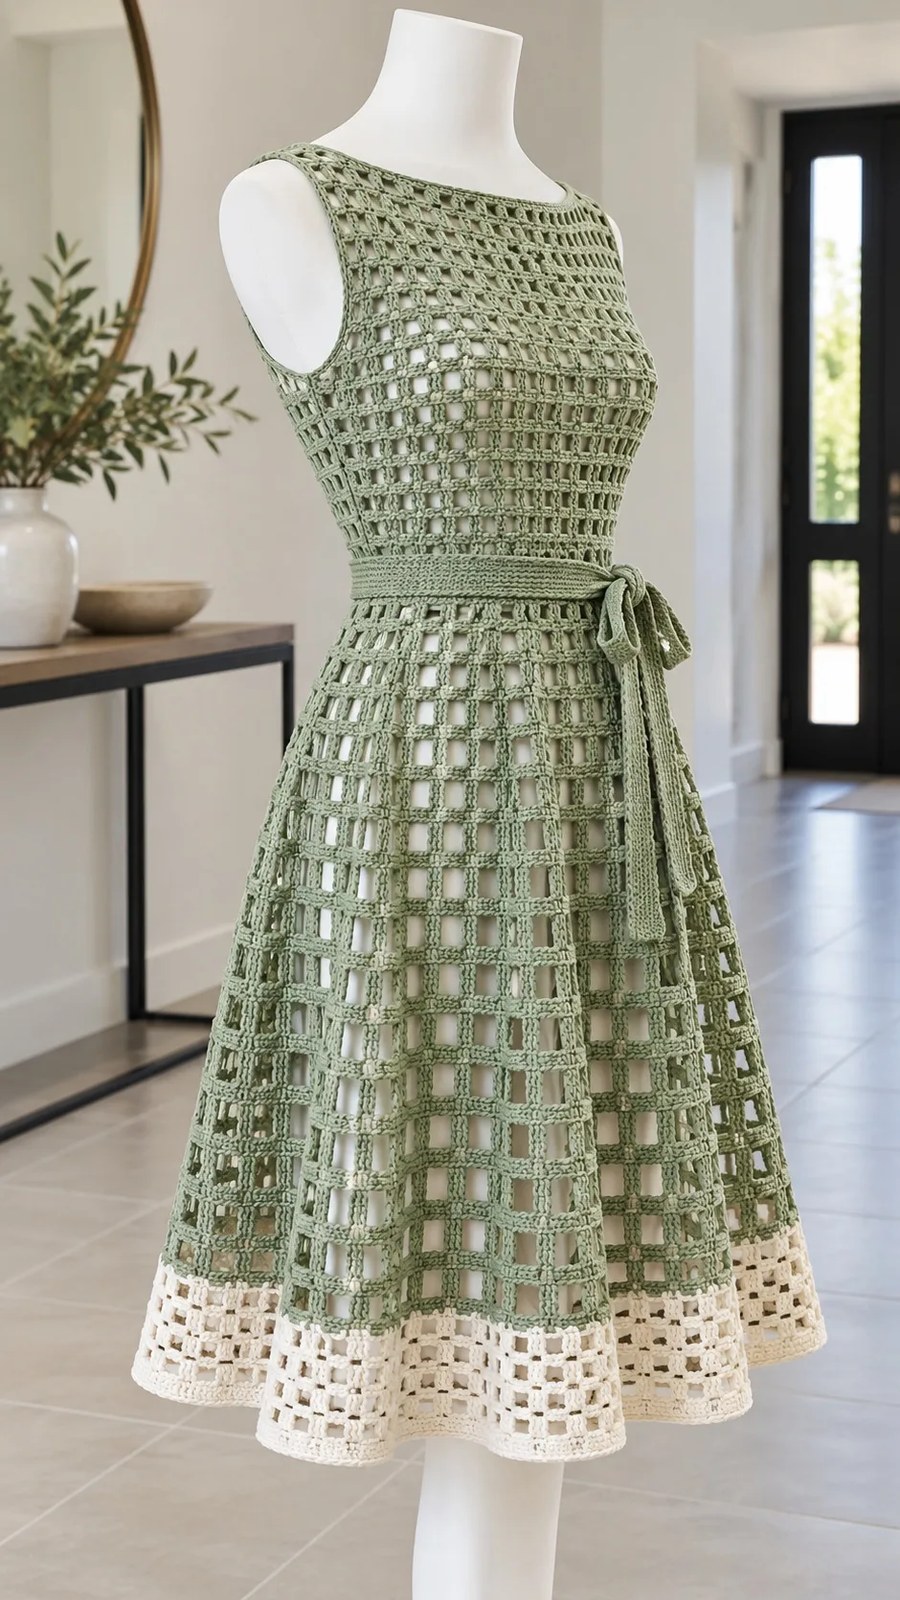
Work from waist downward. Start with N = 12. Each rectangular panel measures 30 cm wide. When assembled, the combined 180 cm top gathers to the 100 cm bodice waist, creating the A-line fullness.
Row 1: Work foundation row. Count: 12 lattice repeats.
Rows 2-56: Work next plain recipe row in sage. Count: 12 lattice repeats per row.
Rows 57-58: Change to ivory and work next plain recipe row. Count: 12 lattice repeats per row.
Checkpoint: Block all six panels to 58 cm length, within one row of tolerance. Width should be 30 cm.
Waist Tie Belt
With 3.0 mm hook and sage yarn:
Belt Row 1: Ch 8; sc in second chain and next 6 chains. Count: 7 sc.
Belt Row 2 and every following row: Ch 1, turn, sc BLO in each stitch. Count: 7 sc per row.
Continue until belt measures 160 cm. Record your row total since row gauge varies.
Checkpoint: Belt should measure 160 x approximately 3.5 cm. Do not stretch while measuring.
Assembly
Shoulders: Mattress-stitch corresponding outer shoulder edges, aligning 6 complete motifs on each seam. Count: 2 shoulder seams.
Armholes: Leave the top 20 cm of each front/back side edge unseamed. Count: 2 armholes.
Sides: Sew from waist to armhole on the right side. On the left side, leave the 40 cm zipper opening through the bodice and continuing into the skirt as needed. Count: 2 side seams, 1 zipper opening.
Skirt: Align equal row ends and mattress-stitch six panels into a ring, retaining the left-side zipper gap. Count: 6 panel joins.
Waist: Quarter-mark both bodice and skirt. Run two gathering threads through skirt foundation loops. Draw to 100 cm, matching quarter marks. Sew skirt to bodice waist. Sew stabilizing cotton tape inside the waist without stretching. Count: 1 continuous 100 cm waist join.
Zipper: Hand-baste then backstitch zipper tapes to the inside of the left opening. Keep teeth clear of crochet loops. Secure top and lower stops.
Checkpoint: Shoulders level, waist 100 cm before belt, armholes approximately 40 cm perimeter, zipper opens without catching.
Edgings and Details
Use accent color (ivory) and 3.0 mm hook for designated edges.
Neckline Border
Neck Round 1: Join at back neck; sc evenly around, approximately 2 sc per dc-row end and 1 sc per stitch. Adjust at steps to lie flat. At square inside corners, work sc2tog (pull up a loop in each of 2 stitches, yarn over and draw through all 3 loops) across the corner. Join with sl st. Record your stitch count as E.
Neck Round 2: Ch 1, sc in each sc, join. For square/boat neck, maintain E sc if flat.
Hem Border
Hem Round 1: Sc evenly along lower edge without drawing it in. For lattice work, place one sc per dc and one per chain. Do not count seam loops twice. Record count as H.
Hem Rounds 2-8: Ch 1, sc BLO in every sc; join. Count: H sc per round.
Armhole Border
Armhole Round 1: Sc evenly around each opening, using about 2 sc per row end; join. Record count as C for each opening.
Armhole Round 2: Sc in each sc for a plain edge. Count: C sc.
Checkpoint: Every border should lie flat with no puckering. Both armhole openings should match.
Finishing
Weave in all ends through at least 5 cm of solid stitches, reversing direction twice. Trim only after the first wash.
Soak the dress according to yarn label instructions. Lift supported, press between towels, and lay flat to finished measurements. Shape each element gently.
After fully dry, hang for 12 hours. Remeasure length and check that zipper, belt, and all details are secure.
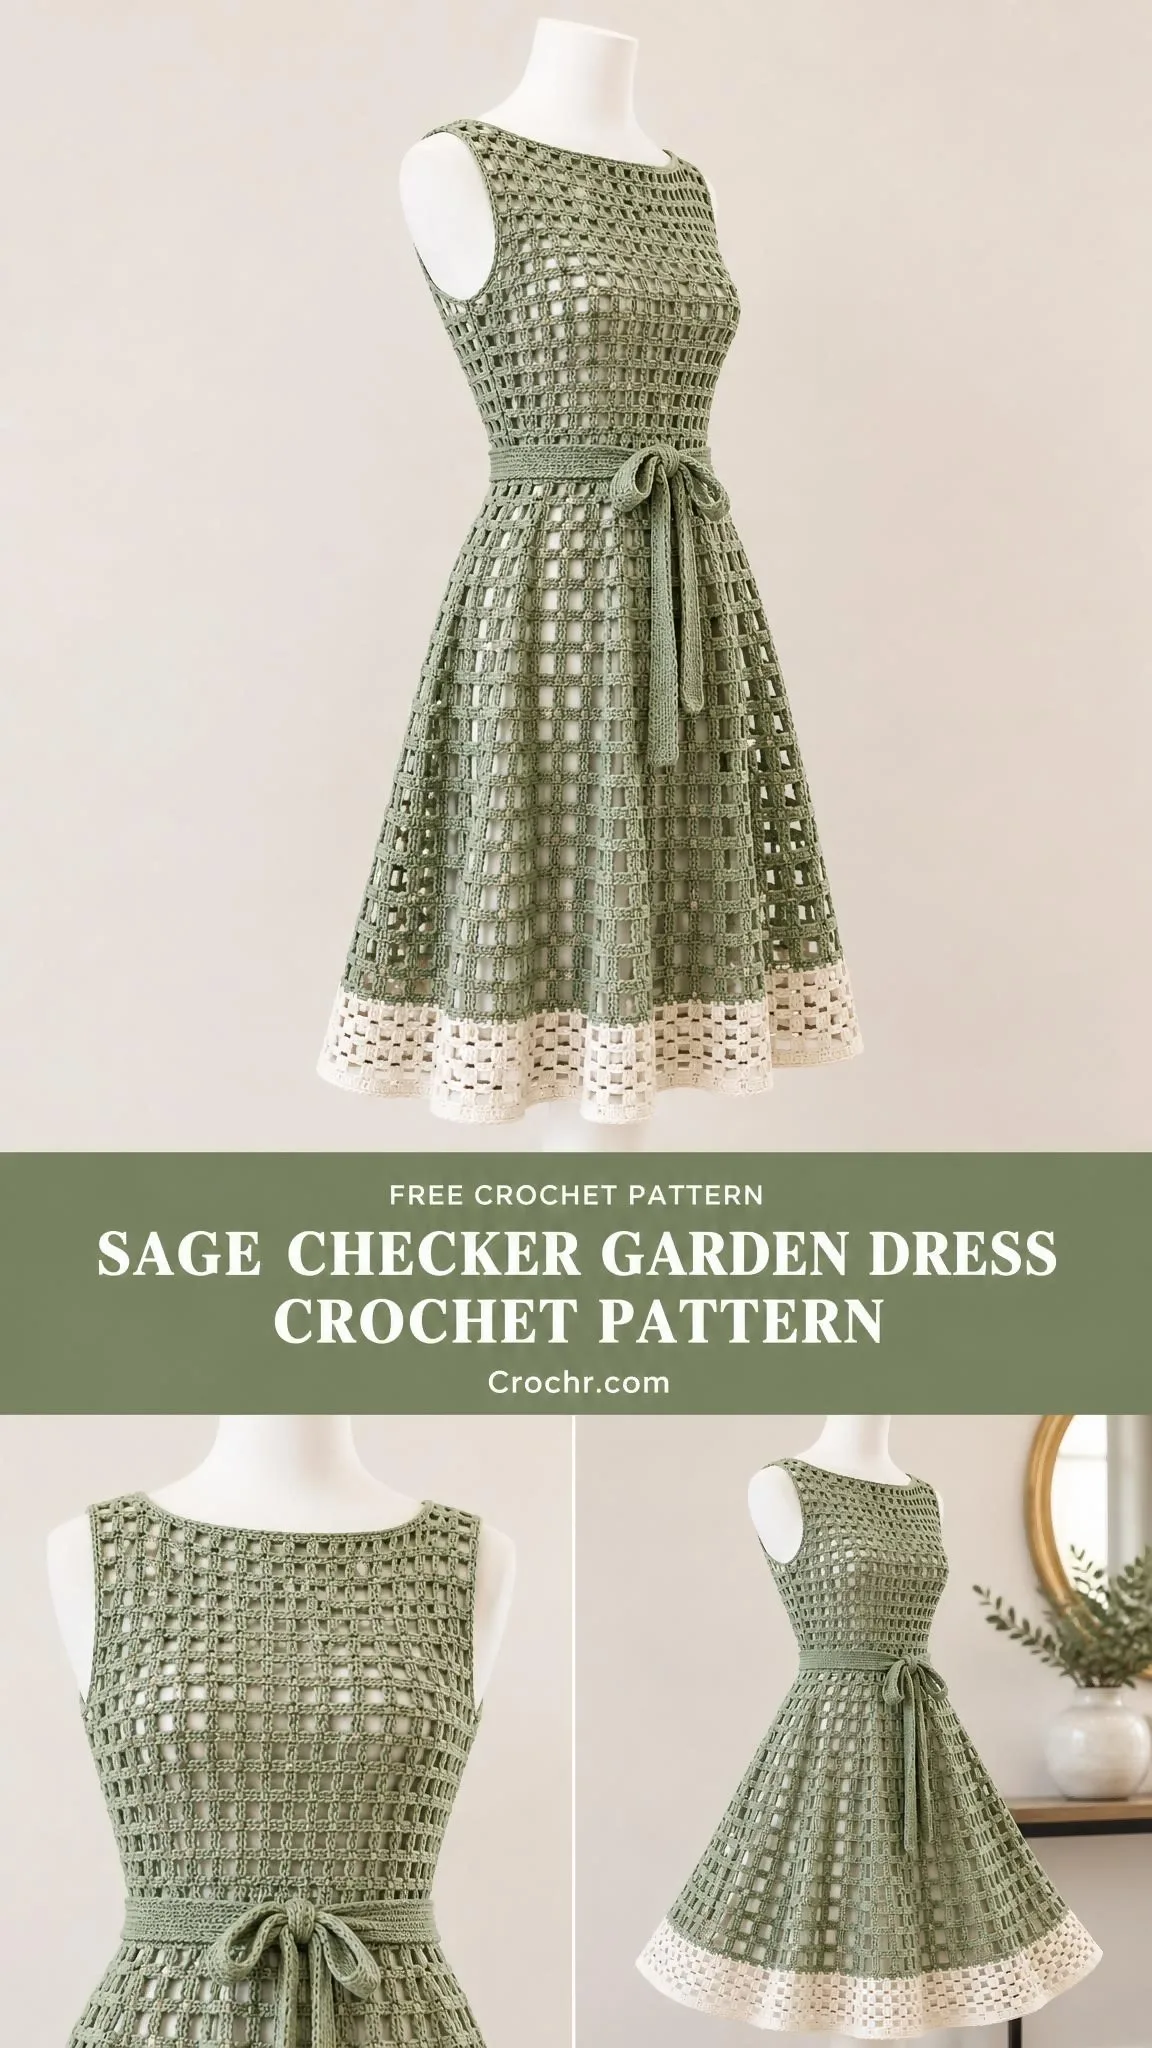
Final measurements: Bust approximately 100 cm, bodice 40 cm, skirt 58 cm plus border.
Cotton can grow in wear, so shorten only after the hanging check. Store folded, not suspended from shoulders.
Care Instructions
Follow the yarn care label. For cotton, cool gentle hand washing and flat drying are a conservative starting point. Test colors first. Support the full wet garment and avoid wringing. Openwork catches easily on jewelry and furniture, so wear carefully.
This is an adult garment. Use an opaque slip for coverage. Keep long belt ends clear of moving equipment. Check that the hem does not trip the wearer.
Tips for Success
Take your time with gauge. This is the single most important step. If your gauge is off, your dress will be too large or too small, and no amount of blocking will fix it.
Block as you go. Block your bodice panels before joining shoulders. Block skirt panels before assembling. This makes seaming much easier and ensures even measurements.
Use stitch markers generously. Mark the center of your neckline opening, mark where shoulder seams should align, mark quarter points for gathering the skirt.
Don’t skip the waist tape. That cotton tape inside the waist seam prevents the heavy skirt from stretching out the waistline over time.
Practice the zipper on scrap fabric first if you haven’t installed a zipper in crochet before. The key is keeping the zipper teeth clear of the crochet loops.
The rhythmic nature of the lattice stitch makes this a surprisingly meditative project once you get going. The rows build quickly, and watching those checker windows emerge is genuinely satisfying. Whether you’re making this for a special occasion or just because you deserve something beautiful, you’ll have a stunning handmade dress to show for your effort.
If you make this Sage Checker Garden Dress, save this pattern to your Pinterest boards so you can find it again easily. And please leave a comment below to share how it turned out. Seeing your finished dresses would be absolutely wonderful!
You Might Also Like
- Cream and Peach Ombre Baby Dress Free Crochet Pattern
- Blush Rose Curtain Tieback Crochet Pattern
- Charcoal Gray Everyday Socks Free Crochet Pattern
- Midnight Black Gothic Lace Choker Free Crochet Pattern
CONTENT END 1
