

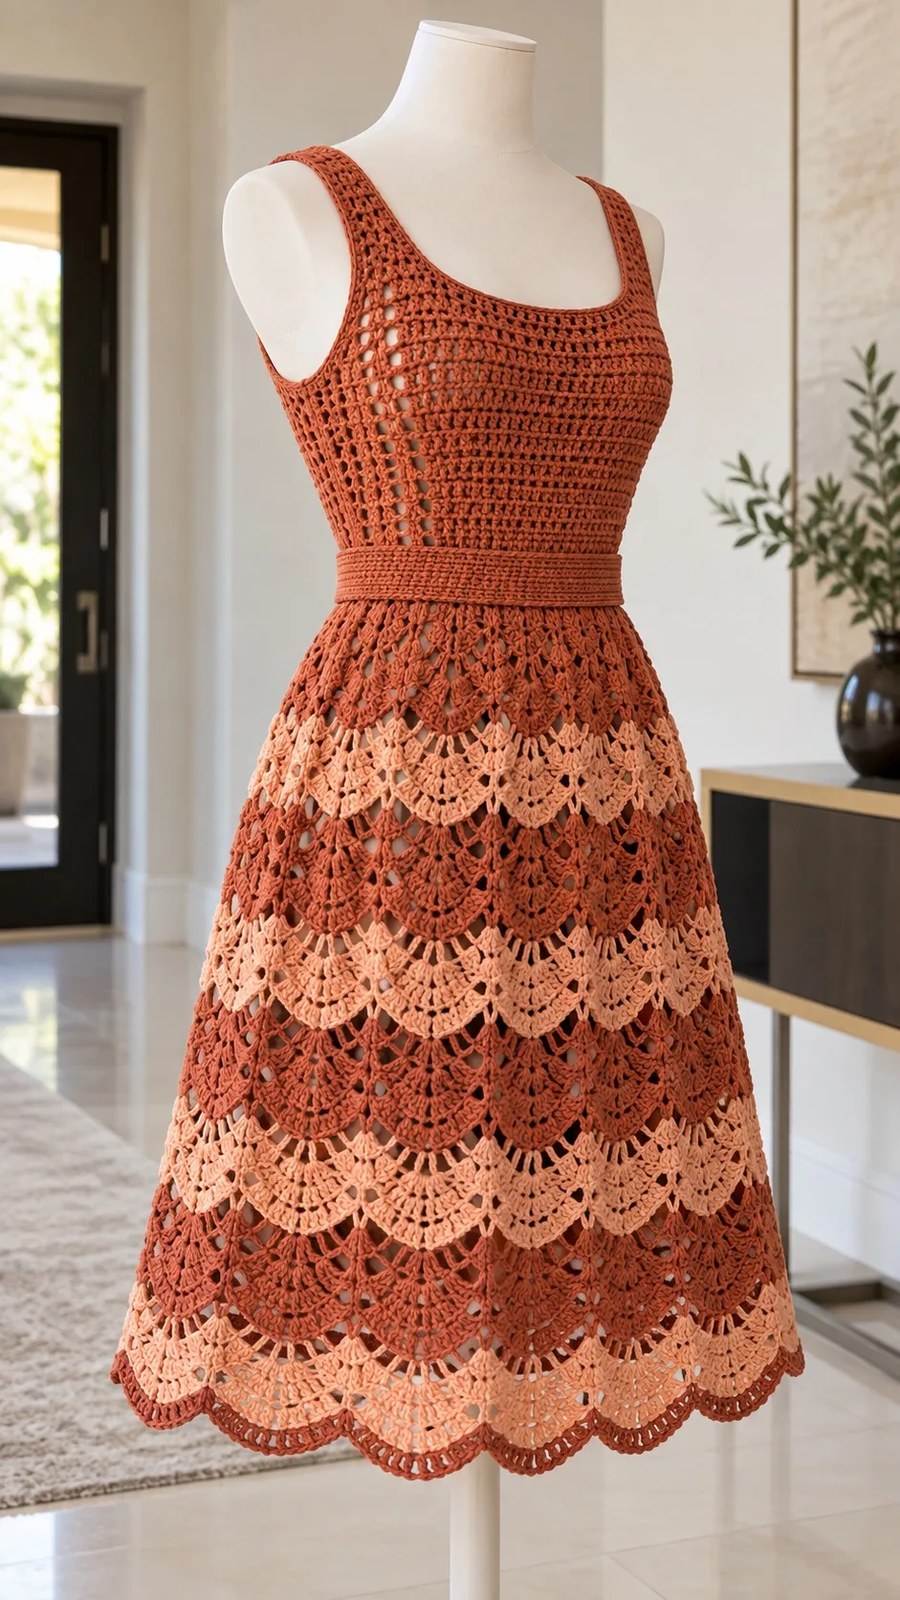
You know that feeling when you’re scrolling through your feed, and you see a dress that makes you stop mid-scroll? The kind that makes you think, “I need that in my closet immediately.” But then you realize you could actually make it yourself, in exactly the colors you want, sized to fit your body perfectly.
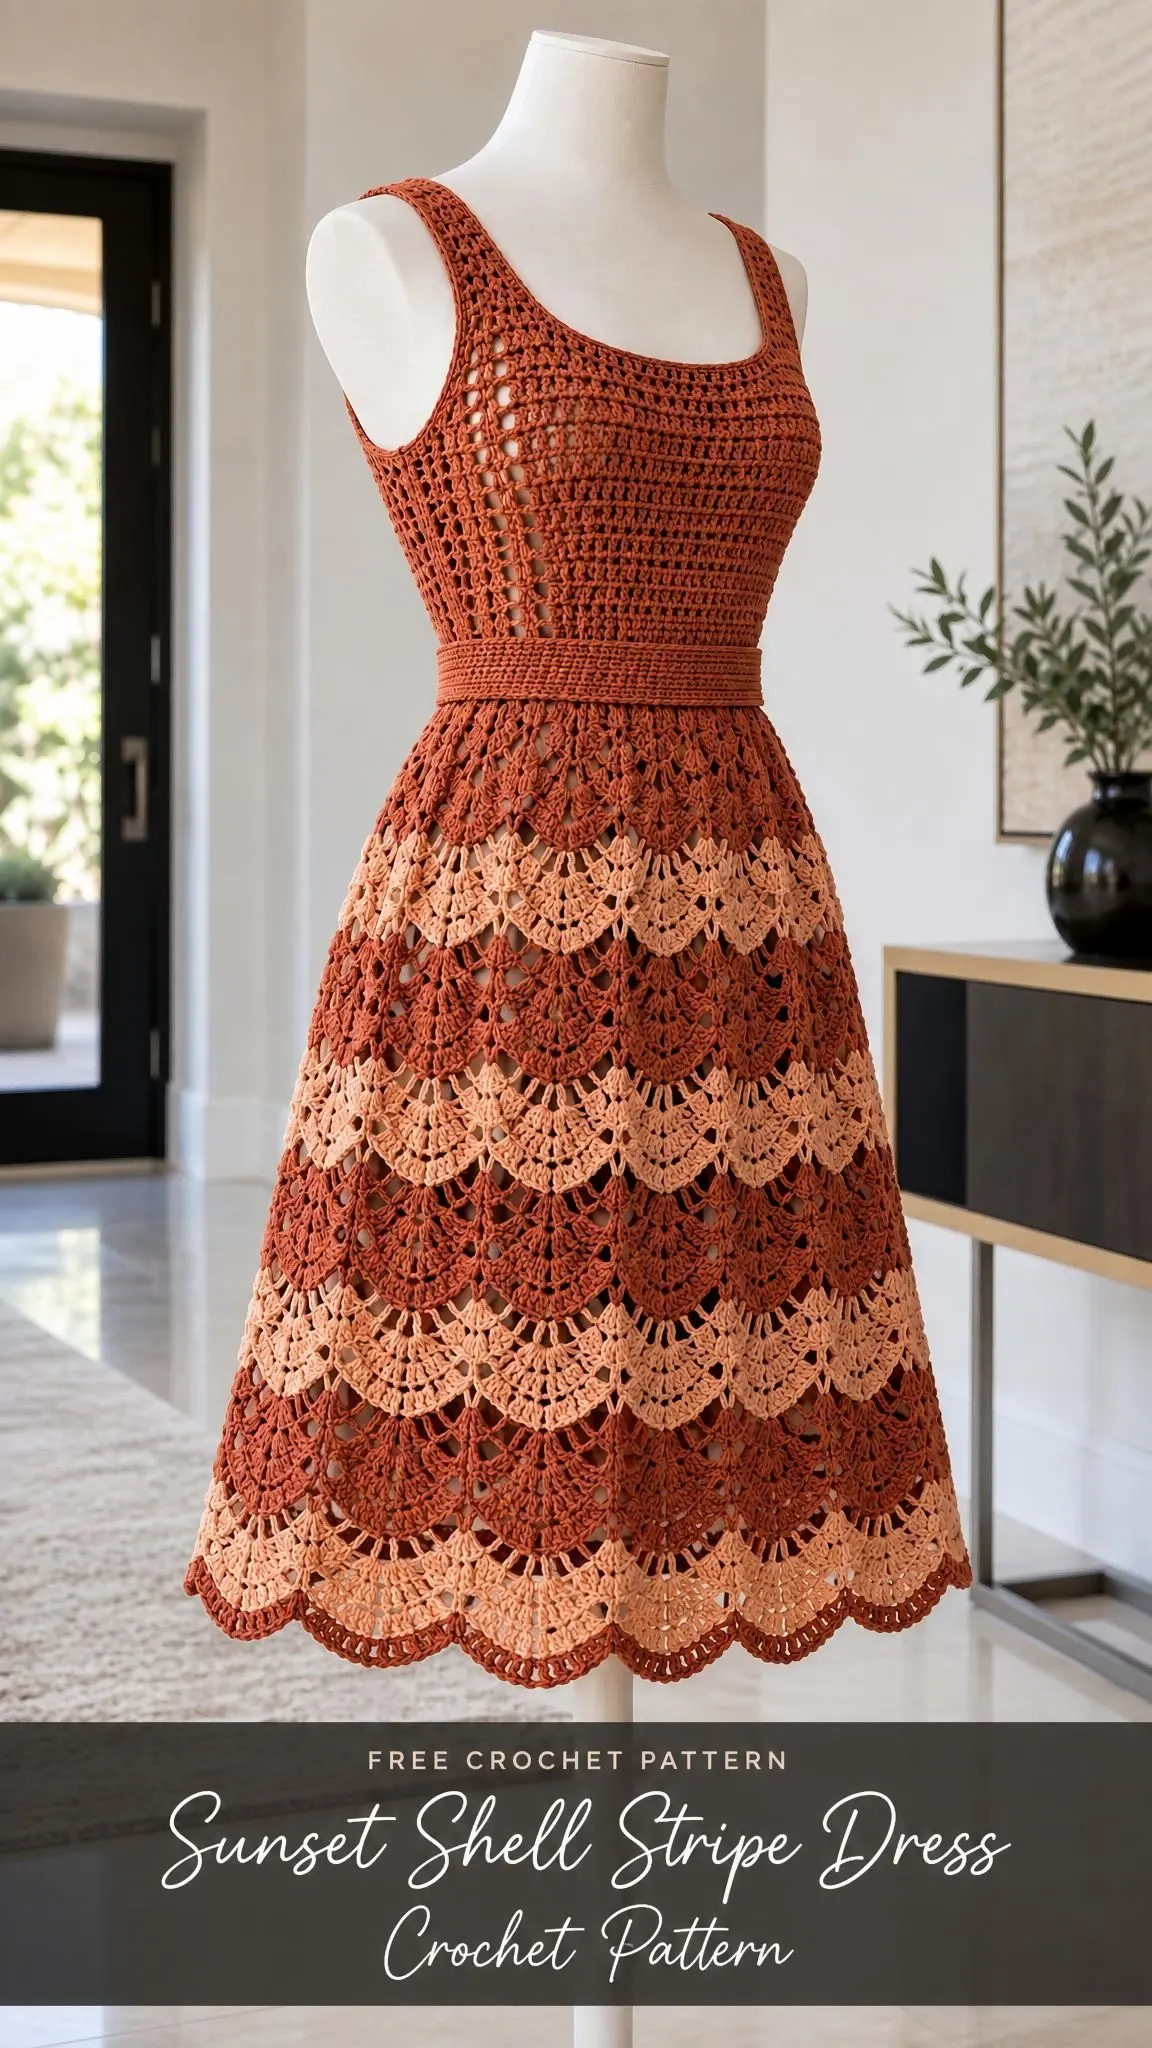
That’s what we’re working with here. This Sunset Shell Stripe Dress is the kind of project that looks like it belongs in a boutique window but comes together through straightforward stitches and clever construction. The alternating terracotta and peach stripes create that gorgeous sunset gradient effect, while the fan shell stitch gives the skirt beautiful movement and drape.
Fair warning: this is an intermediate to advanced project, and it’s not a quick weekend make. But if you’ve been wanting to level up your garment-making skills or you’re ready to tackle something truly show-stopping, this dress is absolutely worth the time investment.
What Makes This Dress Special
The Sunset Shell Stripe Dress features a fitted bodice with a scoop neckline, a sleeveless silhouette, and a knee-length skirt that flows beautifully thanks to the fan shell construction. The bodice and skirt are worked as flat panels and joined at the waist, which means you’re not working in the round for miles and miles. A solid terracotta belt cinches the waist and ties everything together.
The skirt’s magic comes from the two-row stripe pattern, alternating between terracotta and peach throughout. This creates those eye-catching horizontal bands that give the dress its sunset-inspired name. The shell stitch creates a scalloped, almost wave-like texture that catches the light beautifully.
This design is worked using a simplified stacked-fan interpretation, which is more accessible than some of the more sculpted shell patterns you might encounter. The pattern notes acknowledge that the finished piece may be less sculpted than the styling illustration, and that’s perfectly fine. You’re creating wearable art here, not replicating a photo exactly.
Materials You’ll Need
Before you dive in, gather everything so you’re not hunting for supplies mid-project.
Yarn
You’ll need smooth sport-weight cotton with approximately 300 meters per 100 grams.
- Main color (terracotta): 848 grams, which is about 2,544 meters
- Accent color (peach): 200 grams total, approximately 600 meters
The pattern includes a planning allowance, but you should confirm your actual yardage needs by weighing your gauge swatch. Use yarns of equal thickness for both colors to maintain consistent gauge throughout.
Hooks
- 3.5 mm hook for the main fabric
- 3.0 mm hook for firm borders and the belt
Adjust your hook size as needed to meet the blocked gauge. Your gauge swatch will tell you if you need to go up or down.
Notions and Extras
- Tapestry needle
- Removable stitch markers
- Tape measure
- Scissors
- Blocking mats
- Rust-resistant pins
- Sewing needle and matching thread
- 40 cm dress zipper for the side seam
- 1 meter of 10 mm cotton tape to stabilize the waist seam
- Optional: 6 mm sew-on pearls for layered flowers (omit if small parts are unsuitable for your situation)
Important: This is an openwork dress, so you’ll need a separate opaque slip for wearing underneath.
Gauge (Don’t Skip This)
I know, I know. Gauge swatches aren’t the exciting part. But for a garment like this, where fit actually matters, your swatch is everything.
Blocked main-stitch gauge: 3 fan repeats and 14 rows = 10 x 10 cm
One repeat is approximately 3.33 cm wide. Measure away from the edges for accuracy.
How to Make Your Swatch
Use the stitch recipe from Section 3 of the pattern with N = 6. Work at least 28 rows. Wet-block your swatch, dry it flat for 24 hours, then hang it for 12 hours to check for cotton growth. Measure the central 10 cm and recheck the length after hanging.
Keep your swatch for washing and colorfastness tests. This is especially important with the two-color design since you want to make sure your peach and terracotta play nicely together in the wash.
Border gauge: 20 single crochet (sc) and 24 sc rows = 10 cm. The belt width is governed by measurement rather than a specific stitch count.
Finished Measurements
This pattern provides one measured size, not a graded multi-size pattern.
- Finished bust: approximately 100 cm
- Intended body bust: 90-94 cm, with 6-10 cm of ease
- Untied waist: 100 cm, cinched with the belt to 80-90 cm
- Skirt length: 58 cm
- Bodice shoulder-to-waist: 40 cm
- Armhole perimeter: approximately 40 cm each
Before you start, compare these measurements to a well-fitting garment you already own. If you need larger size adjustments, you’ll need a new swatch and recalculated repeats.
Abbreviations and Special Stitches
Let’s break down the terminology so you know exactly what you’re doing at every step.
- ch = chain
- sc = single crochet (insert hook, yarn over, pull through, yarn over, pull through both loops)
- hdc = half double crochet
- dc = double crochet (yarn over, insert hook, yarn over, pull through, yarn over, pull through 2 loops, yarn over, pull through remaining 2 loops)
- tr = treble crochet
- sl st = slip stitch
- st(s) = stitch(es)
- sp = space
- RS/WS = right side/wrong side
- BLO = back loop only
- rep = repeat
- N = the number of horizontal motif repeats in a piece
The Fan Stitch
The fan is 5 double crochet (dc) stitches worked into one stitch or chain-5 arch. The fabric alternates between a fan row and a supporting arch row.
Note: The beginning chain 1 never counts as a stitch.
Foundation Row
Chain 6N+2.
Row 1:Single crochet (sc) in second chain from hook; N times.
Stitch count: N fans and N+1 sc; 6N+1 stitches total.
Row 2 (Arch Row)
Chain 1, turn, sc in first sc; N times.
Stitch count: N arches and N+1 sc.
Row 3 (Fan Row)
Chain 1, turn, sc in first sc; N times.
Stitch count: N fans and N+1 sc; 6N+1 stitches.
Repeat Rows 2-3 throughout the pattern.
Pattern Notes Before You Begin
Read the full instructions before starting. This saves you from surprises later.
- Work flat and turn after every row
- Mark Row 1 as the right side (RS)
- Count at every row end
- Check measurements after each 10 cm
- Fasten off with 20 cm tails (you’ll thank yourself during assembly)
- Seams consume only the edge loops
- Do not remove a motif merely to force a measurement. Correct gauge first.
Color Changes
Alternate two rows terracotta and two rows peach through the skirt. The bodice and belt remain solid terracotta.
Change color on the last yarn-over of the prior row. This gives you a clean color transition.
Neckline Shaping
For neckline shoulders, restart yarn at a complete motif boundary. Do not carry yarn across the neck gap. The neckline shaping is deliberately stepped and smoothed with the border later.
Construction Overview
Here’s the build order so you can see the big picture:
- Make and block the two bodice panels, then work the neckline shoulders
- Make six skirt panels
- Join shoulders
- Close side seams around the zipper opening
- Join skirt panels
- Distribute skirt fullness evenly into the bodice waist
- Add belt, borders, and decoration last
Step-by-Step Instructions
Back Bodice
With main color (terracotta) and 3.5 mm hook, start the foundation with N = 15. Work upward from the waist.
Row 1: Work foundation row. Count: 15 fan repeats.
Rows 2-52: Work the next plain recipe row. Count: 15 fan repeats per row.
