

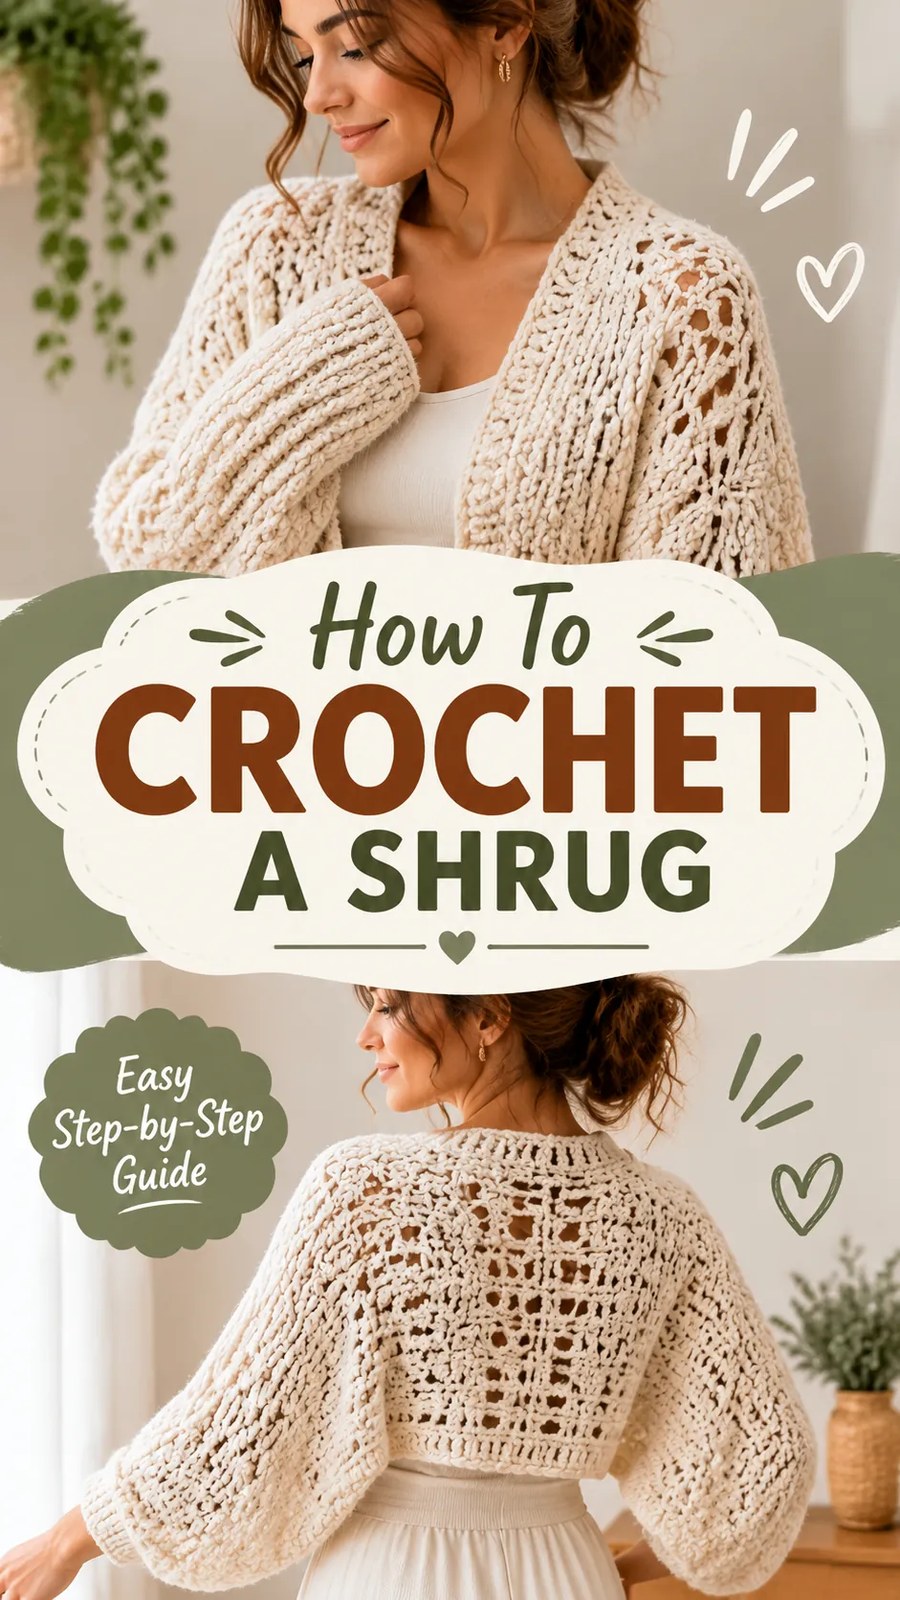
Create a beautiful, cozy layer for your handmade wardrobe with this oversized crochet shrug pattern. Featuring chunky textured stitches, delicate openwork details, relaxed balloon-style sleeves, and a comfortable cropped silhouette, this design combines warmth and effortless style. Its soft neutral color makes it easy to pair with dresses, tank tops, fitted shirts, and casual outfits.
This original crochet shrug pattern uses a simple back panel and two generously sized sleeves to create a wearable, relaxed garment. The combination of double crochet rows and open mesh stitches gives the fabric visual interest while keeping it flexible and comfortable. Whether you are looking for a new crochet clothing project or a handmade layering piece, this design is a lovely addition to your collection.
Key Takeaways
- A cozy, oversized crochet shrug with a cropped back and roomy sleeves.
- Suitable for adventurous beginners and intermediate crocheters.
- Combines double crochet, chain spaces, and simple mesh rows.
- Made with soft bulky yarn for a thick, textured appearance.
- Constructed from one back panel and two separately worked sleeves.
- Easy to customize with different colors, sleeve lengths, and edging.
Meet This Cozy Oversized Crochet Shrug
This crochet shrug is designed to be both comfortable and stylish. It has a relaxed, cropped body that sits around the upper waist, with generous sleeves that create a soft, flowing silhouette. The openwork texture adds a handmade lace-like appearance without making the garment overly delicate.
The suggested color is warm ivory or natural cream. These shades highlight the stitch definition and give the finished shrug a timeless, neutral look. However, the pattern works equally well in oatmeal, beige, soft gray, dusty rose, sage green, or other favorite colors.
The sleeves are intentionally roomy, allowing the fabric to drape around the arms instead of fitting tightly. A simple cuff helps bring the sleeve opening together, while the open stitches provide texture throughout the garment.
This is a versatile layering piece for transitional weather, cool summer evenings, autumn outfits, and relaxed indoor styling. Wear it over a fitted tank top or dress to create an attractive contrast between the oversized crochet fabric and a more fitted base layer.
Crochet Construction and Stitch Texture
How the Shrug Is Constructed
This original interpretation uses three main components: a rectangular back panel and two rectangular sleeve pieces. The back panel creates the cropped body, while the sleeves are folded lengthwise and seamed into tubes before being attached to the sides.
The back panel is worked flat in rows. Each sleeve is also worked flat, making the project easier to manage than a complicated garment constructed entirely in rounds.
The sleeve rectangles are slightly wider than the corresponding back-panel attachment edges. A small amount of ease is distributed during assembly to create a fuller sleeve shape. The lower sleeve openings receive simple ribbed cuffs for a neat finish.
Understanding the Stitch Pattern
The main fabric combines solid double crochet rows with open mesh rows. Double crochet stitches create thickness and structure, while chain spaces introduce small openings that make the fabric look lighter and more decorative.
For a similar textured appearance, use the following stitch combination:
- Double crochet: Creates the main fabric and gives the garment its cozy texture.
- Chain-one spaces: Add small openings and visual separation between stitches.
- Alternating rows: Balance the solid and open sections.
- Single crochet edging: Gives the finished edges a clean appearance.
- Back-loop-only single crochet: Creates a flexible ribbed cuff.
Suggested Yarn and Hook
A bulky category 5 yarn is a practical choice for recreating the thick, cozy appearance. Choose a soft acrylic blend, cotton-acrylic blend, or smooth wool blend depending on the season and desired drape.
A 6.5 mm (US K-10.5) crochet hook is the suggested starting size. You may need a different hook to achieve the recommended gauge, especially if your stitches tend to be tight or loose.
Pro Tip:
Avoid choosing yarn solely because it looks thick. A bulky yarn that feels soft and flexible will create a more comfortable shrug than a stiff yarn that makes the sleeves difficult to drape.
Free Crochet Pattern: Cozy Textured Shrug
Project description: This original oversized crochet shrug features a cropped rectangular back panel, two loose sleeves, alternating double crochet and mesh rows, and simple ribbed cuffs. The pattern is designed as a comfortable everyday layering garment.
Pattern Overview
| Skill Level | Adventurous beginner to intermediate |
| Finished Size | Approximately 22 x 16 inches (56 x 41 cm) for the back panel |
| Garment Fit | Relaxed, oversized, cropped |
| Suggested Yarn | Bulky category 5 yarn |
| Yarn Quantity | Approximately 1,100 to 1,300 yards (1,006 to 1,189 meters) |
| Hook | 6.5 mm (US K-10.5) |
| Gauge | 11 double crochet stitches and 6 rows = 4 inches (10 cm) |
| Terminology | US crochet terminology |
| Construction | Three flat pieces with seamed sleeves and assembled back panel |
Pattern interpretation: The measurements, yarn quantities, and construction below are suggested specifications for an original garment inspired by the visible oversized crochet style. They are not measurements of an existing commercial pattern.
Finished Measurements
The pattern is written for one relaxed adult size with customization instructions included later.
- Back panel width: approximately 22 inches (56 cm).
- Back panel height: approximately 16 inches (41 cm).
- Each sleeve length: approximately 17 inches (43 cm), measured from shoulder to cuff.
- Each sleeve circumference before cuff: approximately 22 inches (56 cm).
- Cuff circumference: approximately 12 to 14 inches (30 to 36 cm), depending on tension.
- Body fit: cropped, with an approximate finished length of 16 inches (41 cm).
These are finished garment measurements rather than body measurements. The roomy sleeves are designed to provide comfortable movement and a loose silhouette.
Materials and Notions
- 1,100 to 1,300 yards (1,006 to 1,189 meters) of bulky category 5 yarn.
- 6.5 mm (US K-10.5) crochet hook.
- Stitch markers.
- Yarn needle with a large eye.
- Scissors.
- Tape measure.
- Removable pins for assembly.
Choose a yarn that is soft against the skin and has enough flexibility to create comfortable sleeves. A smooth yarn will make it easier to see individual stitches and count chain spaces.
Gauge and Tension
Work a double crochet swatch using the suggested hook.
Gauge: 11 double crochet stitches and 6 rows measure approximately 4 x 4 inches (10 x 10 cm).
If your swatch is smaller than the target, try a larger hook. If it is larger, try a smaller hook. Match the stitch gauge before beginning the main panel because the stitch count determines the finished width.
Abbreviations
- ch: Chain
- st: Stitch
- sts: Stitches
- sl st: Slip stitch
- sc: Single crochet
- dc: Double crochet
- sk: Skip
- rep: Repeat
- RS: Right side
- WS: Wrong side
- BLO: Back loop only
- sp: Space
All instructions use US crochet terminology. In UK terminology, US single crochet is called double crochet, and US double crochet is called treble crochet.
Special Stitch Instructions
Mesh stitch: Work a chain-one space between double crochet stitches. Skip one stitch, then work a double crochet in the next stitch. This creates a row of small open spaces.
Back-loop-only single crochet: Insert the hook into the back loop of the next stitch only, yarn over, pull up a loop, yarn over, and pull through both loops.
Turning chain: Chain 3 at the beginning of double crochet rows. The turning chain counts as the first double crochet stitch throughout this pattern. Do not work an additional double crochet into the same first stitch.
Slip stitches: Slip stitches used for joining or positioning do not count as stitches unless specifically stated.
Construction Notes
- The back panel is worked flat in turned rows.
- Each sleeve is worked flat in turned rows and folded lengthwise.
- The sleeve seam is sewn before attaching the sleeve to the back panel.
- Mesh rows alternate with solid double crochet rows.
- The turning chain counts as one stitch.
- Keep the same yarn throughout for a consistent textured finish.
Part 1: Crochet the Back Panel
With your 6.5 mm hook and main yarn, make a foundation chain of 90.
Row 1 (RS): Work 1 dc in the fourth chain from the hook. Work 1 dc in each remaining chain across. Turn. 88 dc.
Row 2 (WS): Ch 3, which counts as the first dc. Ch 1, sk the next stitch, and dc in the following stitch. Repeat the sequence of ch 1, sk 1, and dc in the next stitch 43 times. Turn. 44 dc and 43 ch-1 spaces.
Row 3 (RS): Ch 3, counting as the first dc. Dc in the next dc, then work 1 dc in the next ch-1 space. Repeat the sequence of dc in the next dc and dc in the next ch-1 space 43 times. Turn. 88 dc.
Row 4 (WS): Ch 3, counting as the first dc. Work 1 dc in each remaining stitch across. Turn. 88 dc.
Row 5: Repeat Row 2. Turn. 44 dc and 43 ch-1 spaces.
Row 6: Repeat Row 3. Turn. 88 dc.
Rows 7 to 24: Repeat Rows 1 to 6 in sequence three more times. Maintain the established stitch counts.
Rows 25 to 27: Work 1 dc in each stitch across, including the first turning-chain position as established. Turn after each row. 88 dc per row.
Fasten off, leaving a yarn tail long enough to weave in securely.
The finished panel should measure approximately 22 inches wide and 16 inches high. If your gauge differs slightly, use the measurements as your guide rather than relying only on the row count.
Part 2: Make the First Sleeve
The sleeves are intentionally oversized. Each sleeve is a rectangular piece that is folded and seamed to create a loose tube.
Ch 47.
Row 1 (RS): Work 1 dc in the fourth chain from the hook and in each remaining chain across. Turn. 44 dc.
Row 2 (WS): Ch 3, counting as the first dc. Ch 1, sk the next stitch, and dc in the following stitch. Repeat this sequence 21 times. Ch 1, sk the next stitch, and dc in the final stitch. Turn. 23 dc and 22 ch-1 spaces.
Row 3 (RS): Ch 3, counting as the first dc. Dc in the next dc, then dc in the next ch-1 space. Repeat this sequence 21 times, ending with a dc in the final dc. Turn. 44 dc.
Row 4: Ch 3, counting as the first dc. Work 1 dc in each remaining stitch across. Turn. 44 dc.
Row 5: Repeat Row 2. Turn. 23 dc and 22 ch-1 spaces.
Row 6: Repeat Row 3. Turn. 44 dc.
Rows 7 to 60: Continue alternating the established mesh and solid double crochet rows. Work mesh rows on even-numbered rows and solid double crochet rows on odd-numbered rows. Maintain the stitch counts throughout.
Fasten off, leaving a long tail for seaming.
The finished sleeve rectangle should measure approximately 22 inches wide and 17 inches long. Make a second identical sleeve using the same instructions.
Part 3: Seam the Sleeves
Lay one sleeve rectangle flat with the right side facing upward. Fold it in half lengthwise so the two long edges meet.
- Thread the yarn needle with a matching length of yarn.
- Align the long edges carefully.
- Use a mattress stitch or whip stitch to sew the edges together.
- Keep the seam even and avoid pulling the yarn too tightly.
- Leave the short ends open to create the sleeve opening and upper sleeve opening.
- Fasten off and weave in the yarn ends.
