

Wired-edge checkpoint: The small petal has ten increases in its wire round; the large has twelve. Keep their plain end runs at ten and twelve singles respectively.
Join Small and Large Petals into the Cupped Flower
Join the prepared small and large petals by twisting their supports, as the source process photograph shows. Position the narrower bases toward the shared support and retain the broader rounded rims around the open flower. The source gives no required overlap angle or measured rotation.
The amount of overlap and total number of petals are therefore arrangement decisions, not additional printed counts. Keep the two component sizes identifiable while building the cup. A faithful guide can preserve the source’s construction without falsely presenting an estimated petal quantity as a supplied specification.
Make Two Dark-Red and Yellow Corollas
For each corolla, chain fifteen and join into a circle with one slip stitch. Chain three and work fifteen trebles, then join. The source’s colored marker identifies the dark-red first round. The next round repeats one single and chain five around and joins, using the yellow marker.
Cut and knot the completed corolla and repeat to make two. Each has fifteen chain-loop sections supported by its fifteen-stitch ring. These center pieces are not the broad pink petals and should not be combined with the unspecified petal quantity.
Overlap the Corollas and Join Their Bottoms
Overlap the two corollas as the source photograph shows. Join their bottoms with fifteen single crochets. The process image shows white yarn forming this joined base, which will become the small raised middle after shaping and turning.
Keep the two lower rings paired while making the fifteen-stitch join, with both yellow looped rims retained above. The source does not prescribe a measured offset or rotation between the rims. Use the photographed overlap without inventing a second center component or a separate bead.
Shape the White Joined Center
For the next round, repeat skip one original and work two singles, taking fifteen to ten. Work ten singles for two rounds. The source’s twenty-single note describes the combined worked total across those two rounds; the live circumference remains ten.
The seventh center round repeats skip one and work one single, taking ten to five. Tighten with a slip stitch and cut the yarn as the source directs. No stuffing instruction is supplied, so no filling or internal pearl is added as a pattern requirement.
Center count checkpoint: Join the two corolla bottoms on fifteen singles, reduce to ten, work two ten-stitch rounds and reduce to five before the source’s tightening finish.
Turn the Corolla Center inside Out
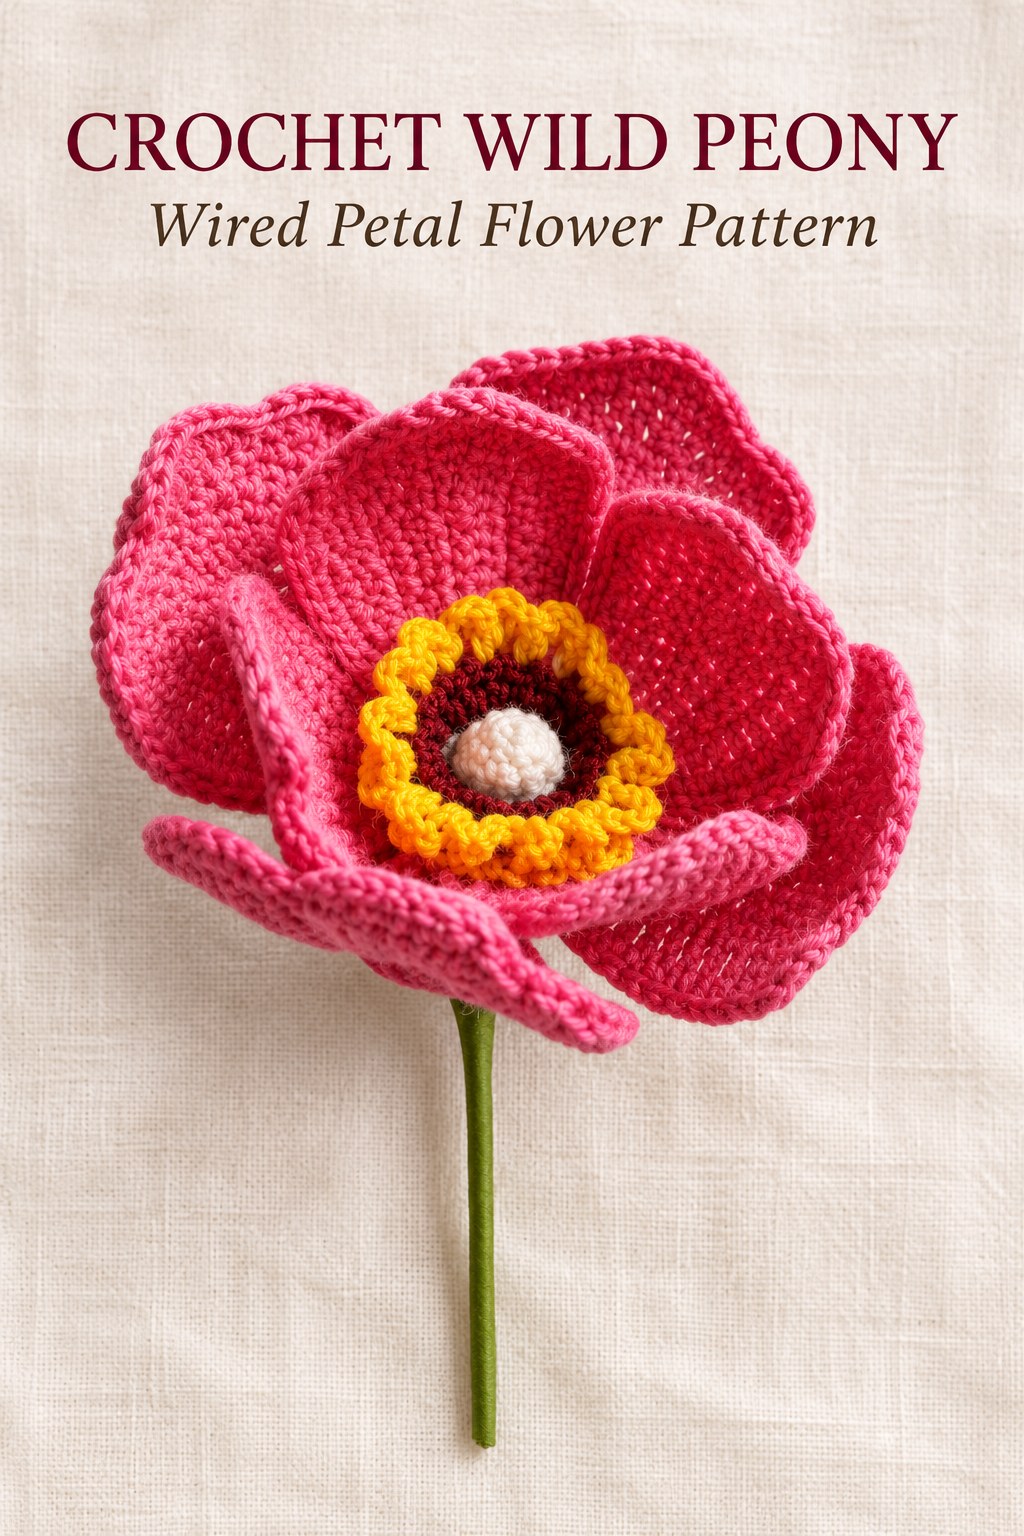
Turn the joined corolla inside out. The source photographs show the small white tapered portion presented inside the dark-red/yellow rim. This appearance comes from the shaped joining fabric, not from another independently crocheted cone.
Compare the two process views before attaching the center. The yellow loops should remain visible around the red ring, with the white middle seated within it. The source gives no measured center height or required amount of turning beyond its illustrated inside-out presentation.
Choose Glue or Wire for the Center Attachment
The source supplies two attachment options. One is to paste the turned corolla at the flower center using the listed fabric glue. The other inserts wire into the back of the corolla, places it at the center and twists that support with the flower wires.
Choose one of those stated alternatives rather than treating both as compulsory. No adhesive amount, drying interval or exact wire allowance is supplied. Keep the white middle and yellow looped rim visible while positioning the center inside the pink petal cup.
Finish the Stem and Compare the Optional Variant
Cover the supporting stem with green floral tape once the petals and center are joined. The source supplies no separate crochet stem or leaf. Keep the wire attachments enclosed beneath the flower and preserve the open cupped petal arrangement.
The optional finished photograph shows pale loops added around the petal rims using the fourth-round paths. The plain-rim main example and optionally edged version are both source variants. Neither requires changing the dark-red/yellow two-corolla center or inventing a new petal foundation.
Troubleshoot Counts and Source Details
If a petal narrows during a fan section, check that together means complete stitches in one original, not a decrease. If the large petal resembles the small one, review its thirteen-chain foundation and treble sections. Keep the optional twenty-one- and twenty-five-loop paths distinct from the wired-round stitch counts.
If the center circumference changes in its plain section, remember that twenty singles is two rounds of ten. If the white middle is missing, review the joined-bottom shaping and inside-out turn before adding any unlisted object. Keep the source’s unspecified petal quantity visible in your project notes.
Source Credit and Care
This guide follows Wild Peony on PDF pages one hundred and two through one hundred and four of the supplied 350 page 1 (1).pdf, with the general legend on page sixty-nine. The diagrams, process photographs and two completed variants are actual source illustrations. The expanded explanations preserve both petal sizes, optional edging and double-corolla assembly without claiming a physical crochet test.
Follow care guidance appropriate to the actual cotton, wire, glue and floral tape. No washing, blocking, pressing or stiffening recipe is supplied. Support the taped stem when handling the display and protect the wired pink rims and small yellow loops from unnecessary pulling or compression.
At a Glance
- Small and large petals have separate wired patterns; their quantities are unspecified.
- Optional chain-loop edges are provided for both sizes.
- Two red/yellow corollas are joined underneath and shaped into the raised white center.
- Turn the center, attach with glue or wire and cover the stem with floral tape.
Finish Your Crochet Wild Peony
Keep the two petal sequences, optional edge paths and center count progression clear before assembly. Arrange the wired petals, complete and turn the double-corolla center and finish the chosen attachment neatly. Click the Pin to see the crochet Wild Peony pattern and illustrated guide, and save both charts and process photographs before beginning.
Tags
Crochet Wild PeonyCrochet FlowersCrochet PatternWired PetalsDouble CorollaCotton YarnCrochet Charts
