

Round seven repeats two singles, four successive dc increases and two singles. Eight incoming originals produce twelve stitches, with ten groups giving one hundred and twenty. The eighth round forms the same single-and-chain-three edge before joining and the chain-two, cut-and-knot finish.
Largest-layer checkpoint: Motif six has four consecutive dc increases in each ruffle group. The earlier ruffle groups use three; keeping four here gives the stated eight-position group and 120-stitch edge.
Work the Green Receptacle
Begin a magic ring, chain three and work ten double crochets. Tighten and join. Round two chains three and doubles each original through ten dc increases, reaching twenty. Round three repeats a dc increase and one plain double, reaching thirty.
Work a plain thirty-double round after chain three, then join. The fifth round repeats one single and chain three around. Secure with chain two and cut. The green receptacle is a single cupped component beneath the nested flower layers, not a separately pointed sepal cup borrowed from another rose.
Use the Real Component and Assembly Photographs
The source includes photographs of the six motifs and receptacle before assembly, followed by wire insertion, nesting, receptacle placement, wire twisting and floral-tape covering. These are actual process illustrations from the source rather than invented intermediate pictures.
Compare your component order with the photograph before threading them onto the wire. The two smallest pieces have similar outer counts, so use their round depth as well as apparent diameter to distinguish them. Keep every motif separate until its position in the nested order is clear.
Insert Wire through the Smallest Motif
Insert the wire into motif one as shown in the source. The image shows the support passing through the small motif’s central area, preparing it to sit inside the next piece. No exact cut-wire length or measured insertion distance is supplied.
Keep the central crochet and secured yarn ends intact while positioning the support. The source gives a wire diameter but does not introduce a stitched backing or a separate filled center. Do not add those components as though they were part of the printed pattern.
Nest the Remaining Flower Layers
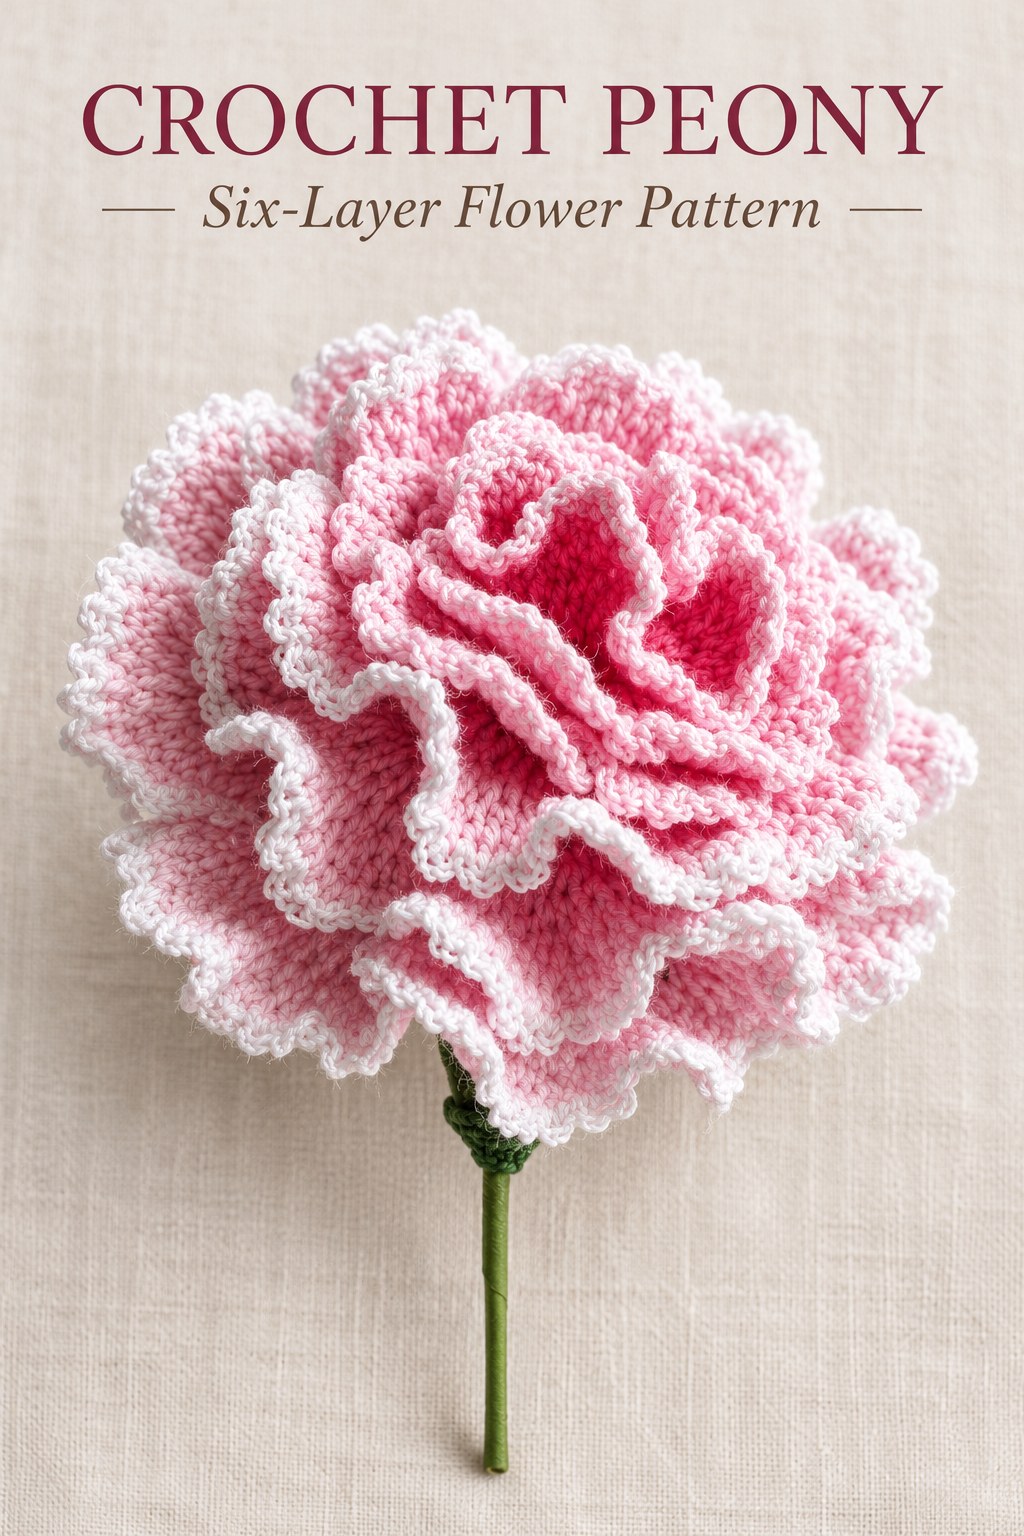
Insert the next motifs in increasing order, with motif two following one, then three, four, five and six. The increasing discs cup around the smaller layers. Their ruffled edges remain visible at different depths instead of being flattened together into one thick planar circle.
The source gives no measured overlap angle, fixed rotation or required petal-peak alignment. Use the actual nesting sequence and completed image for the arrangement. Keep the chain-loop edges free from unnecessary tightening while supporting the motifs on the common wire.
Position the Receptacle beneath the Bloom
Add the green receptacle below the largest flower motif, following the source assembly image. It supports and covers the underside of the nested layers. Its looped edge belongs around that base rather than between two of the pink flower pieces.
The written method does not specify fabric glue for this Peony, and it is not listed among its materials. Preserve the wire-and-tape assembly rather than adding an adhesive recipe from another nearby design. Keep the underside organized before twisting the support.
Assembly checkpoint: The order is motif one through motif six, then the green receptacle. Preserve all six distinct layers and their loose ruffled edges while securing the common support.
Twist the Wire and Cover the Stem
Twist the wire to join the assembled pieces, as illustrated. The source does not provide a counted number of twists or a finished stem length. Retain its 0.8 mm wire specification without turning a visual estimate into a printed numerical requirement.
Cover the stem with green floral tape. Begin beneath the receptacle and keep the exposed support enclosed in the final covering. The source supplies no separate crochet stem or leaf for this flower. The floral tape is the listed finishing material for the visible stem.
Check the Motif Arithmetic and Palette
If an expanding double round narrows instead of widens, review the source legend: dc inc is two complete stitches in one original. If the ruffle count differs, check whether the group has singles at both ends, two at its start or the four-increase center used only in motif six.
Keep photographic color guidance distinct from an unprinted color-change schedule. Different pink shades or a pale outer loop edge can follow the finished example without changing a stitch group. A different yarn thickness may change dimensions, but no gauge or measured flower diameter is supplied to predict that result precisely.
Source Credit and Care
This guide follows Peony on PDF pages ninety-seven through one hundred and one of the supplied 350 page 1 (1).pdf, using the general stitch legend on PDF page sixty-nine. The diagrams and component/process photographs are actual source illustrations. The expanded explanations preserve the six motifs, chart-based stitch meanings, receptacle and assembly sequence without claiming a physical crochet test.
Follow care guidance appropriate to the actual cotton, wool, wire and floral tape. No washing schedule, pressing method or stiffening recipe is supplied. Support the stem when moving the display and protect the fine chain-loop edges from unnecessary pulling or crushing.
At a Glance
- Six whole circular motifs form the nested bloom.
- Same-stitch dc increases widen the later layers through 20, 30, 40, 60 and 80 doubles.
- Every flower layer finishes with a single-and-chain-three loop edge.
- Add the green receptacle, twist the wire and cover the stem with floral tape.
Finish Your Crochet Peony
Keep the six motif labels, increase definitions and ruffle groups clear before assembly. Arrange the graduated layers on the wire, add the receptacle and finish the taped stem with the edges free to ruffle. Click the Pin to see the crochet Peony pattern and illustrated guide, and save the charts and assembly photographs before beginning.
Tags
Crochet PeonyCrochet FlowersCrochet PatternRuffled MotifsCrochet ChartsLayered FlowerWired Stem
