

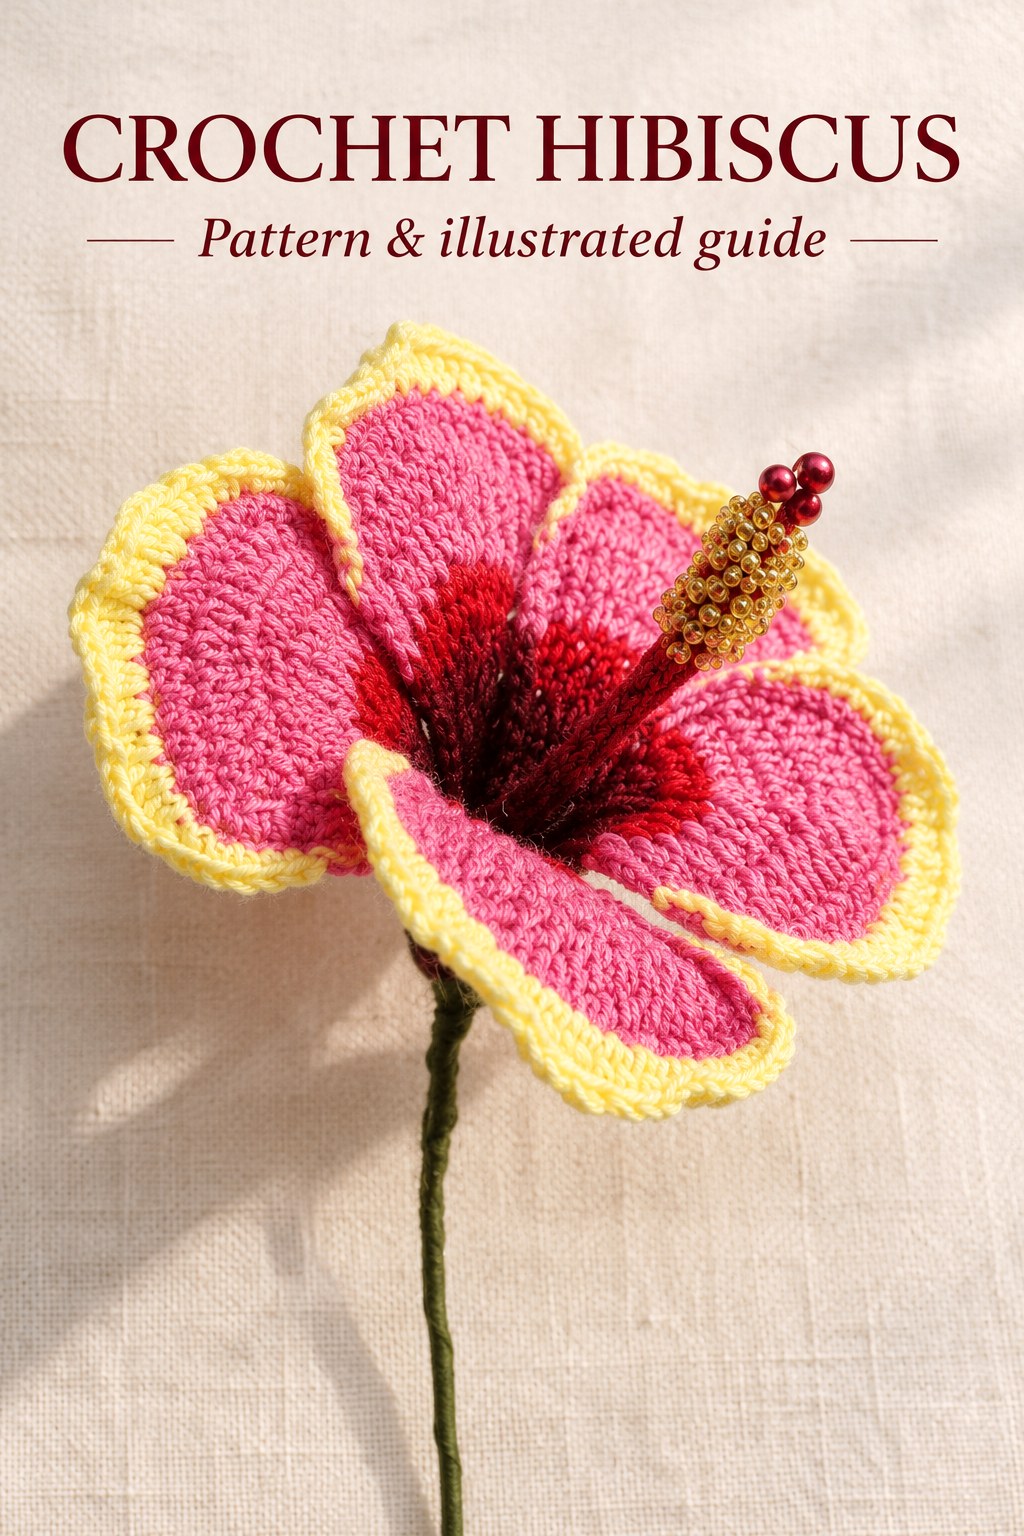
Petal Construction Note
The short rows widen only the broad fan. The wired single-crochet border supports the full outline, and the contrasting last round follows only the broad edge. These are separate paths around the same component, not three different petals.
Pistil Round 1: Begin with Eight Singles
Make a magic ring and work eight singles into it. Tighten the circle. This is the enlarged end of the long red component, which later receives the seed-bead covering. Keep its eight originals separate from the four-double section formed farther down the tube.
The source does not add stuffing to the pistil or give a separate measured diameter for either section. Retain the small crocheted tube and the later wired-pearl support rather than borrowing a stuffed-center construction from another flower. The actual unbeaded component photograph provides a clear reference for its elongated proportions.
Pistil Rounds 2–6: Keep Eight Singles for Five Rounds
Work eight singles in each of five rounds, corresponding to the printed labels two through six. The source also gives forty singles, meaning the combined worked total across these rounds. Eight remains the circumference throughout the section; forty is not a new width.
Count the rounds and live positions independently. This plain portion extends the initial end before the tube changes stitch type and narrows. Avoid adding unlisted increases to make the total forty around. The chart highlights the repeated section and explicitly marks its five repetitions.
Pistil Round 7: Narrow to Four Working Doubles
Chain three, then repeat one double and skip one original four times. Slip stitch to join. This passes the eight incoming originals and creates four working doubles. The skipped positions provide the narrowing while the taller stitches begin the long, slimmer section of the component.
Keep the height chain distinguishable from the four working doubles. The subsequent plain section explicitly works four doubles per circuit. Do not add an extra double for every skipped original or substitute two doubles in one position, which would widen rather than narrow this part of the pistil.
Work Six Plain Double-Crochet Rounds
For the final plain section, chain three, work four doubles and slip stitch to join, repeating that round six times. The explicit written repeat says six rounds and the chart also marks six repetitions. The printed range label eight through twelve covers only five numbers, so it is inconsistent with those two matching instructions.
Follow the explicit six-round repeat supported by the chart. This retains a complete reproducible section without treating the contradictory range label as an additional sizing option. Keep all six circuits at four working doubles, maintaining the slender tube shown in the component photograph rather than adding another increase section.
Pistil repeat clarification: Work six final four-double rounds. Both the explicit repeat and diagram say six; the printed eight-through-twelve label is the inconsistent part of the source.
Glue and Bead the Enlarged Pistil Tip
Apply fabric glue at the top of the pistil as shown, then add the yellow seed beads. The source sequence shows the enlarged end coated and brought to the beads, followed by the completed yellow-covered tip. Allow the glue to dry before moving on to final insertion and assembly.
No bead number, bead size, glue amount or drying duration is stated. Keep the bead covering at the top shown by the source rather than extending it down the full red tube. Follow the actual adhesive’s handling instructions for your supplies without presenting those package details as measured specifications from the crochet pattern.
Prepare the Red Pearls and Their Wire
Insert wire through the red pearls and twist it. Insert that wired pearl element into the pistil and secure the wire at its base, following the four actual source panels. The photographs distinguish this support preparation from the separate seed beads glued at the enlarged tip.
The material list specifies red pearls but no numerical quantity. Retain their relationship to the supported pistil without inventing an exact required count from a small photograph. Keep the wire passing through the intended component and extending below for final assembly, rather than attaching loose pearls across the petal surfaces.
Insert the Pistil and Finish the Stem
Insert the finished pistil at the center of the gathered petals. Its long red tube projects from the dark throat, with the seed-beaded end above the flower. The source assembly view shows the supporting wires being gathered and twisted below the petal bases.
Cover the stem with green floral tape as instructed. No separate crochet stem sleeve or leaf is supplied for this entry. Keep the five fans visibly cupped around the opening and the contrasting yellow edges clear, using the final source views to assess the relation between the projecting pistil and the supported petals.
Customize Color Placement and Display
The source palette uses dark red, red, dark pink and yellow. You can distribute those shades to suit your own display while preserving the dark throat, broader petal faces and contrasting border visible in the reference. A new palette is a personal variation, not an alternative printed color-change sequence.
Changing cotton thickness can alter the flower’s proportions, but no gauge or finished measurements are supplied for predicting the result. Keep the five-petal count and original component sequences intact when making the source design. Assess your own supported petals and pistil before preparing several matching flowers for an arrangement.
Troubleshoot the Petal Fan and Pistil Counts
If the fan narrows during its first shaping rows, check the local increase convention. Row two produces seven singles and row three nine worked stitches. If the broad edge begins at the wrong place, revisit the charted partial routes and the stated ten- and fourteen-stitch approaches before adding unlisted rows to compensate.
If the pistil becomes forty stitches around, separate its five-round worked total from its eight-stitch circumference. If its tube is unexpectedly short, count six plain four-double rounds rather than following the inconsistent range label. If the bead covering hides the red tube, reassess the source tip placement before securing the final component at the center.
Source Credit and Care
This guide follows Hibiscus on PDF pages 109 and 110 of the supplied 350 page 1 (1).pdf, with the increase legend on page sixty-nine. The illustrations include the actual finished flower, petal and pistil charts, wire-support photographs, shaping sequence, seed-bead treatment and final assembly. The expanded explanations preserve the source construction without claiming a physical crochet test.
Care for the decoration according to the cotton, wire, pearls, seed beads, fabric glue and floral tape actually used. No washing schedule, stiffening recipe or heat treatment is supplied. Support the taped stem while moving the flower and protect the thin supported petal edges and long decorated pistil from pulling or compression during storage.
At a Glance
- Five petals begin with eight working chains plus one height chain.
- Short rows widen the fan; a full wired border supports it and a partial contrasting edge finishes it.
- Pistil: eight singles, five plain rounds, narrow to four doubles, then six plain double rounds.
- Glue the yellow seed beads, insert the wired pearls, seat the pistil and tape the stem.
Finish Your Crochet Hibiscus
Prepare the palette, follow the charted petal routes and keep the pistil’s repeated sections clear. Shape the five supported fans, allow the seed-bead glue to dry and position the long center before taping the stem. Click the Pin to see the crochet Hibiscus pattern and illustrated guide, and save the original charts and source assembly sequence before starting.
Tags
Crochet HibiscusCrochet FlowersCrochet PatternWired PetalsSeed BeadsCotton YarnIllustrated Pattern
