

For round eight, skip one original and work a single in the next. Repeat five times, turning the ten positions into five singles. Keep the skipped original separate from the original receiving the next stitch. Replacing these sequences with an unlisted increase or conventional decrease would change the printed construction.
Close the Green Body
The final body instruction is to tighten the circle with two slip stitches and cut the yarn. This is the closing treatment for the five remaining positions, not a new full round of five singles. Follow the source closure while keeping the stuffing inside the crocheted body.
Check the finished component before preparing the cap. The body should contain the original circular base, its increase rounds, the chosen plain section and the two narrowing steps. The source does not give a separate blocking method or an additional stiffened backing. Do not add either as though it were required by the printed pattern.
Cap Foundation: Begin at the Eighteen-Chain Rim
For Base 2, use the light-brown yarn and chain eighteen. Join the chain into a ring with a slip stitch. This starting ring becomes the open edge of the cap, which is later placed over the green body. It is not a magic-ring start like Base 1.
Check the eighteen-chain count before joining and keep the small ring manageable as the first singles are worked. The source chart displays the broad foundation around the outside of the cap construction. The later skipped-position rounds move inward from that rim toward the small stem attachment area.
Cap Rounds 1–2: Keep Eighteen Singles
Work eighteen singles in the first cap round and eighteen singles in the second. The source gives thirty-six singles as the combined total across these two rounds. There are still eighteen working positions around the cap when its first narrowing round begins.
Keep the two rounds distinct from the later twelve-stitch section. Increasing to thirty-six around would make a different cap and leave the next skip-one, work-two instruction with twice the intended originals. Count one round at a time, using the source chart’s highlighted two-round section as a reminder of the repeated circumference.
Cap Rounds 3–5: Narrow toward the Top
Round three repeats skip one original and work a single in each of the next two six times, reducing eighteen to twelve. Round four repeats skip one and work one six times, reducing twelve to six. Round five repeats skip one and work one three times, leaving three singles.
These are ordinary singles placed after skipped originals. Keep the reductions in this order rather than using the body’s two-step closure unchanged. The cap begins wider and narrows through twelve, six and three, giving a small top area for the next chain stem loop while retaining its broader open rim.
Cap Round 6: Make the Short Chain Stem
Chain five and join back to round five with a slip stitch. The source chart shows the resulting short stem loop above the narrowed cap. Chain two to lock, cut the yarn and hide the end inside as instructed. This step does not add another circular eighteen-stitch cap round.
Keep the little chain feature separate from the 0.6 mm wire used in final assembly. The chain creates the crocheted stem detail, while the source later asks for wire at the cap top. No measured chain-stem height or support-wire length is printed, so retain the actual chain count without assigning a finished dimension.
Cap checkpoint: Eighteen stays eighteen for two rounds, then narrows through twelve, six and three. The five-chain stem is added after those reductions, before the yarn is locked and hidden inside.
Glue the Cap to the Stuffed Body
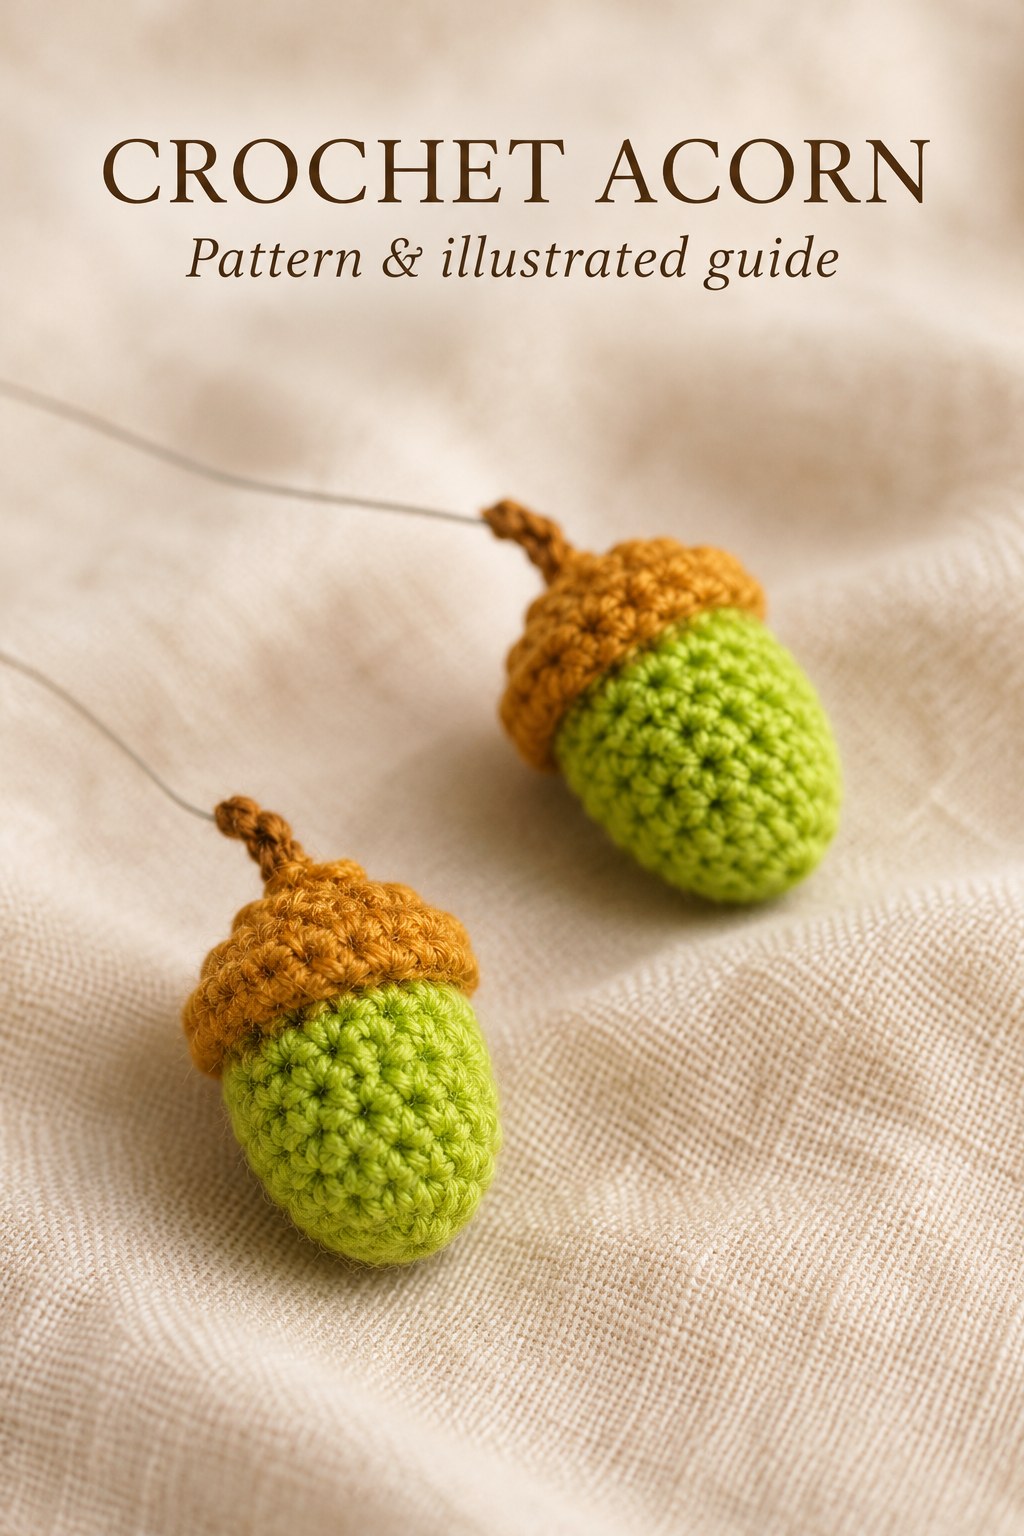
Place Base 2 over Base 1 and glue the two components together. The source assembly photograph shows adhesive applied inside the brown cap beside the separate green body. Keep the light-brown cap surrounding the upper part of the green nut, with the short chain stem at the top.
The source does not prescribe an adhesive amount, seam-stitch count or drying interval. Use the actual fabric glue according to its handling directions and allow the joined pieces to settle before further manipulation. Do not describe an invented sewn seam as the original method: the printed assembly explicitly uses glue.
Insert and Twist the Support Wire
Insert wire at the top of Base 2 and twist the wire, following the source finishing note. The completed source pair shows the cap and small crocheted stem with the support extending above. Retain the listed 0.6 mm wire rather than substituting another design’s thicker stem support as a source requirement.
No fixed cut length, insertion depth or twist count is given. Assess the actual joined acorn while supporting the cap and body together. The local list does not include floral tape, beads or a leaf component. If you choose to add display accessories, identify them as personal additions rather than missing acorn instructions.
Make a Matching Pair or Choose the Longer Body Option
The finished source photograph displays two acorns. To make that pair, repeat the complete green body, brown cap and joining sequence for the second decoration. The pattern does not instruct you to join two stuffed bodies under one cap or to double the stitches in any individual round.
Use the allowed two-or-three plain body rounds to choose the source’s shorter or longer option. Keep the same narrowing sequence and cap construction for either. A different color palette is a personal variation; the printed palette remains green and light brown, and no alternate measured sizing system is supplied.
Troubleshoot the Counts before Final Assembly
If the body count is wrong, check the ten working doubles first, then the two increases in round two and three increases in round three. If the plain section becomes thirty or forty-five stitches around, separate its combined worked total from its fifteen-stitch circumference. The first narrowing step requires fifteen incoming positions.
If the cap is too wide to follow the later rounds, check that its first two rounds each contain eighteen singles. If its top does not reach three, review the skip-one sequences independently: eighteen to twelve, twelve to six and six to three. Check the actual components before using adhesive, since glue makes later stitch correction less convenient.
Source Credit and Care
This guide follows Acorn on PDF page 128 of the supplied 350 page 1 (1).pdf, using the relevant increase legend on page sixty-nine. The illustrations retain the original completed pair, body-stuffing view, cap-gluing view and both component charts. The expanded explanations preserve the complete printed construction without claiming a physical crochet test.
Care for the finished decoration according to the cotton, stuffing, wire and fabric glue actually used. No washing schedule, stiffening recipe or heat treatment is supplied. Support the joined pieces when moving the acorn and protect the small chain stem and cap attachment from unnecessary pulling or compression during storage.
At a Glance
- Green body: ten, twelve, fifteen; two or three plain rounds; then ten and five before closure.
- Brown cap: eighteen for two rounds; then twelve, six and three.
- Finish the cap with a five-chain stem loop and hide the yarn end inside.
- Glue cap to stuffed body, insert the support wire at the top and twist it.
Finish Your Crochet Acorn
Prepare the two colors, keep the body and cap counts separate and choose the permitted plain-body length before stuffing. Finish the short chain stem, join the components with fabric glue and add the wire support. Click the Pin to see the crochet acorn pattern and illustrated guide, and save both charts before starting your own pair.
Tags
Crochet AcornCrochet PatternAutumn CrochetCotton YarnStuffed CrochetWoodland DecorationIllustrated Pattern
