

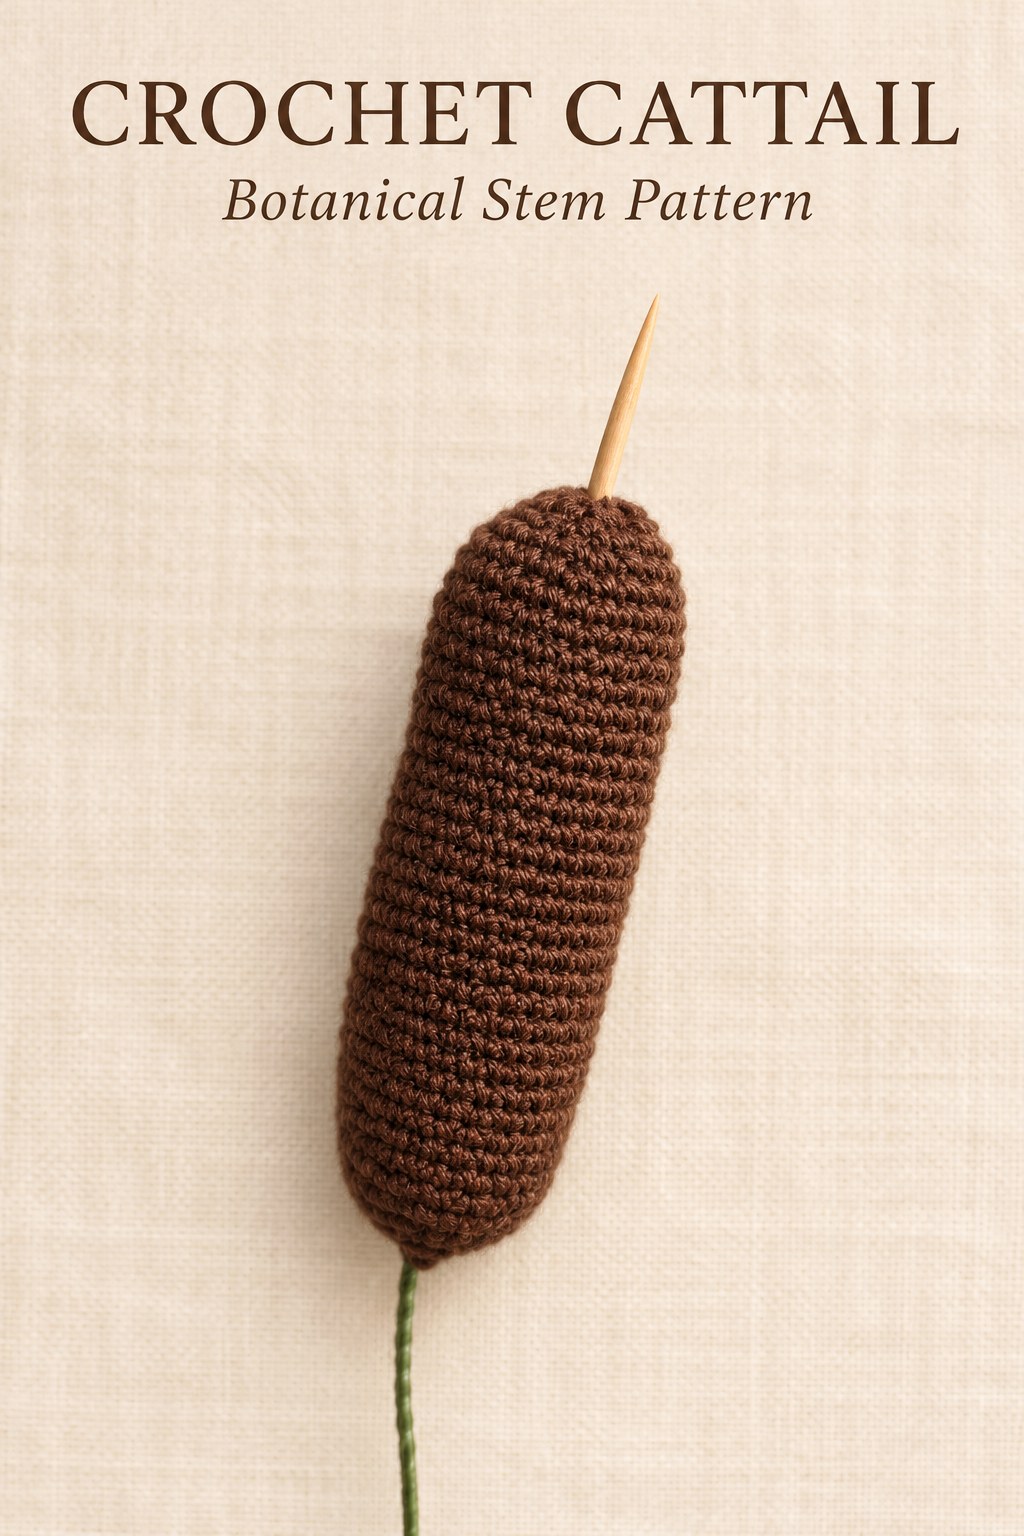
This crochet Cattail pattern makes a long brown stuffed spike supported by green wire, with a small toothpick projecting from its upper end. The shape comes from a short increasing base, twenty-four plain rounds and four narrowing rounds. The supplied page includes the complete stitch chart and photographs of the folded-wire support, so the finishing can be followed alongside the crochet rather than inferred from the finished decoration alone. Keep the brown cylinder, green wire and pointed tip as three distinct parts of this simple botanical form.

Key Takeaways
- Use brown cotton, a 1.90 mm hook, 0.8 mm green wire, a toothpick and stuffing.
- The source begins with ten double crochets in a magic ring.
- Increase through fifteen, twenty and twenty-five singles before the long straight section.
- Rounds five through twenty-eight each contain twenty-five stitches, six hundred singles worked in total.
- Stuff after round twenty-nine, then narrow to five stitches.
- Fold and insert the wire, secure it at the bottom and add the toothpick at the upper end.
CROCHET CATTAIL PATTERN
Project: One stuffed cylindrical brown spike with a green wire stem and an upper toothpick tip. The source supplies 32 rounds and photographed support assembly.
| Skill level | Not explicitly graded. Uses a magic ring, double crochet, single-crochet increases, skipped-stitch narrowing, stuffing and a wire support. |
|---|---|
| Materials | Brown cotton yarn; 1.90 mm crochet hook; 0.8 mm green wire; toothpick; stuffing. Yarn weight, quantity, gauge, finished size and wire-cut length are not supplied. |
| US terminology | ch = chain; sc = single crochet; dc = double crochet; ss = slip stitch. Inc = 2 complete sc in the same original stitch. The source’s 2 SC together is an increase, not sc2tog. |
| Foundation and round 1 | Magic ring; ch3, 10 dc into the ring. Pull the loose end to tighten the circle and ss join. Ten working dc. |
| Round 2 | around, 5 groups. 15 sc. |
| Round 3 | around, 5 groups. 20 sc. |
| Round 4 | around, 5 groups. 25 sc. |
| Rounds 5–28 | 25 sc each round for 24 rounds. The working circumference stays 25; 600 sc are worked across this section. |
| Round 29 | around, 5 groups. 20 sc. Add stuffing after this round. |
| Round 30 | around, 5 groups. 15 sc. |
| Round 31 | around, 5 groups. 10 sc. |
| Round 32 | around, 5 groups. 5 sc. Ch2 to lock and cut the yarn. The source does not add another crochet closure round. |
| Support and tip | Fold one end of the wire and insert it into the spike as photographed. Lock the wire at the bottom of the base. Apply the toothpick at the upper end. No extra leaf, wrapping material or adhesive schedule is specified. |
Understand the Long Cylindrical Construction
The source calls the crocheted piece the base, although in the finished arrangement it forms the whole brown seed-head shape. It is not a separate green calyx or a pot. Work the increasing end first, continue the cylinder without adding stitches, and narrow the opposite end after inserting the stuffing.
The finishing photograph distinguishes the upper toothpick end from the lower wire stem. Keep this orientation in view while preparing the support. The source provides no measured overall height or botanical scale, so the actual dimensions will depend on the cotton and tension rather than on an invented size target.
Gather the Listed Materials
Brown cotton yarn and a 1.90 mm hook are the stated crochet materials. The supporting materials are 0.8 mm green wire, one toothpick and stuffing. No particular cotton brand, formal yarn-weight category, stuffing weight, toothpick length or required wire allowance is supplied on the page.
Prepare the materials beside the source assembly images before beginning the narrow end. The stuffing is added while the opening is still twenty stitches, and the support is inserted after the crochet is finished. Keeping those two stages separate prevents the wire photographs from being mistaken for instructions to crochet every round around a central rod.
This entry does not provide leaves or a separate crocheted stem. The visible green length under the brown spike is the wire support. A vase, extra foliage or additional stems can be chosen for a display, but those would be additions to the supplied Cattail instructions rather than missing rounds in this pattern.
Read the Source Increase Definition
The chapter’s legend uses two single crochets together for two complete singles made into one original stitch. In this guide that action is written sc inc. It increases the count by one at each placement and is different from the US decrease abbreviation sc2tog, which joins two stitches at their tops.
The stated round totals confirm the increase meaning. Ten becomes fifteen, then twenty, then twenty-five. Working decreases at those positions would move in the opposite direction and prevent the long cylinder from forming. Keep the source’s complete-stitch increase definition beside the compact card if the familiar English phrase suggests a different action.

Increase checkpoint: Each early round contains five same-stitch increases. The live counts are 10, 15, 20 and 25, not a series of decreasing circles.
Round 1: Start with Ten Double Crochets
Make a magic ring, chain three and work ten double crochets into it. Pull the loose end to tighten the circle and join with a slip stitch. The following increase round uses ten actual double-crochet positions, so keep the chain rise separate from those ten working stitches.
The taller starting stitches belong to the source even though almost all of the remaining spike is single crochet. Do not replace the opening with a different six-single amigurumi formula. The ten-stitch start and subsequent five-group increases establish the charted end of this particular cylindrical shape.
Round 2: Increase from Ten to Fifteen
Repeat one single-crochet increase followed by one plain single around the ten original positions. Each two-position group produces three singles. Five groups therefore use all ten originals and leave fifteen working stitches for the next round.
Place both complete singles of each increase into the same original. The following plain single belongs in the next original, not in that same position. Count the fifteen stitch tops after finishing the round so the next increase spacing can be checked before the work becomes a deeper tube.
Round 3: Increase from Fifteen to Twenty
Repeat an increase followed by two plain singles around. Five groups now use three originals apiece, accounting for all fifteen incoming stitches. Each group produces four new singles, giving twenty stitches at the end of the round.
The additional plain single spreads the increases as the end broadens. Keep the two plain stitches after each increase together as one repeat. Accidentally repeating round two would not consume the fifteen originals in the same way and would disrupt the twenty-stitch checkpoint shown in the source.
Round 4: Reach the Twenty-Five-Stitch Body
Repeat an increase followed by three plain singles around. Five four-position groups use the twenty incoming stitches and produce twenty-five. This is the final increasing round before the long plain body begins.
The chart’s highlighted brown section comes after this increase. Count twenty-five before entering it; there is no additional widening round between the twenty-five count and the repeated cylinder. The source does not call for a progressively larger spike circumference or a broad flat disc under the body.
Rounds 5–28: Work Twenty-Four Plain Rounds
Work twenty-five single crochets in each round from five through twenty-eight inclusive. That range contains twenty-four rounds. The printed six-hundred-single total is the number worked across all twenty-four rounds, not a six-hundred-stitch circumference.
The highlighted chart row is likewise a repeat instruction. Work the same live count repeatedly rather than creating an enormous new round. Keep a separate record of completed rounds so the number of repeats does not get confused with the twenty-five stitch positions around the cylinder.
The source gives a joined opening round but does not prescribe additional decorative joins or turning chains for every later single-crochet round. Follow the continuous chart path and preserve the live counts. Do not introduce an extra stitch at an imagined seam simply to mark the beginning of another circuit.
Construction Note
The repeated body has two different numbers to track: 25 stitches around and 24 plain rounds along the length. Six hundred records the total stitches worked in that section. It does not change either dimension’s repeat count.
Keep the Body Even Before Narrowing
During the straight section, the stitch count stays constant. If the cylinder widens, check for extra stitches at a round boundary. If it narrows before round twenty-nine, check for missed stitches or an accidental decrease. The source’s shaping occurs at the two ends, not repeatedly through the middle.
