

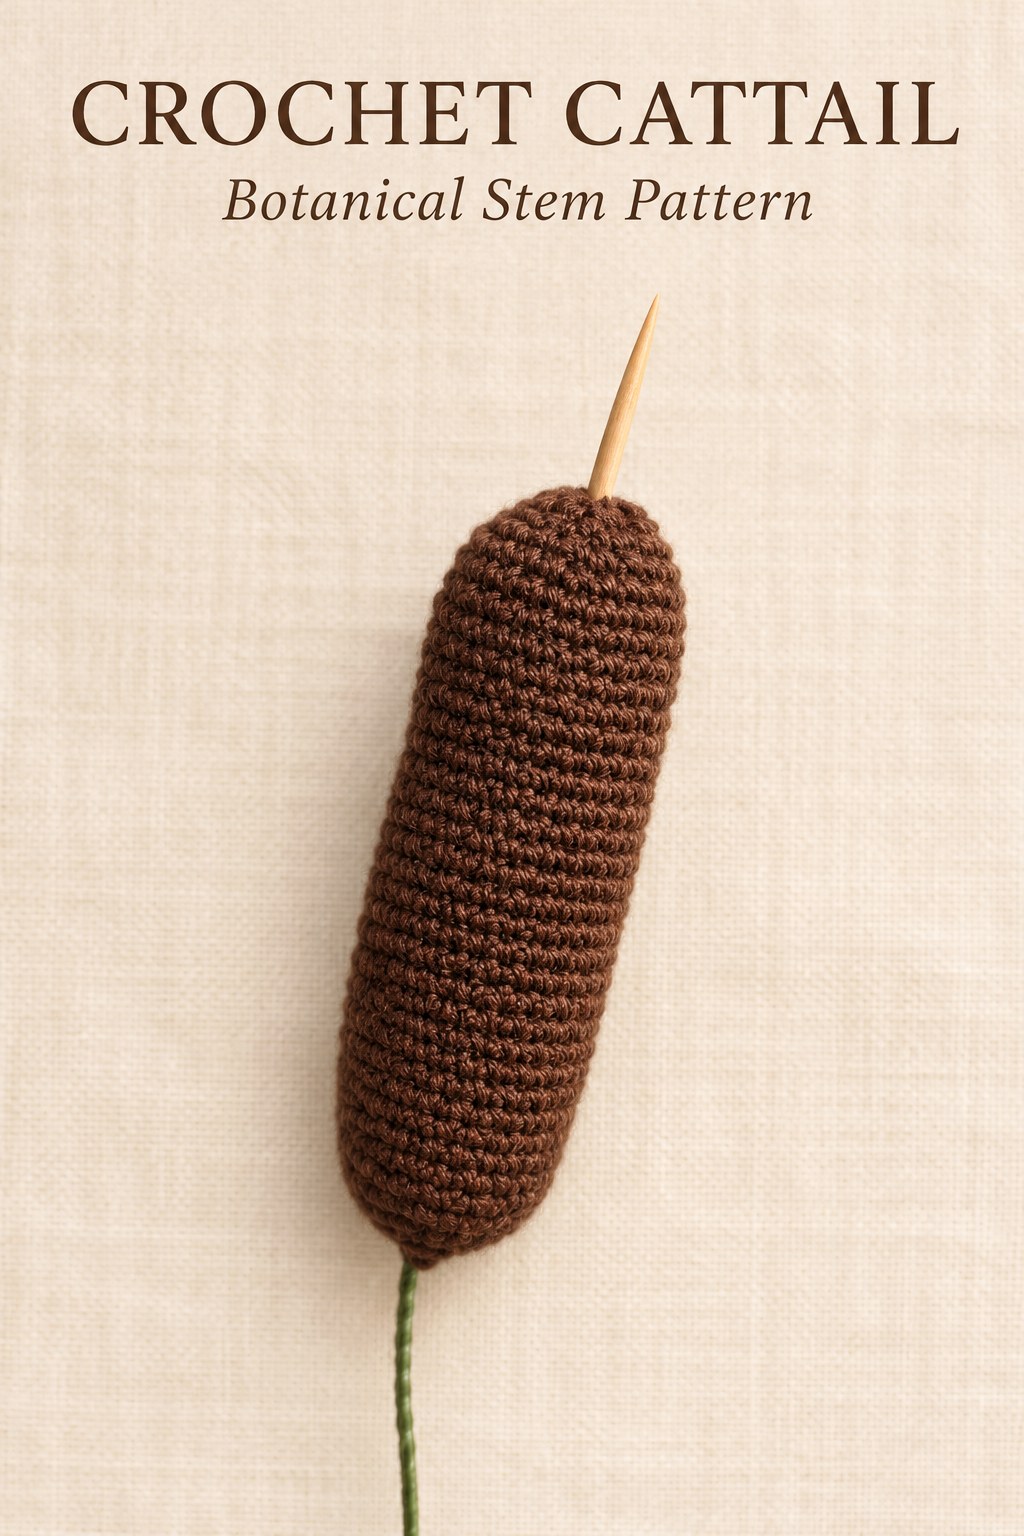
Cotton thickness and tension affect the final diameter and length together. Compare the shape to the source photograph without claiming an exact measurement. The page supplies no gauge swatch or finished-size specification, so a ruler cannot confirm a numerical target that the original instructions never give.
Round 29: Narrow to Twenty and Add Stuffing
Repeat skip one original stitch, then work four single crochets. Five groups use the twenty-five incoming positions and produce twenty new singles. The skipped positions remain unworked; this is the source’s stated narrowing method rather than an instruction to make sc2tog decreases.
Add stuffing after this round, while the twenty-stitch opening still allows access to the cylinder. The source names stuffing without specifying a weight or firmness. Distribute it to support the elongated form, avoiding a large lump at one end or a stretched area that obscures the regular single-crochet surface.
Stuffing checkpoint: The source places stuffing after round 29. Complete that step before the opening narrows to 15, 10 and 5 stitches.
Round 30: Narrow to Fifteen
Repeat skip one original, then three single crochets. Five groups consume the twenty incoming positions and produce fifteen stitches. Keep the skipped position at the start of each repeat so the written order remains easy to follow around the narrowing end.
Do not reinterpret three single crochets as three stitches into one original here. These are plain singles in successive working positions, unlike the explicitly named same-stitch increases near the beginning. The fifteen count depends on five unworked originals and fifteen ordinary new singles.
Round 31: Narrow to Ten
Repeat skip one original, then two plain singles. Five groups use the fifteen incoming positions and produce ten. Keep the stuffing inside the form as the opening becomes smaller, taking care that loose fibers do not become unintended loops in the new stitch tops.
The end tapers through the repeated skipped-stitch method. No separate decrease stitch, gathered seam or second stuffed component is introduced in this round. Review the ten-stitch count before the final crochet round so the remaining five groups can be followed without changing their spacing.
Round 32: Finish at Five Stitches
Repeat skip one original and one single around the ten positions. Five groups leave five new singles. Chain two to lock and cut the yarn as the source directs. The page does not add another decrease round or a written drawstring closure after that finish.
Keep the finished end available for the illustrated support assembly. Adding an invented sealing round could change how the support is inserted and secured. The source’s crochet sequence ends here; the following photographs explain the wire and toothpick rather than continuing the stitch chart.
Fold the Support Wire
Fold one end of the green wire into the narrow loop shown in the source photograph. This is a preparation step for the internal support, not a crocheted ring. The folded end is visibly different from the long straight length that will extend beneath the brown spike.
The materials give a wire diameter of 0.8 mm but no exact cut length or loop measurement. Choose the working allowance by comparing the actual crocheted body and the photographed support path. Do not describe an arbitrary measured loop as though it were a requirement printed in the source.
Insert and Secure the Internal Support
Insert the folded end into the crocheted base following the lengthwise arrow in the source photograph. The straight wire continues out beneath the lower end to act as the stem. Keep the stuffed cylinder supported as the folded section enters rather than forcing the wire through the visible side stitches.
Lock the wire at the bottom of the base as shown in the next assembly image. The source gives this action photographically and does not specify a counted number of twists or a sewn anchoring stitch. Retain the pictured bottom placement instead of substituting a different glued or crocheted attachment.
Add the Upper Toothpick Tip
Place the toothpick at the upper end of the brown spike. The finished photograph shows a short narrow point extending above the crochet, separate from the long green wire below. This small detail distinguishes the top of the Cattail and completes the source’s silhouette.
No toothpick insertion depth, exposed-tip length or adhesive is specified. Use the original photograph to guide the placement without adding a numerical measurement to the pattern. Check that the top and bottom have not been reversed before presenting the finished stem in an arrangement.
Adjust Display Choices Without Changing the Pattern
The most faithful example uses the listed brown cotton and green wire. A different brown shade is a display choice, while changing cotton thickness or the number of plain rounds changes the resulting dimensions. Such choices should be recorded separately from the source’s twenty-four-round body.
The page does not provide a graded larger or smaller version. If you make additional Cattails for a bouquet, repeat the complete one-spike instructions for each. Extra leaves or a container can be separate display pieces, but no leaf pattern should be attributed to this entry.
Troubleshoot the Shape and Finish
A short or squat result may come from counting only some of the twenty-four plain rounds or using a different yarn and tension. Check the round record before adding unsupported length. A suddenly wide section suggests an unintended increase, while an early taper suggests missed stitches in the repeated body.
If the end count is wrong, review each five-group narrowing round. The sequence is twenty-five to twenty, fifteen, ten and five. If the support is visible through the side, compare its folded shape and lengthwise insertion with the actual assembly photographs rather than trying to hide the problem beneath invented crocheted leaves.
The instructions, chart and process photographs come from Cattail on PDF page one hundred and thirty-nine of the supplied collection, with the chapter legend on page sixty-nine. These are expanded explanations of the source, not a claim that a measured physical sample has been tested. No washing or pressing recipe is supplied; choose care appropriate to cotton, stuffing, wire and the wooden tip.
At a Glance
- Increase to 25 singles, then hold that count for 24 rounds.
- Stuff after the first narrowing round, at 20 stitches.
- Continue to 15, 10 and 5 using the printed skipped-stitch repeats.
- Insert and lock the folded support, then place the toothpick at the top.
Finish Your Crochet Cattail
Prepare the listed materials, follow the live stitch counts and keep the long straight section separate from its total worked-stitch tally. Finish the stuffed cylinder before inserting the wire and adding the upper tip. Click the Pin to see the crochet Cattail pattern and illustrated instructions, and keep the source chart beside the support photographs as you complete the final assembly.
Tags
Crochet CattailBotanical CrochetCrochet PatternWire StemStuffed CrochetCrochet Charts
