

At each upper pocket corner, sew a small reinforcing line or a short bar tack. Keep the stitching close to the side seam without closing the pocket opening.
Check that each pocket remains open and that the fabric has not folded underneath during stitching.
Step 5: Make the Hanging Sleeve
Take the 25 × 5.5-inch (63.5 × 14 cm) hanging sleeve rectangle.
- Fold the rectangle in half lengthwise, with right sides together.
- Align the long raw edges.
- Stitch along the long edge using a 1/2-inch (1.27 cm) seam allowance.
- Press the seam open.
- Turn the sleeve right side out and press it flat with the seam positioned along one edge.
The finished sleeve should form a long fabric tube. Its opening needs to accommodate the selected 1/4-inch (6 mm) dowel comfortably.
Position the sleeve on the wrong side of the backing panel, aligning its raw short edges with the top edge of the panel. Baste the raw edges together using a 1/4-inch (6 mm) seam allowance.
Step 6: Assemble the Main Organizer Layers
Place the backing panel right side up on the work surface. Position the optional batting over it, then place the main organizer panel on top with its right side facing up.
Keep the hanging sleeve positioned at the top of the backing panel and away from the main pocket stitching area.
Align all outer edges and secure the layers with clips or pins.
To create a neat enclosed edge, turn the outer edges of the backing panel and main panel inward by 1/2 inch (1.27 cm). Fold the raw edges under and align the folds. This creates a finished panel measuring approximately 24 × 30 inches (61 × 76.2 cm).
Pin the folded perimeter carefully, making sure the batting remains inside the folded edges. Stitch around the organizer approximately 1/8 inch (3 mm) from the inner folded edge.
Keep the hanging sleeve opening clear. Stitching should secure its attachment without closing the passage needed for the dowel.
Step 7: Finish the Hanging Details
Insert the wooden dowel through the hanging sleeve. Check that it moves freely and that the organizer hangs evenly.
If desired, attach three small metal hooks along the lower edge for lightweight sewing accessories. Mark positions evenly and sew them securely through reinforced fabric areas using suitable hardware and reinforcement.
Hooks are optional and should not be used for heavy tools or sharp objects that could fall from the organizer.
Step 8: Final Pressing and Inspection
Press the organizer using a temperature appropriate for the fabric. Avoid pressing directly over metal hooks or delicate decorative details.
Check all pocket openings, corners, and stitching lines. Trim loose threads and confirm that the pockets remain evenly spaced.
Insert a few lightweight thread spools to check pocket depth and accessibility before filling the organizer completely.
Finally, mount the dowel using suitable wall hardware secured into an appropriate structural support. Check the combined weight of the organizer and its contents before hanging it.
Customization and Size Adjustments
One of the best features of a fabric sewing organizer is its flexibility. You can adjust the overall dimensions, pocket count, fabric combinations, and hanging details to suit your available wall space and sewing supplies.
Making a Smaller Sewing Organizer
For a compact version, use four columns and four rows of pockets. Keep each pocket at its original finished size of 3.5 × 4.5 inches (8.9 × 11.4 cm), with 1/2-inch (1.27 cm) gaps.
The pocket group will measure 15.5 inches wide by 19.5 inches high (39.4 × 49.5 cm). Add comfortable margins around the group when choosing the new panel dimensions.
This option works particularly well beside a small sewing machine or on the inside of a craft cupboard.
Creating Larger Pockets
If you prefer to store measuring tapes, fabric clips, or small sewing tools, increase the pocket dimensions.
For a finished pocket measuring 4.5 × 5.5 inches (11.4 × 14 cm), cut a rectangle measuring 5.5 × 7 inches (14 × 17.8 cm). Keep the same 1/2-inch double-fold top hem and 1/2-inch side and bottom allowances.
Recalculate the complete pocket grid before cutting the main panel. Larger compartments require more horizontal and vertical space.
Choosing Fabrics and Decorative Details
- Use floral cotton prints for a traditional sewing-room appearance.
- Choose natural linen-look fabric for a simple neutral organizer.
- Combine solid colors and small prints to distinguish pocket rows.
- Add decorative topstitching around the organizer’s outer edge.
- Use contrast thread for a handmade vintage-inspired appearance.
- Add embroidered labels above selected pockets to identify thread colors or sewing tools.
For a more decorative design, make the pocket fronts from coordinating fabric scraps. Keep the backing and organizer body in a firm, stable fabric to prevent unnecessary stretching.
Common Sewing Mistakes and How to Avoid Them
Uneven Pocket Placement
One of the most noticeable problems with a multi-pocket organizer is inconsistent spacing. Even a small measurement error can make the finished rows look crooked.
Use a ruler and fabric marker to draw all pocket positions before sewing. Check the horizontal and vertical measurements at regular intervals.
Pockets That Are Too Loose
Excessively wide pockets may allow small accessories to move around or fall out when the organizer is handled.
Keep the side folds consistent and use the finished pocket measurements as a guide. Test the pocket with a typical thread spool before attaching all 30 pieces.
Fabric That Stretches or Sags
Lightweight or loosely woven fabrics may lose their shape when filled with sewing supplies. This is particularly noticeable near the upper pockets and hanging sleeve.
Choose a medium-weight woven material and apply suitable interfacing. Avoid placing heavy accessories in the pockets.
Bulky Seam Intersections
Several layers of canvas, interfacing, and batting can become difficult to sew through, especially around the outer edges.
Use a suitable needle, sew slowly, and avoid unnecessarily thick batting. A longer stitch length can help maintain consistent topstitching through thicker layers.
Weak Pocket Corners
Pocket corners experience repeated pulling when spools and accessories are inserted or removed.
Reinforce the upper corners with backstitching or short bar tacks. Make sure the reinforcement is secure without stitching across the opening.
Pro Tip:
Before hanging your finished organizer, test it with a small selection of lightweight supplies. This allows you to identify any pocket alignment problems and check that the hanging sleeve and wall support are suitable.
Pressing, Finishing, and Care Instructions
Good pressing makes a noticeable difference in the appearance of this sewing room storage project. Press pocket hems before stitching, flatten the finished pockets after attachment, and carefully press the outer edges of the organizer.
Use a pressing cloth when working with delicate printed fabrics or heat-sensitive materials. Follow the manufacturer’s instructions when applying fusible interfacing.
Final Finishing Checklist
- Confirm that all 30 pockets are securely attached.
- Check that the pocket openings are not accidentally stitched closed.
- Inspect all upper pocket corners for reinforcement.
- Trim loose threads and remove temporary fabric markings.
- Check that the organizer hangs evenly from its dowel.
- Make sure all wooden and metal components are securely fitted.
Cleaning and Maintenance
Because this organizer contains interfacing, layered fabric, and potentially wooden accessories, gentle cleaning is recommended.
Remove the wooden dowel and metal accessories when practical. Spot-clean fabric areas using a mild fabric-safe cleaner, testing a hidden section first. If the materials are washable and all components have been removed, follow the fabric care instructions and use a gentle cycle where appropriate.
Allow the organizer to dry completely before returning sewing supplies to the pockets. Keep it away from excessive moisture and direct heat.
Creative Ways to Use Your Handmade Sewing Organizer
Although the original design is intended for thread storage, this fabric organizer can hold many other lightweight craft supplies.
- Embroidery storage: Organize embroidery floss, small scissors, and thread cards.
- Quilting accessories: Keep fabric clips, marking tools, and small notions together.
- Hand-sewing supplies: Store needles in suitable closed containers, thread, and measuring accessories.
- Craft-room organization: Separate lightweight decorative supplies, ribbons, and small fabric pieces.
- Gift idea: Personalize the organizer with a recipient’s favorite fabrics and colors.
Remember to keep sharp needles, rotary cutters, and other potentially dangerous tools in appropriate protective storage rather than exposed pockets.
At a Glance: DIY Sewing Room Storage Pattern
- Best fabric: Medium-weight cotton canvas, cotton duck, or sturdy quilting cotton.
- Skill level: Confident beginner.
- Key technique: Individual patch pocket construction and reinforced topstitching.
- Finished dimensions: Approximately 24 × 30 inches (61 × 76.2 cm).
- Finishing method: Enclosed folded edges, reinforced pockets, and a fabric hanging sleeve.
Create a Beautiful and Organized Sewing Space
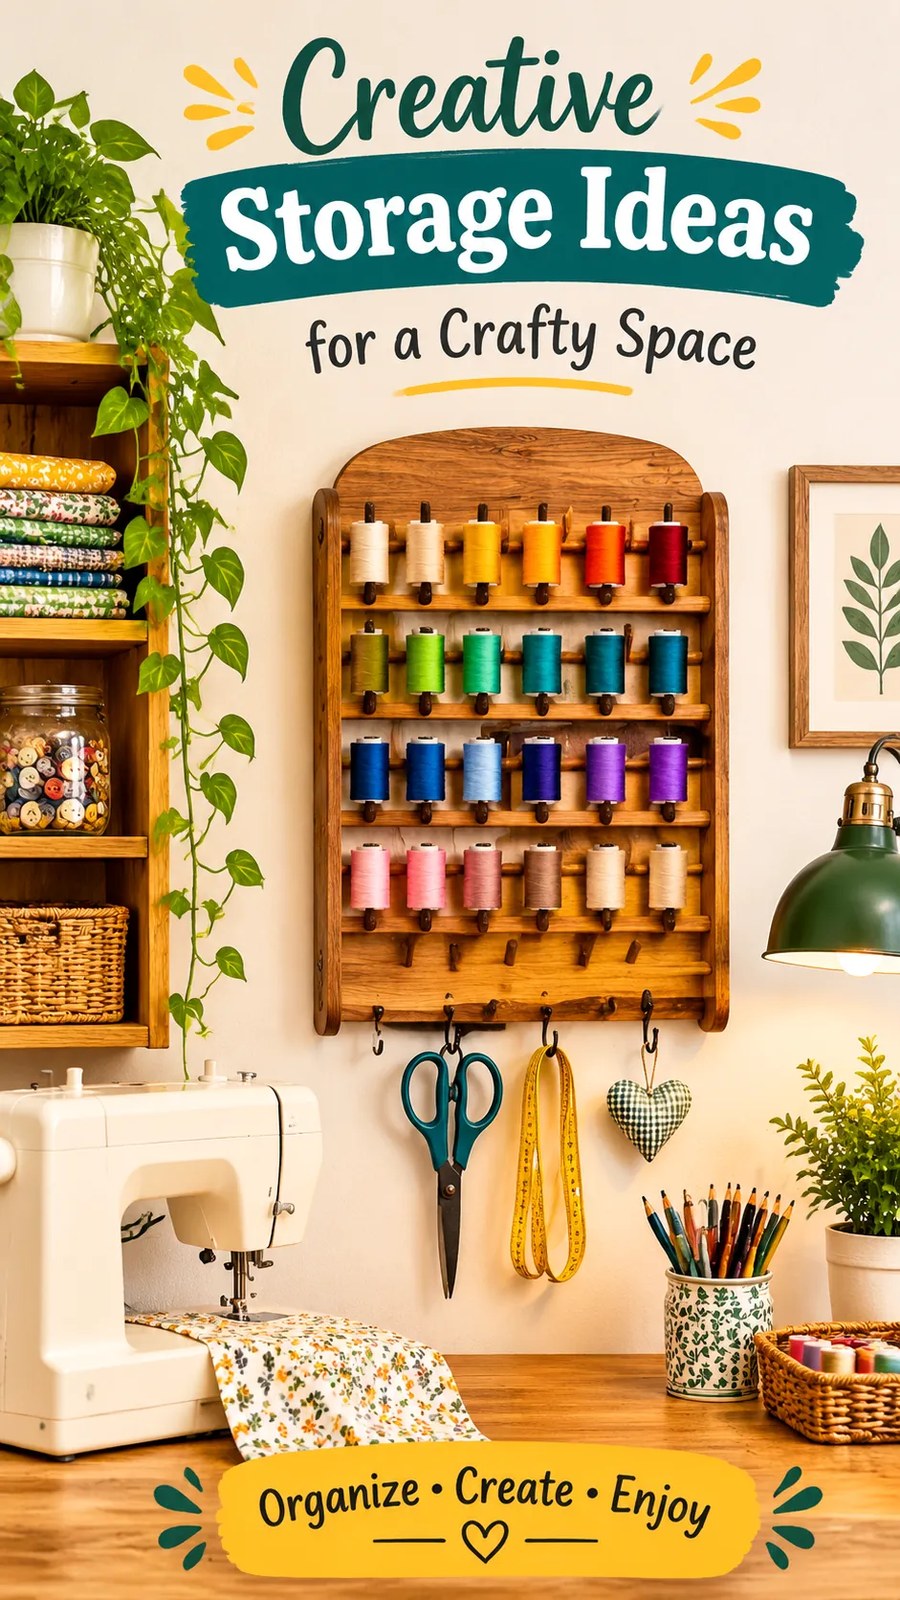
A handmade wall-mounted thread organizer is a practical way to bring more order and personality into your sewing room. Inspired by traditional wooden thread racks, this fabric version combines individual storage pockets, sturdy woven materials, and a simple hanging system to create an attractive home for your sewing essentials.
The original sewing pattern offers a useful starting point for experimenting with fabric combinations, pocket arrangements, and decorative finishes. Whether you choose vintage florals, neutral canvas, or colorful quilting cotton, you can adapt the organizer to complement your existing craft space.
Before cutting, read the complete sewing pattern, check all measurements, prepare your fabric, and test your stitch settings on fabric scraps. Take your time with the pocket placement and reinforce the areas that receive frequent handling.
With thoughtful fabric selection and careful construction, this DIY sewing room storage project can help keep your creative supplies accessible while making your sewing corner feel more personal, welcoming, and organized.
Choose your favorite fabric, gather your sewing notions, and enjoy creating a useful storage accessory that reflects your own style. A little handmade organization can make every sewing session feel more enjoyable!
Tags
Sewing Room Storage
Sewing Room Organization
Thread Organizer
DIY Sewing Organizer
Craft Room Storage
Fabric Storage Ideas
Sewing Projects
Handmade Craft Room
