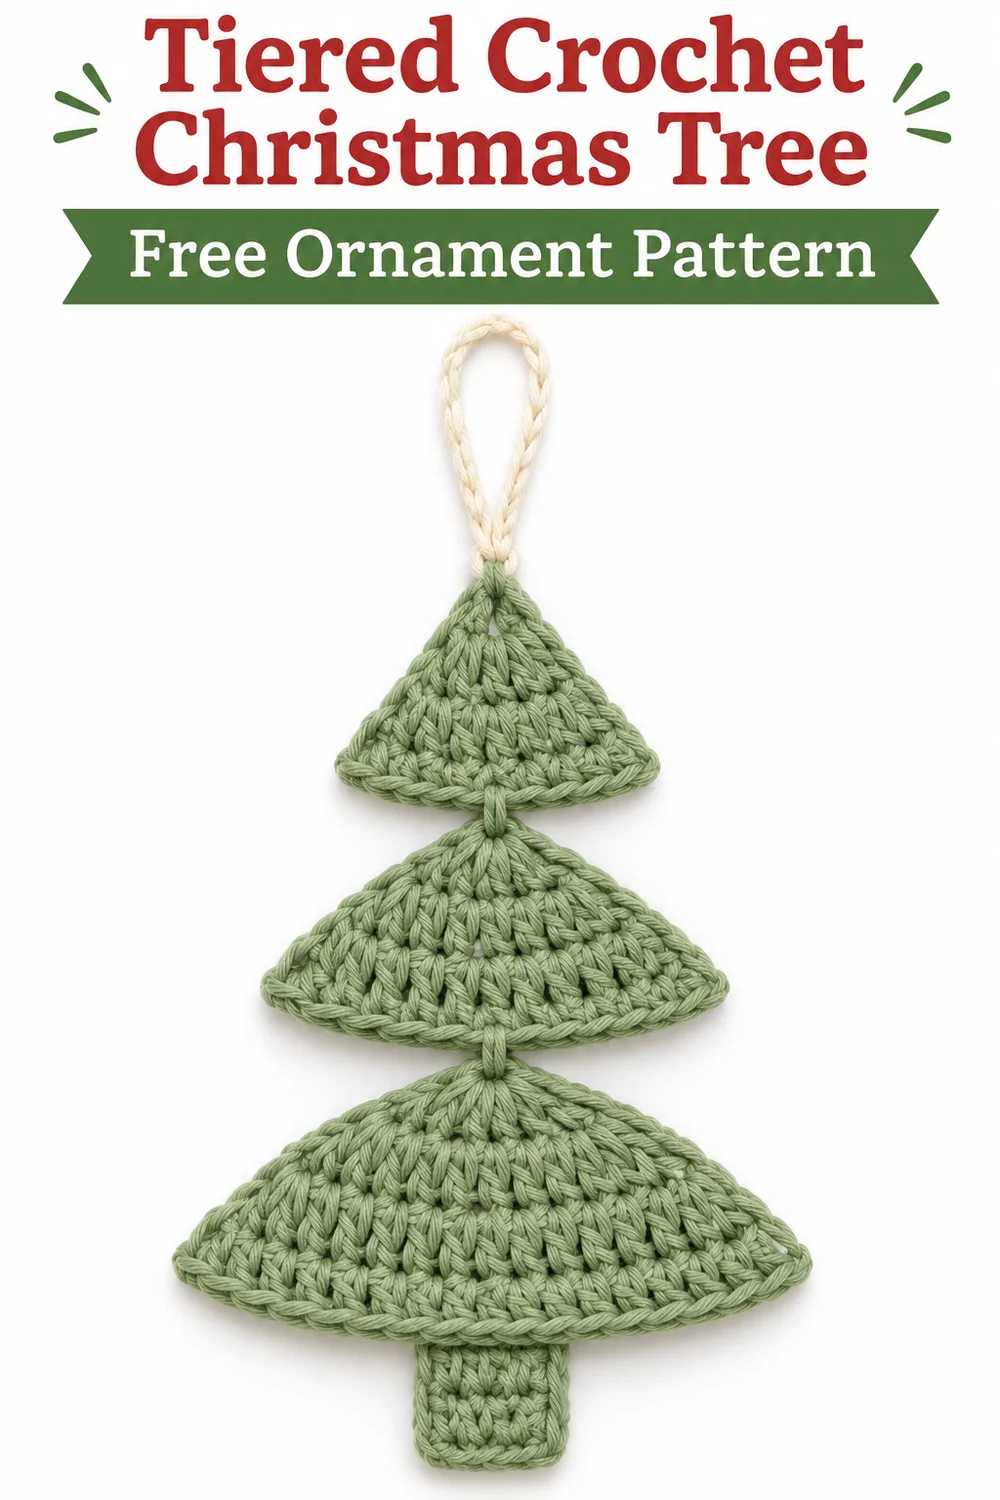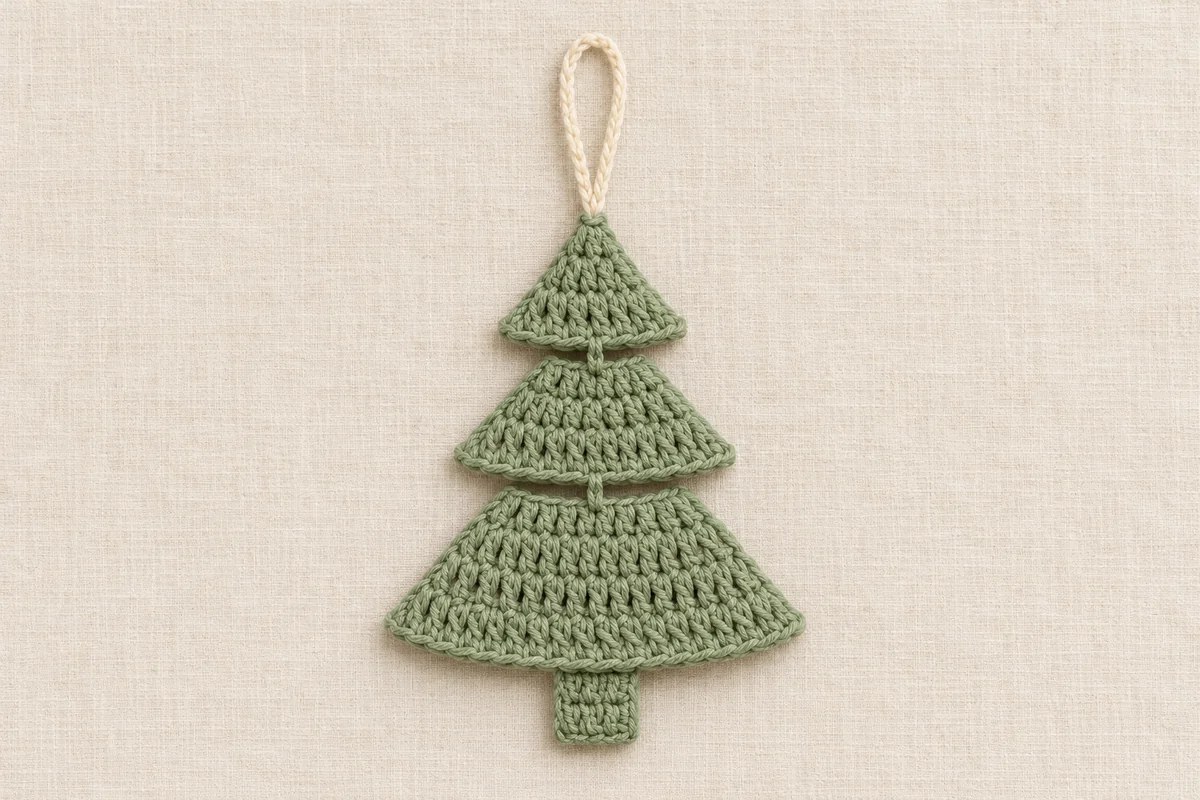
Turn without making a chain. Skip the dc at the hook and slip stitch into stitches 2 through 6. Ch 2 and work 1 dc into stitch 6, where the slip stitches ended. 1 bridge dc. The five slip stitches bring the yarn to the center of the 11-stitch row.
Bottom tier
- Row 1. Turn and ch 2. Work 3 dc into the bridge dc. 3 dc.
- Row 2. Turn and ch 2. Work 3 dc in the first dc, 1 dc in the middle dc, and 3 dc in the last dc. 7 dc.
- Row 3. Turn and ch 2. Work 3 dc in the first dc, 1 dc in each of the next 5 dc, and 3 dc in the last dc. 11 dc.
- Row 4. Turn and ch 2. Work 3 dc in the first dc, 1 dc in each of the next 9 dc, and 3 dc in the last dc. 15 dc.
Centered trunk and cream loop
Trunk Row 1. Turn without chaining. Skip the dc at the hook and slip stitch into stitches 2 through 7. Ch 1, sc in stitch 7 where the last sl st was made, then sc in stitches 8 and 9. 3 sc. Leave the rest of the tier unworked.
Trunk Rows 2–3. Turn, ch 1, and sc in all 3 sts. Fasten off after Row 3. Weave the green tails into the back of the ornament.
Hanger. With cream, ch 18 and fasten off, leaving tails at both ends. Fold the chain in half and sew the two ends through the top foundation chain and around the adjacent dc bases. Hold the ornament by the loop before weaving the tails in, so you can check that the trunk hangs directly below the tip.
Finishing and Troubleshooting
One side of a tier pulls inward
Keep the slip stitches used to move toward the center relaxed. If they gather the lower edge of a tier, undo the slip stitches and remake them with more ease. Insert the hook under both top loops of each dc along the path.
The tree leans to one side
Count the completed tier first. The bridge stitches belong in stitch 4 of 7 and stitch 6 of 11. The trunk spans stitches 7–9 of 15. Place a marker in each center stitch before making the slip-stitch return if you tend to lose your place.
The tier corners curl
Check that the first and last dc have the same number of stitches worked into them. Shape both corners of each tier while the ornament is damp, if your yarn label allows. Pin the bridges in line with the trunk and let the tree dry flat.
More Christmas Ornaments to Crochet
Try a spiral crochet Christmas tree for another tree shape, or pair this ornament with a crochet heart bell and a blue lace crochet star.
Pins and Tiered Crochet Christmas Tree Charts
Use the full symbol chart to follow all three tiers. The second tabletop sheet enlarges the return path and bridge between tiers. The trunk diagram shows the three stitches to work at the center of the widest row.