

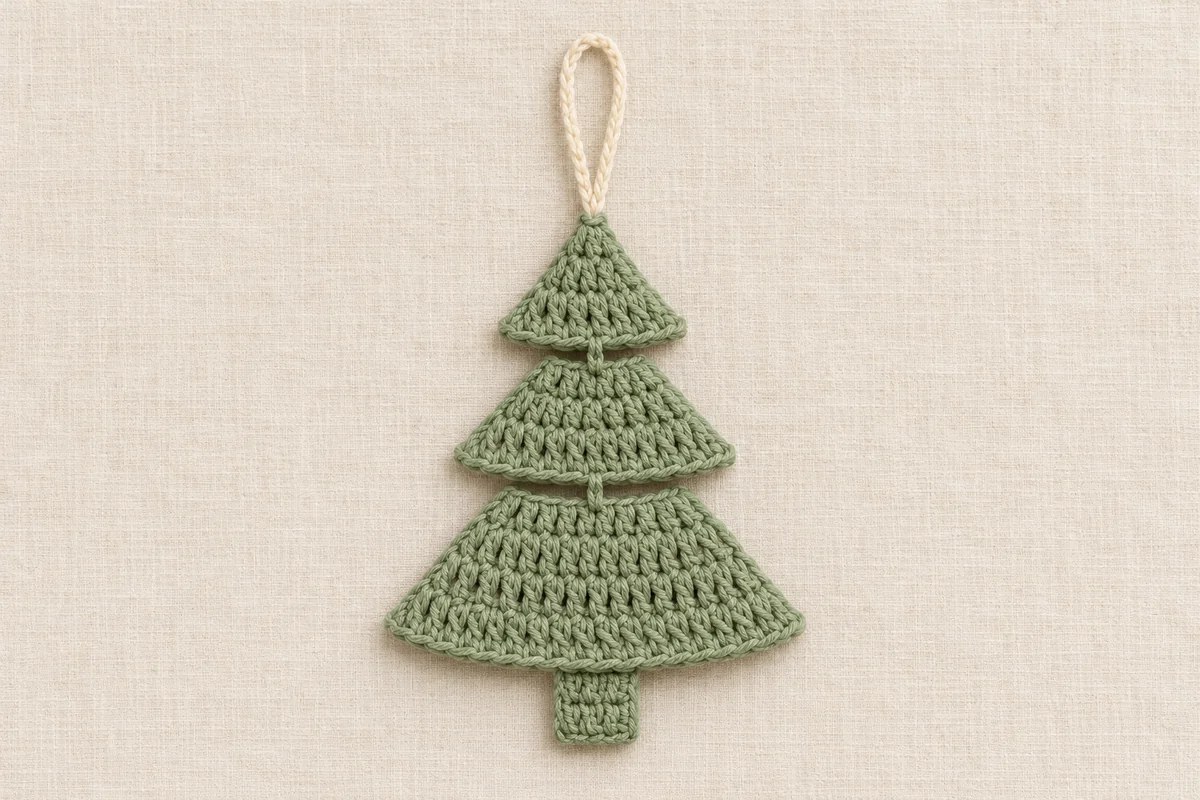
This tiered crochet Christmas tree has three sage green sections, a short trunk, and a cream hanging loop. A narrow stitch joins each pair of tiers at the center, leaving an opening on either side.
Start at the tip and work down. The first tier widens by two stitches per shaping row, while the next two widen by four. Slip stitches carry the working yarn back to the center after each tier, so you can make the tree with one continuous strand of green.
This original pattern takes its shape from the reference photo. The written instructions and symbol charts give the placement for each tier, the center joins, and the trunk. The styled photos show how the finished ornament can look.
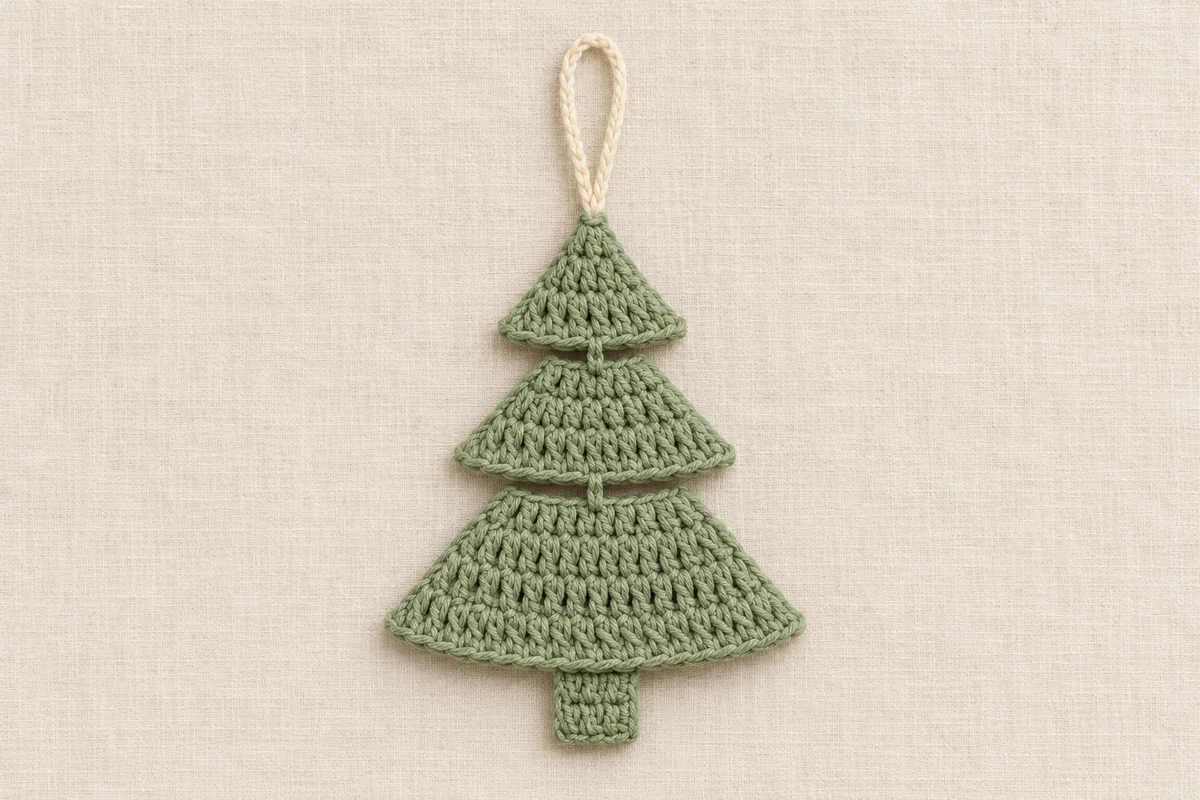
Tiered Crochet Christmas Tree Materials
- Smooth sage green yarn for the tree and trunk, plus cream yarn for the hanger.
- A crochet hook that suits your yarn, a tapestry needle, scissors, and two removable stitch markers.
- Optional rustproof pins and a blocking mat.
Cotton gives the tier edges a clear outline. Choose a hook that gives the double crochets enough body to hold their shape. The ornament can be made with different yarn weights. Keep the hook and yarn consistent across all three tiers.
US Crochet Abbreviations
- ch = chain
- sl st = slip stitch
- sc = single crochet
- dc = double crochet
- st(s) = stitch(es)
The beginning chains do not count as stitches. Work each first dc in the first working stitch unless directed otherwise. For standard terminology, see the Craft Yarn Council crochet abbreviations.
Tiered Crochet Christmas Tree Pattern
Top tier
- Row 1. With sage, ch 4. Work 3 dc into the fourth ch from the hook. 3 dc. Mark this foundation chain for the hanging loop.
- Row 2. Turn and ch 2. Work 2 dc in the first dc, 1 dc in the middle dc, and 2 dc in the last dc. 5 dc.
- Row 3. Turn and ch 2. Work 2 dc in the first dc, 1 dc in each of the next 3 dc, and 2 dc in the last dc. 7 dc.
First center bridge
Turn without making a chain. Number the 7 dc from the edge nearest the hook. The stitch at the hook is stitch 1. Slip stitch into stitches 2, 3, and 4, ending in the center dc. Ch 2 and work 1 dc into that same center stitch. 1 bridge dc. Let the bridge point down toward the next tier.
Middle tier
- Row 1. Turn and ch 2. Work 3 dc into the bridge dc. 3 dc.
- Row 2. Turn and ch 2. Work 3 dc in the first dc, 1 dc in the middle dc, and 3 dc in the last dc. 7 dc.
- Row 3. Turn and ch 2. Work 3 dc in the first dc, 1 dc in each of the next 5 dc, and 3 dc in the last dc. 11 dc.
