

- Work 2 double crochets,
- Make 1 sprig stitch,
- Then add 2 more double crochets.
Text Chart (Side Structure)
4. Forming the Remaining Corners
Every time you reach a corner space:
- Work 3 double crochets,
- Chain 2,
- Work 3 double crochets again in the same space.
Text Chart (Corner Group)
5. Increasing Subsequent Rounds
As your square grows:
- Place sprig stitches in the spaces between groups from the previous round.
- Maintain the corner formula in every round.
Text Chart (General Round)
6. Finishing
Once your Sprig Stitch Corner reaches the desired size:
- Fasten off.
- Weave in ends using a tapestry needle.
- Block the square if you want a sharper look.
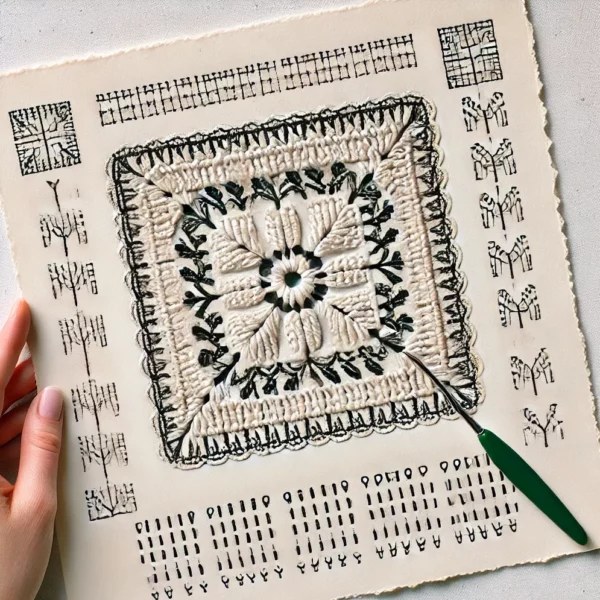
ASCII Crochet Chart – Full Sample (Small 2-Round Square)
This is a visual text diagram representing a simplified Sprig Stitch Corner square:
Key:
- = double crochet
- = sprig stitch (3 loop pull-ups + close + ch1)
- = corner space
Extra Tips for a Perfect Sprig Stitch Square
- Keep all pulled loops the same height for a clean texture.
- Don’t tighten your sprig too much—its charm is the airy, layered look.
- Solid colors highlight the stitch better than variegated yarns.
- Use stitch markers in corners for the first few rounds.
Conclusion
The Sprig Stitch Corner is a stunning crochet technique that blends structure with gentle texture.
Because the sprigs sit slightly off the fabric, the square gains depth and personality—perfect for blankets, home décor, or modular projects.
CONTENT END 2
Pages: 1 2
