

image
content
Craft. Ideas_02
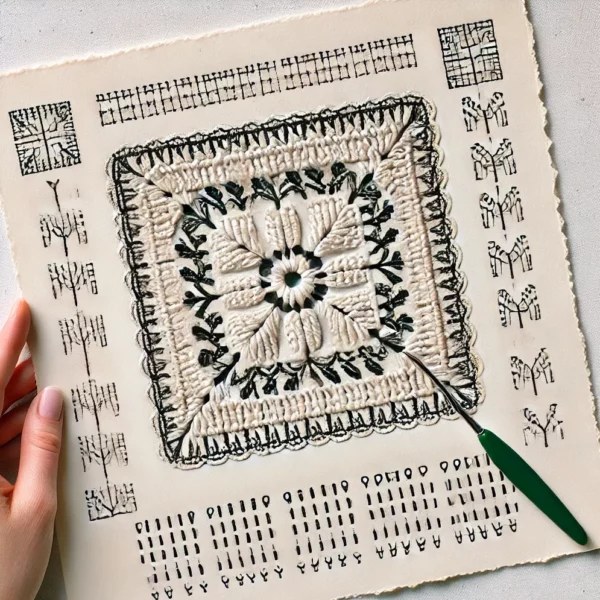
The Sprig Stitch Corner is a beautiful and textured crochet pattern that combines delicacy with structure, making it perfect for blankets, table toppers, squares, and decorative motifs.
This stitch creates small “sprigs” that look like tiny branches, offering a soft and dimensional effect.
Craft. Ideas_03
Below you will find a clear and original step-by-step tutorial, along with ASCII crochet charts (text diagrams) that you can use in your blog.

Materials You Will Need
- Cotton or cotton-blend yarn
- Crochet hook appropriate for the yarn weight (usually 3.0 mm–4.0 mm)
- Scissors
- Tapestry needle
Understanding the Sprig Stitch
The sprig stitch is made by pulling up several elongated loops in the same stitch and closing them together. This creates a layered, textured “sprig” that stands out beautifully.
In the corner version, the stitch grows evenly from all four sides, maintaining balance and symmetry.
Sprig Stitch Corner – Step-by-Step
1. Foundation (Corner Center)
- Start with a magic ring.
- Chain 3 (counts as 1 double crochet).
- Work 2 double crochets inside the ring.
- Chain 2 (this forms your first corner).
Text Chart (Round 1 – Start)
2. First Sprig Stitch
- Yarn over and insert hook into the center.
- Pull up a long loop.
- Repeat this three times, keeping loops on the hook.
- Yarn over and pull through all loops.
- Chain 1 to secure the sprig.
Sprig Stitch Symbol (ASCII Diagram)
3. Completing the First Side
After the sprig stitch:
