

Stitch count: 20. Turn.
Lobe Row 4
Ch 2, dc2tog, dc in next 16 sts, dc2tog.
Stitch count: 18. Turn.
Lobe Row 5
Ch 2, dc2tog, dc in next 14 sts, dc2tog.
Stitch count: 16. Turn.
Lobe Row 6
Ch 2, dc2tog, dc in next 12 sts, dc2tog.
Stitch count: 14. Turn.
Lobe Row 7
Ch 2, dc2tog, dc in next 10 sts, dc2tog.
Stitch count: 12. Fasten off.
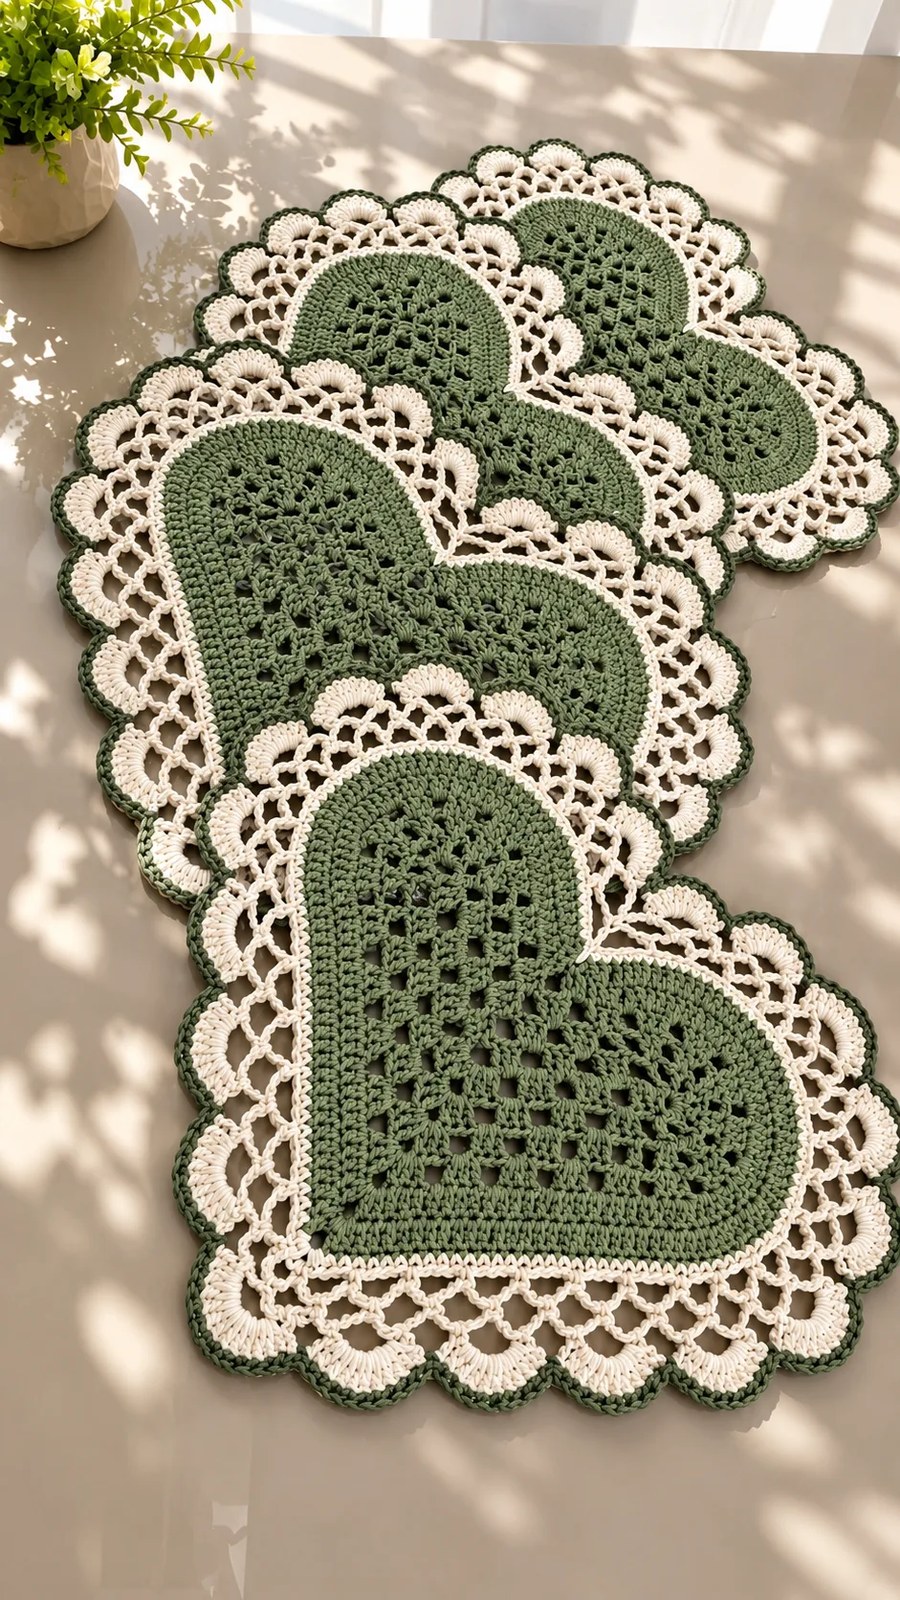
Work the second lobe exactly the same way. You should now have a symmetric heart with a 7 row cleft and two softly sloping tops.
Smooth the Body Edge (Color A)
Join Color A at the lower point and sc evenly around the entire body. Start with about 2 sc per dc row end, 1 sc per top stitch, and 3 sc at the bottom point. Work sc2tog across the deepest part of the cleft to prevent a gap from forming.
If your edging starts to ruffle, reduce to 1 sc in selected row ends. Mark the point and cleft with stitch markers. Join and fasten off.
This is an eased edging, not a fixed count round. The goal is a flat, smooth edge around your heart.
Open Lace and Scallops
Now for the pretty part! You will add the cream lace border and scalloped edge.
Round 1: Color B Outline
Join Color B at the point. Sc in each edging st around. Work (sc, ch 2, sc) in the middle point stitch. At the cleft, work sc2tog over the 2 central stitches.
Join with a sl st. Lay your heart flat and record your edging count for the remaining hearts. A flat heart is more important than forcing a specific perimeter count.
Round 2: Mesh
Sl st into point space. Ch 1, work (sc, ch 5, sc) in point.
Repeat: ch 5, skip 2 sts, sc in next st all the way around.
At the cleft, use ch 3 in place of ch 5 to draw it inward. Adjust the final skip to 1 or 3 stitches if needed to make everything work out evenly. Join to first sc. Mark the point loop.
Round 3: Mesh
Sl st into first ch-5 loop. Ch 1, sc into loop.
Repeat: ch 5, sc in next loop around.
At the point, work (sc, ch 5, sc) in the marked point loop to add one loop. At the cleft, use ch 3 again. End with ch 5 and join to first sc.
Lay flat before continuing to make sure everything looks good.
Round 4: Fans
Sl st into first loop. Work (sc, hdc, 5 dc, hdc, sc) in each loop around.
In the cleft loop, use (sc, hdc, dc, hdc, sc) instead to avoid crowding.
Join and fasten off. Each normal fan has 9 stitches, and the cleft fan has 5 stitches.
Round 5: Fine Color A Edge
Join Color A anywhere. Sl st loosely in each fan stitch. Work ch 1 between neighboring fans. Join invisibly, fasten off, and weave in your ends.
Tip: If the outer edge contracts or pulls in, use a larger hook for this round.
Color Detail
Keep all four centers in sage green (Color A) and all four lace surrounds in cream (Color B), with the same fine sage green scallop outline. Consistent yarn thickness is essential for matching motif sizes.
Blocking Each Heart
Blocking makes all the difference with lace projects. Do not skip this step!
Soak each heart briefly as directed by your yarn label. Press gently in towels to remove excess water. Pin each piece to identical dimensions on your blocking board or mat.
Shape the two lobes evenly and gently open each lace loop so they show off beautifully. Do not stretch one heart to compensate for a different gauge. Let them dry fully before joining.
Arranging and Joining the Four Hearts
Lay all four hearts facing the same direction. Place the point of heart 2 over the cleft of heart 1, overlapping about 3 to 5 cm. Repeat for hearts 3 and 4.
Choose an overlap that hides the join while keeping both lobes visible. The runner length equals 4 times the heart height minus 3 times the overlap.
Sewing the Joins
Using matching thread or split cotton yarn, make small whipstitches only where the two lace borders touch. Secure an area about 6 to 8 cm wide at each overlap. Do not sew a hard straight seam through the centers.
Keep joins flat with no dangling loops underneath. Lift gently to confirm all sections remain connected.
Care Instructions
Hand wash in cool water if the yarn label allows. Avoid wringing. Lay flat and reshape all scallops while drying.
Place a protective layer beneath hot serving dishes to protect your beautiful work.
Sample Review Checklist
Before you call this project done, confirm the following:
If your runner curls, the border needs more ease. If it waves, you have too many edge stitches. Record your finished dimensions and actual yarn consumption from your sample.
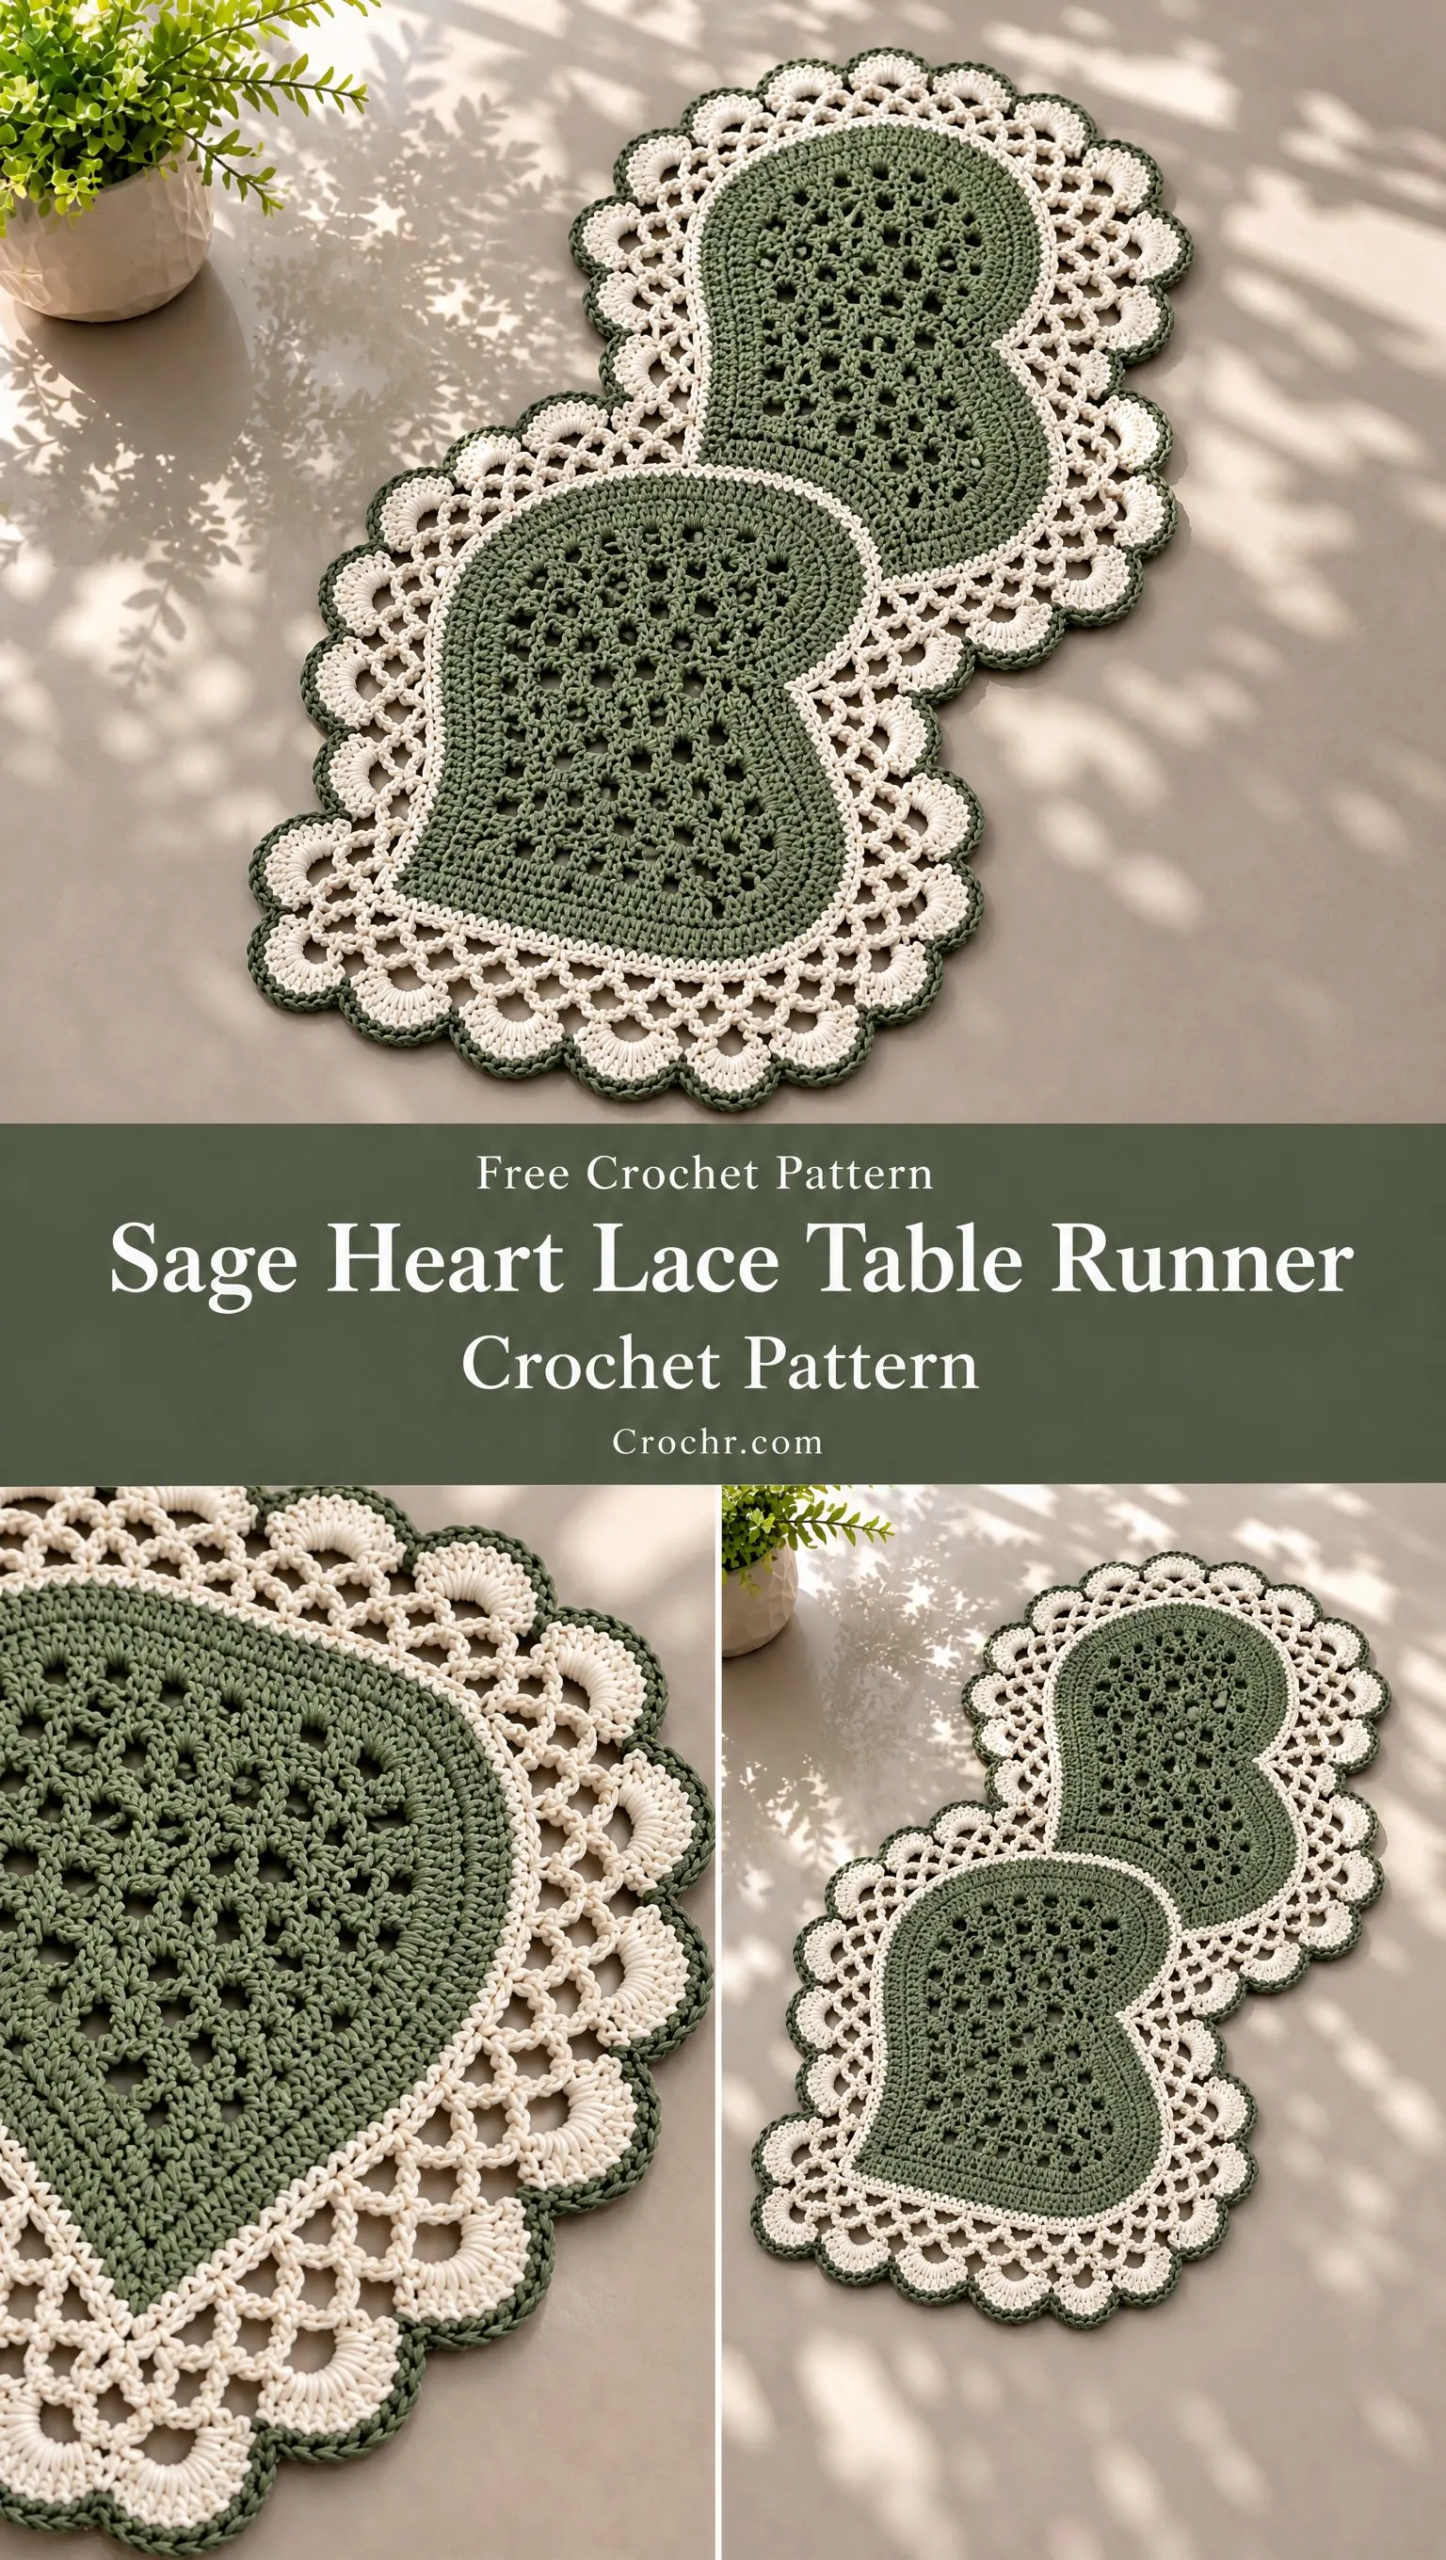
Final Thoughts on the Sage Heart Lace Table Runner Crochet Pattern
This Sage Heart Lace Table Runner is the kind of project that feels like a real accomplishment when you are done. The combination of structured filet hearts with delicate lace edging creates something truly special, and the sage and cream color palette works beautifully in so many homes.
Whether you are making this for your own dining table, as a wedding gift, or for a special holiday celebration, it is sure to become a treasured piece. The four heart design also makes it perfect for Valentine’s Day, anniversaries, or just because you want something beautiful on your table.
Thank you so much for choosing this pattern! I really hope you love making it as much as I loved designing it.
If you make this runner, I would absolutely love to see it! Tag me on Instagram or share a photo in my Facebook group. There is nothing better than seeing your creations come to life.
If you want to save this Sage Heart Lace Table Runner pattern for later, go ahead and pin it to your favorite Pinterest board. And if you do make it, please drop a comment below and let me know how it turned out. I always love hearing from you!
You Might Also Like
- Creamy White Boho Peplum Sleeve Top Free Crochet Pattern
- Mint Green Frog Baby Romper Free Crochet Pattern
- Ivory Daisy Halter Top Crochet Pattern
- Rust Terracotta Autumn Granny Cardigan Free Crochet Pattern
CONTENT END 1
