

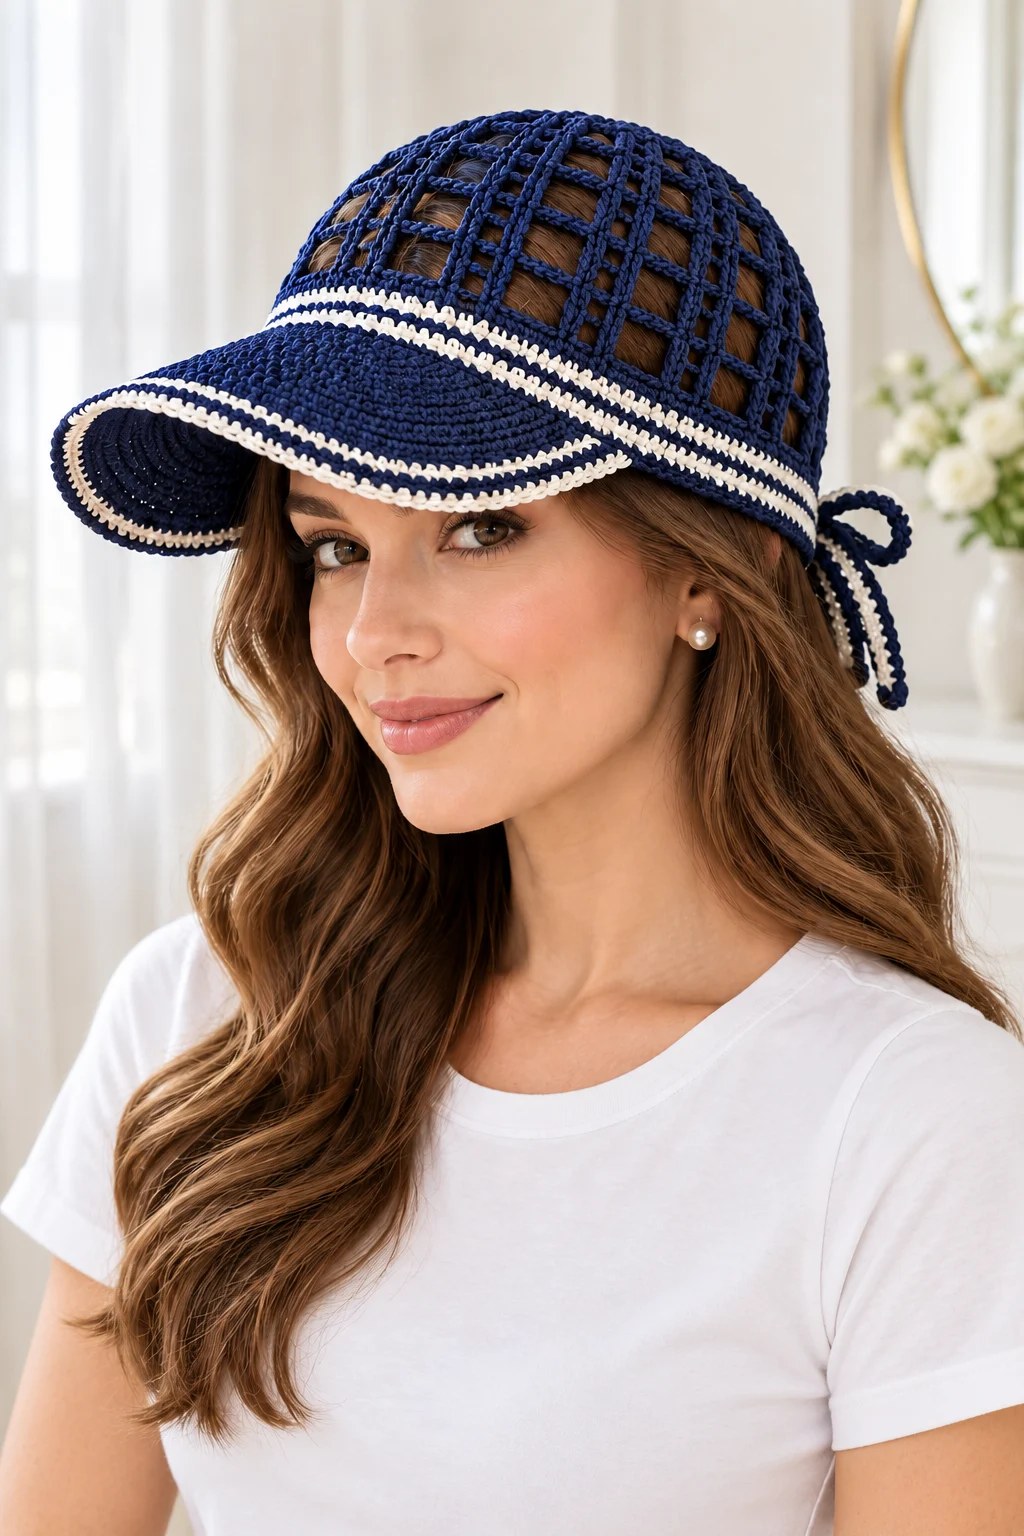
Rounds 12 to 14:Ch 3; 59 times; ch 1, join.60 dc + 60 ch 1 spaces. Repeat this instruction on every listed round.
Rear Opening
Mark a rear arc of 7 mesh cells. Place the working start at the first boundary post of the remaining 53 cell front arc. Cut and rejoin yarn there if needed.
Row 15:Ch 3; 53 times along the front arc. Leave rear 7 cells unworked; turn.54 dc + 53 ch 1 spaces; 53 cells.
Rows 16 to 19: Work small mesh across; turn. 54 dc + 53 ch 1 spaces; 53 cells. Repeat this instruction on every listed row.
Checkpoint: Crown circumference before opening should measure about 54.5 cm. Rear notch should measure about 6.4 cm wide x 4.2 cm deep. Block crown to approximately 18 cm depth, adjusting only the straight mesh row count if needed.
Visor (Make 2 Matching Layers)
Switch to 2.25 mm hook. The starting edge attaches to the cap later. For the wide version, block width to 21 cm. For petite versions, block to 19 cm without changing stitch counts.
Row 1: Ch 45; sc in second ch and each remaining ch; turn. 44 sc.
Row 2: Ch 1, sc2tog, sc in next 40 sts, sc2tog; turn. 42 sc.
Row 3: Ch 1, sc2tog, sc in next 38 sts, sc2tog; turn. 40 sc.
Row 4: Ch 1, sc2tog, sc in next 36 sts, sc2tog; turn. 38 sc.
Row 5: Ch 1, sc2tog, sc in next 34 sts, sc2tog; turn. 36 sc.
Row 6: Ch 1, sc2tog, sc in next 32 sts, sc2tog; turn. 34 sc.
Row 7: Ch 1, sc2tog, sc in next 30 sts, sc2tog; turn. 32 sc.
Row 8: Ch 1, sc2tog, sc in next 28 sts, sc2tog; turn. 30 sc.
Row 9: Ch 1, sc2tog, sc in next 26 sts, sc2tog; turn. 28 sc.
Row 10: Ch 1, sc2tog, sc in next 24 sts, sc2tog; turn. 26 sc.
Row 11: Ch 1, sc2tog, sc in next 22 sts, sc2tog; turn. 24 sc.
Row 12: Ch 1, sc2tog, sc in next 20 sts, sc2tog; turn. 22 sc.
Row 13: Ch 1, sc2tog, sc in next 18 sts, sc2tog; turn. 20 sc.
Row 14: Ch 1, sc2tog, sc in next 16 sts, sc2tog; turn. 18 sc.
Fasten off. Make a second identical visor layer.
Assembly
You will need: Main color yarn, 2.25 mm hook, tapestry needle, both visor layers, optional flexible insert.
Assembly Pass 1: Align visor layers WS together. Whipstitch their shaped outer edges, inserting the optional washable support before closing the last edge. 2 layers joined.
Assembly Pass 2: Center the 44 st starting edge over the front 44 stitch positions of the cap rim. Sew through both visor layers and cap edge once per position. 44 attachment stitches.
Checkpoint: Visor sits symmetrically opposite the rear opening and curves down slightly. No sharp insert corners should protrude.
Edgings and Details
You will need: Main or named contrast color, 2.25 mm hook, motifs, pearl beads only for pearl versions.
Edging Round 1: Sc around the rear opening and exposed lower rim, using 1 sc per stitch/chain position and 2 sc per dc row end. Mark and record actual total E. E sc.
Edging Round 2: Work 1 sc in each sc. For scalloped versions, add shell trim on the exposed lower sides only, leaving up to 5 remainder sts as sc. For picot versions, use picot trim. For straight edges, use plain sc. E base stitches consumed.
Tie Row 1 (Make 2): Ch 66, sl st in second ch and each remaining ch; fasten off. Attach one tie to each lower rear corner. 65 sl sts per tie.
Stripe Versions: Work two contrast sc rows along the visor outer edge in white. For a long bow, lengthen each tie to 90 chains.
Checkpoint: Ties close comfortably without pulling the opening shut. All decorations are secure and visor remains centered.
Finishing
You will need: Matching yarn tails, tapestry needle, towel and a head shaped blocking form.
Finishing Pass 1: Weave each tail through at least 4 cm of dense fabric, reverse direction and trim. 0 unsecured tails.
Finishing Pass 2: Damp block the crown over a 54 to 55 cm form and shape visor by hand; air dry fully. 1 finished cap.
Checkpoint: Target head range 54 to 57 cm. Crown about 18 cm deep. Visor about 20 x 6 cm. Do not stretch lace while wet.
Care and Safety
Follow your yarn label for specific care instructions. Unless it specifies otherwise, hand wash cool with mild detergent, support the wet fabric and dry flat away from direct heat. Remove any removable visor insert before washing. Do not wring, tumble dry or iron acrylic components.
This is an adult item only. Beads, tassels and appliques are small parts and snagging hazards. Attach securely and inspect before wear. Keep away from babies and young children. Avoid loose cords around machinery. Open mesh does not provide sun protection or opaque coverage.
Tips for Success
Watch your tension. Cotton yarn does not have the stretch that acrylic does. If your crown is coming out too small, try going up a hook size. Too loose and floppy? Go down.
Block before assembly. Blocking the crown and visor pieces separately before joining them gives you a chance to adjust dimensions and see how the fabric behaves.
Mark your rounds. Those increase rounds in the crown disc can get confusing. Use stitch markers to track the beginning of each round and the increase positions.
Try the cap on as you go. Once you finish the crown disc and start the straight sides, try it on periodically. You can add or subtract mesh rounds to adjust the depth.
Who Will Love This Cap
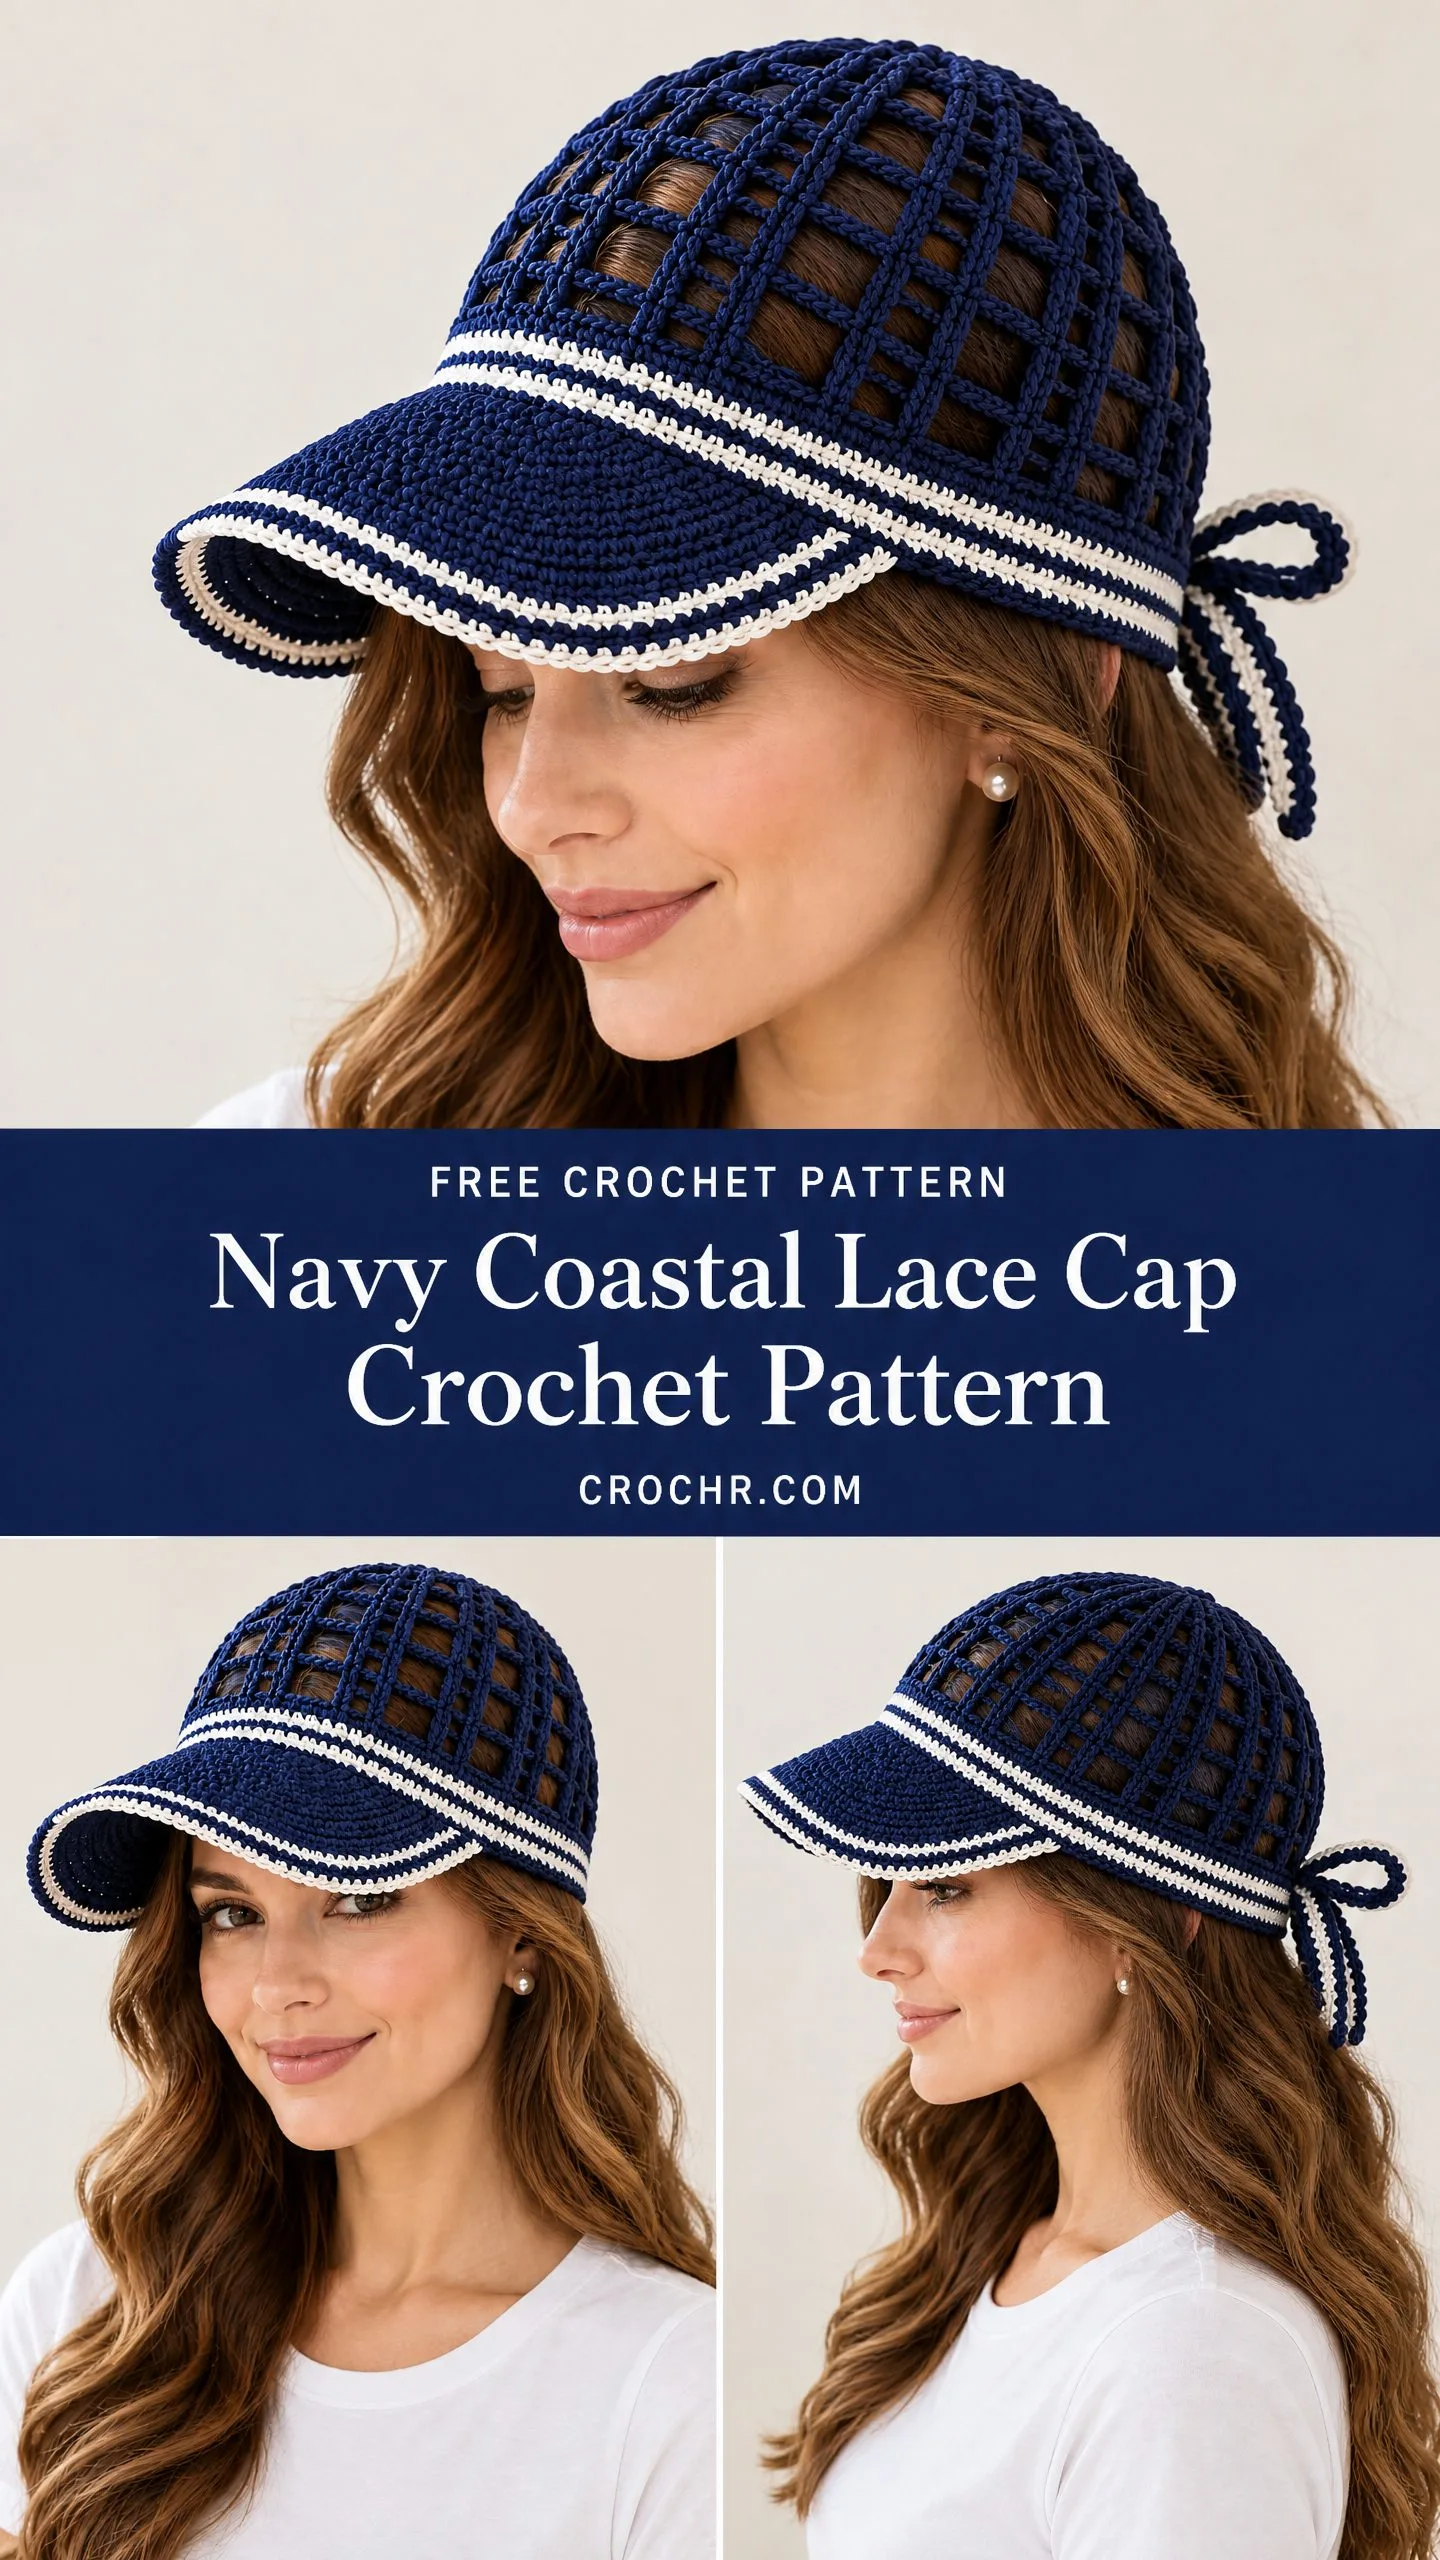
This nautical lace cap makes a wonderful gift for anyone who spends time outdoors in warm weather. The ponytail opening is practical for gardeners, runners, beach lovers, and tennis players.
The sophisticated navy and white color scheme suits a wide range of styles. It looks just as good with a sundress as it does with casual weekend wear.
Because of the open mesh crown, this cap provides ventilation rather than full sun protection. Think of it as a stylish accessory for partially shaded activities rather than a replacement for a wide brimmed sun hat.
Thank you so much for choosing this pattern! The combination of airy lace and structured visor creates something really special, and you are going to love wearing it. If you make this navy coastal lace cap, I would love to see your finished project. Tag your photos on Instagram or share them in our Facebook group.
Save this pattern to your Pinterest boards so you can find it when you are ready to start, and drop a comment below if you have any questions or just want to share your progress. Happy crocheting!
You Might Also Like
- Amethyst Fan Lace Placemat Crochet Pattern
- Sage Green Cottagecore Heart Crochet Cardigan Pattern
- Mustard Yellow Boho Tassel Bag Free Crochet Pattern
- Ocean Blue Hooded Toddler Sweater Free Crochet Pattern
CONTENT END 1
