

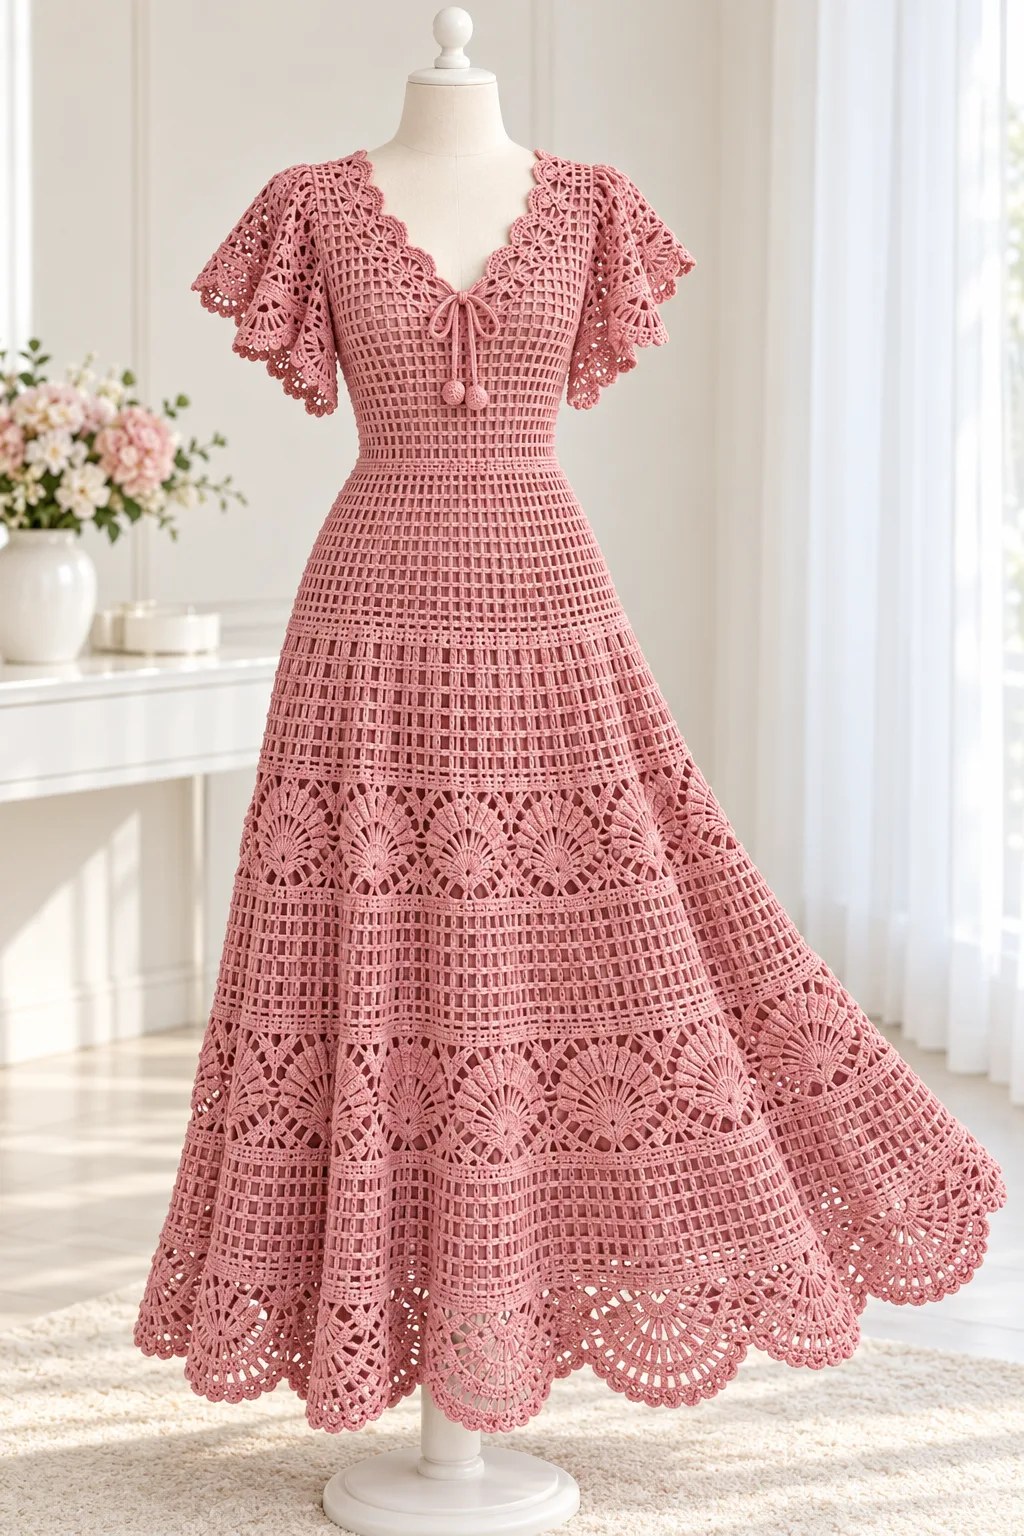
I don’t know about you, but I love a crochet dress that looks like it belongs on a romantic getaway. All the elegance of vintage lace with none of the stiff, scratchy nonsense.
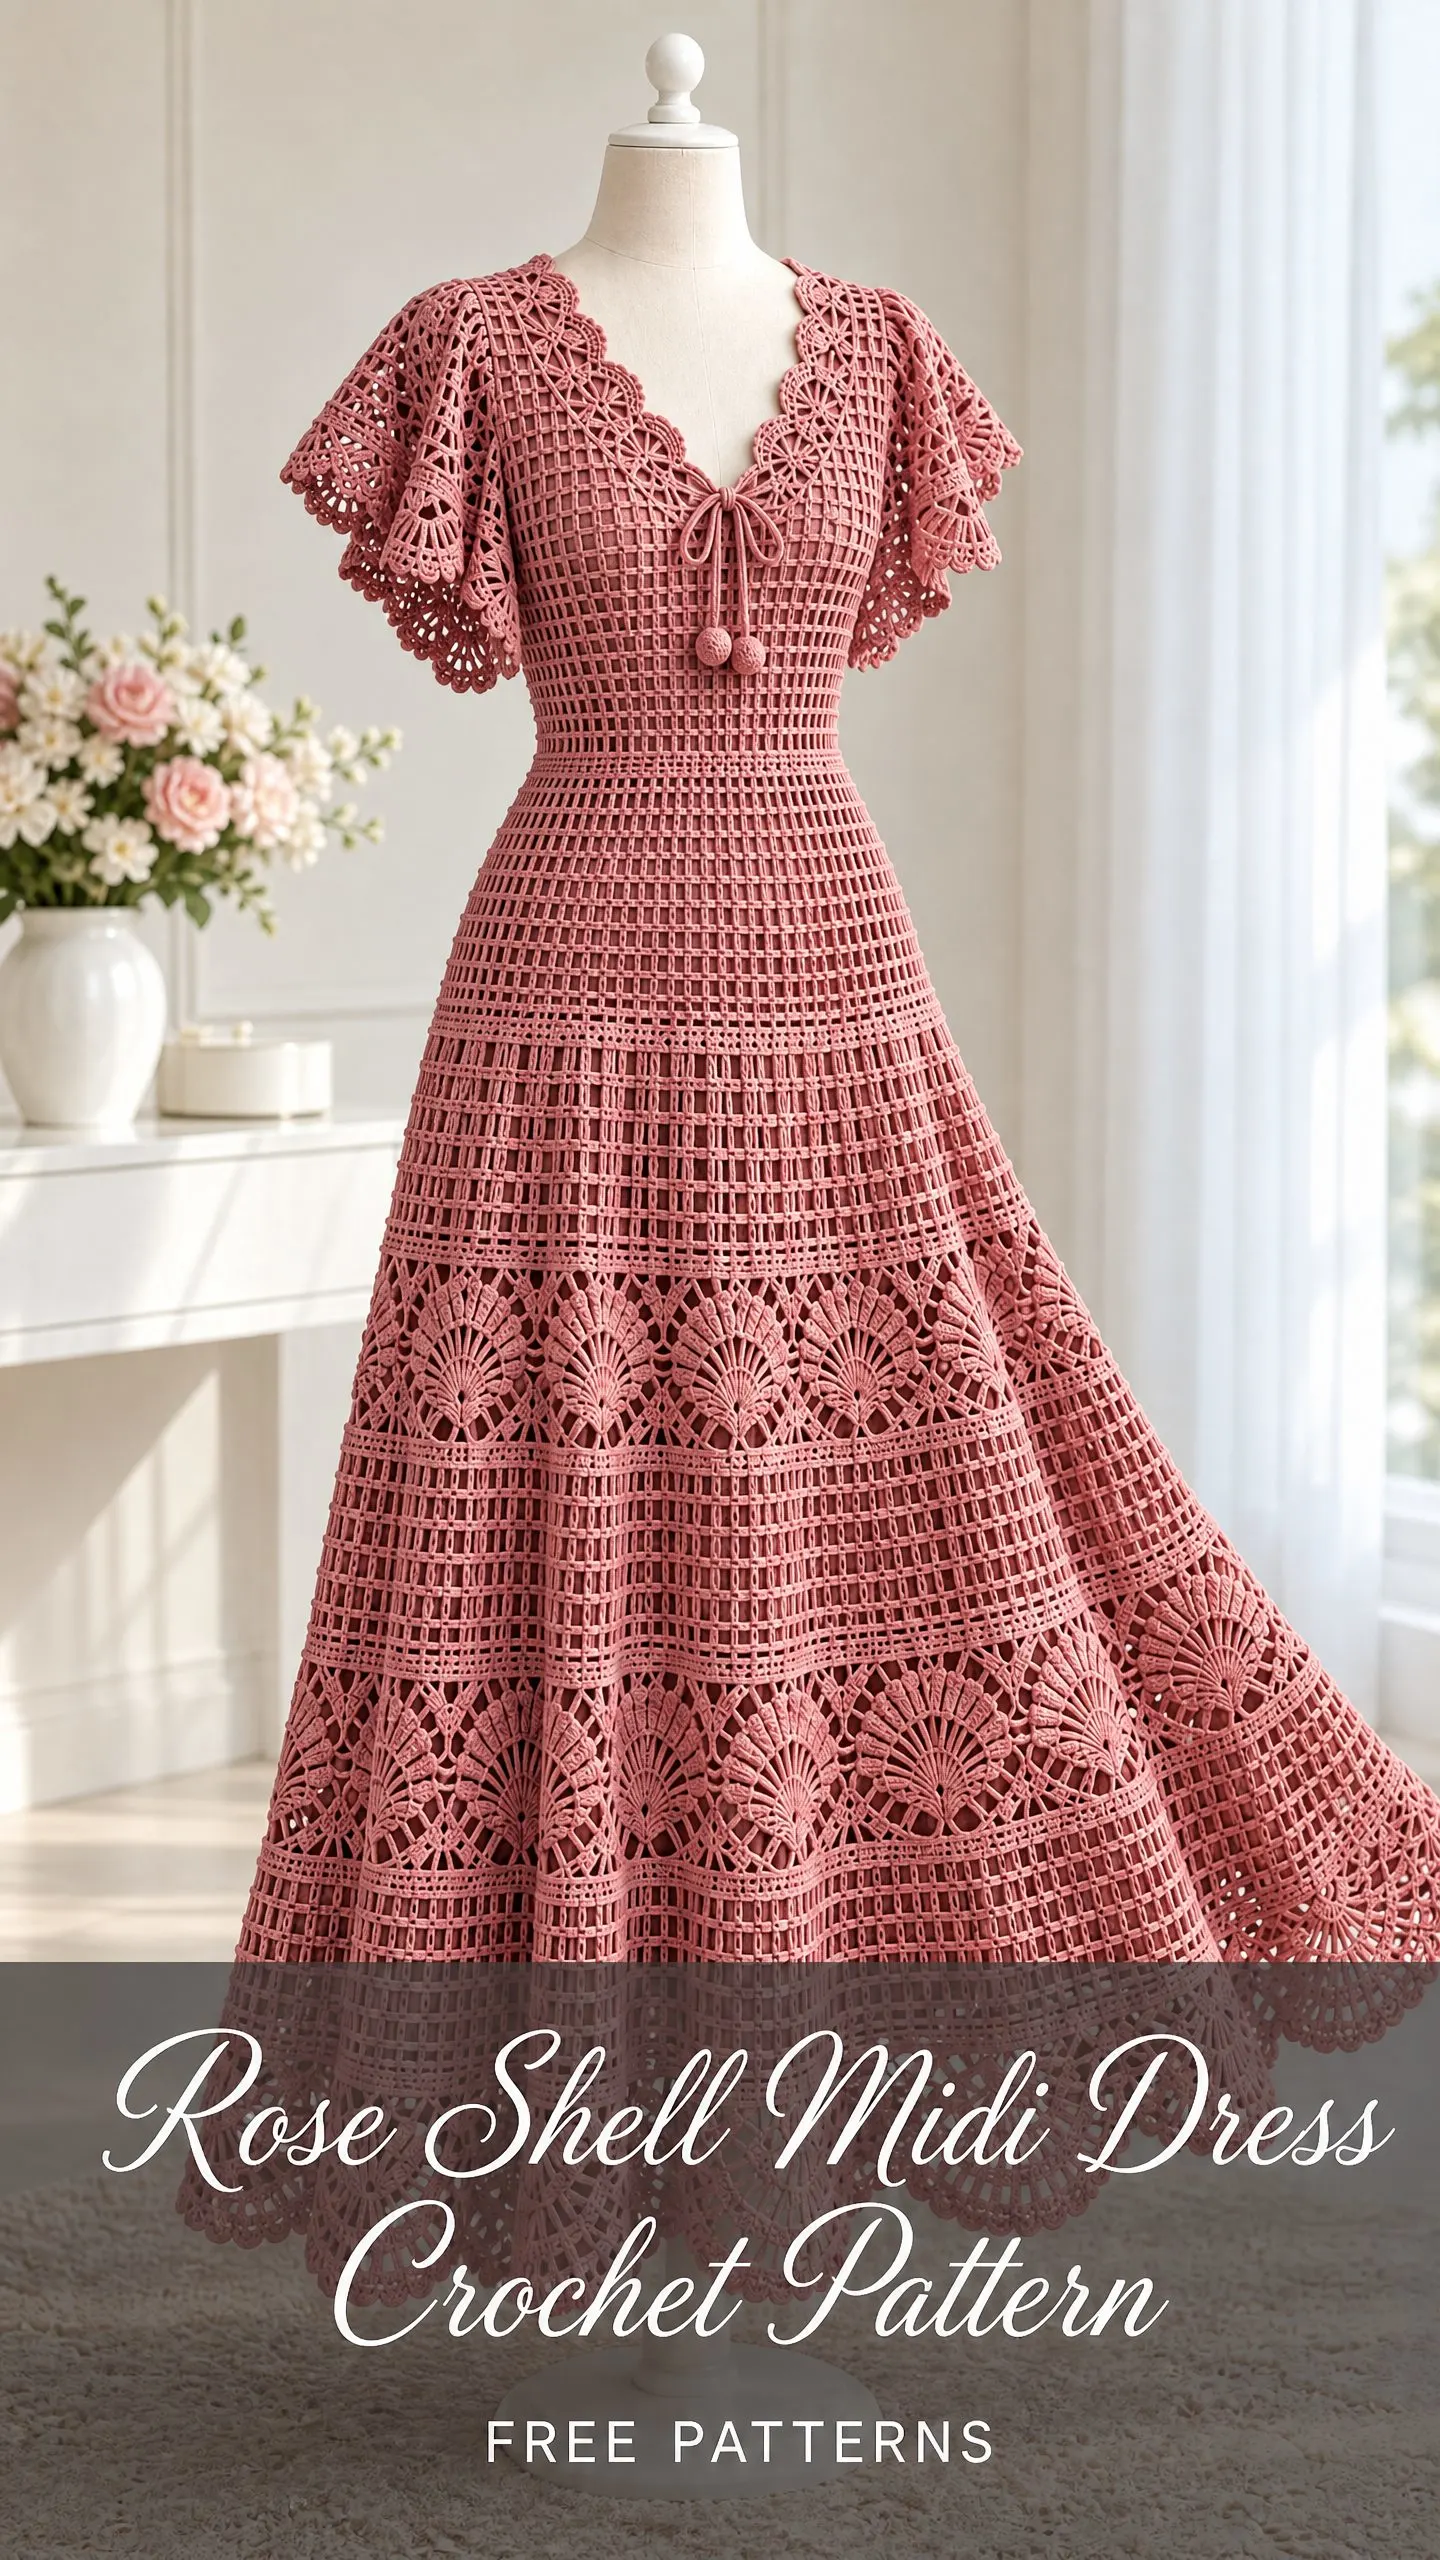
This Rose Shell Midi Dress is exactly that kind of project. Soft dusty rose cotton, an airy mesh bodice, flutter sleeves that actually flutter, and a skirt that swishes when you walk. It’s the dress you wear when you want to feel like the main character.
The construction is clever, too. You’ll work the bodice flat in two panels, shape a soft V neckline, then join everything at the waist and crochet the flared skirt downward in the round. Three raised shell bands add texture and visual interest without complicating your life. This is a satisfying, intermediate level project that results in something genuinely wearable.
Why You’ll Love This Crochet Dress Pattern
This design balances openwork elegance with practical construction. The mesh bodice creates a lightweight, breathable upper section. The three tier skirt flares gradually from waist to hem, giving you beautiful movement without excessive bulk. And those raised shell bands? They catch the light and add dimension that photographs beautifully.
The finished measurements suit an 80 to 84 cm bust comfortably, with a gathered waist and a generous 218 cm hem circumference. Total length runs about 100 cm, making this a true midi that hits below the knee on most heights.
One important note: the open mesh fabric requires a matching opaque slip underneath. The pattern does not include the slip, but any simple lining dress in a coordinating color will work perfectly.
Skill Level
This pattern is best suited for confident intermediate crocheters. You should be comfortable with:
- Working flat panels and joined rounds
- Basic mesh construction using double crochet (dc) and chain spaces
- Shaping through increases and decreases
- Seaming crocheted fabric
- Reading row by row instructions with stitch counts
If you’ve made a crocheted top or worked with lace weight cotton before, you’re ready for this dress.
Materials and Tools
Yarn:
- Smooth fingering weight cotton, approximately 200 m per 50 g
- Main color (dusty rose): 650 g / 2600 m
- Contrasting motif colors, if used: 100 g / 400 m total, divided between named colors
Hooks:
- 3 mm hook for main fabric, or size needed to obtain gauge
- 2.5 mm hook for edging
Notions:
- Tapestry needle
- Stitch markers
- Measuring tape
- Scissors
- Blocking mats and rustproof pins
- For pearl versions: 4 sew on imitation pearls and strong thread
Fingering weight cotton is sometimes called 4 ply or sock weight. Look for a smooth, tightly spun cotton with good stitch definition. Mercerized cotton works especially well for this type of lace construction.
Gauge
22 stitch positions (11 mesh cells) x 12 mesh rows = 10 cm, blocked
Your flat bodice panel should have 48 cells, which equals 49 dc posts and 48 chains, measuring about 44 cm wide.
How to check gauge:
Make a swatch at least 15 x 15 cm. Wash and dry it exactly as you plan to treat the finished dress. Measure the central 10 cm without stretching. If your swatch is too small, try a larger hook. If it’s too large, go down a hook size.
Record both width and height. Cotton lace can lengthen while worn, so accurate blocking measurements matter.
Abbreviations and Special Stitches
This pattern uses US crochet terminology throughout.
- ch = chain
- st(s) = stitch(es)
- sp = space
- sl st = slip stitch
- sc = single crochet (insert hook, yarn over, pull through, yarn over, pull through both loops)
- hdc = half double crochet
- dc = double crochet (yarn over, insert hook, yarn over, pull through, yarn over, pull through 2 loops, yarn over, pull through remaining 2 loops)
- tr = treble crochet
- BLO = back loop only
- RS/WS = right side / wrong side
- rep = repeat
- inc = increase
- sc2tog = single crochet 2 stitches together (a decrease)
Small Mesh (Flat)
Ch 3 (counts as first dc), to end. Work the dc into the post stitch, not the gap.
A mesh cell is one ch 1 space bounded by dc posts. Flat work with C cells has C+1 dc posts and C chains. Total positions = 2C+1.
Shell Trim
On a prepared sc edge with a multiple of 6 stitches: .
Picot Trim
.
Pattern Notes
- Turning ch 3 counts as a dc
- Ch 1 does not count as a sc
- Join rounds with sl st unless stated otherwise
- Flat rows turn after each row
- Joined dress rounds do not turn
- Brackets [ ] enclose a repeat
- Do not count joining sl sts
- Sew with RS together unless directed otherwise
This document supplies one adult sample size only. Check the measurements before committing yarn. Altering stitch counts requires recalculating motif placement and shaping.
Construction Overview
- Make two waist up bodice panels
- Shape front neckline with V shaping
- Sew shoulders and sides, leaving armholes open
- Add optional flat sleeves
- Join skirt at waist
- Increase at three tier starts and crochet to length
- Add appliques, trim, and a waist cord
Instructions
Back Bodice
Row 1:Ch 100. Dc in sixth ch from hook, 47 times. Turn. The skipped chains form first dc and first ch 1 space.49 dc + 48 ch 1 spaces; 48 cells.
Rows 2 through 48: Work small mesh across. Turn. 48 cells; 49 dc + 48 ch 1 spaces. Repeat this instruction on every listed row.
Front Bodice
Row 1:Ch 100. Dc in sixth ch from hook, 47 times. Turn. The skipped chains form first dc and first ch 1 space.49 dc + 48 ch 1 spaces; 48 cells.
Rows 2 through 36: Work small mesh across. Turn. 48 cells; 49 dc + 48 ch 1 spaces. Repeat this instruction on every listed row.
Left Front Shoulder
Row 37:Ch 3. 23 times. Turn, leaving centre 2 cells and other shoulder unworked.23 cells.
Row 38: Sl st across the first cell to its second post, ch 3, then work mesh to end. Turn. 22 cells.
Row 39: Work mesh until 1 cell remains at neck edge. Leave that cell unworked. Turn. 21 cells.
Row 40: Sl st across the first cell to its second post, ch 3, then work mesh to end. Turn. 20 cells.
Row 41: Work mesh until 1 cell remains at neck edge. Leave that cell unworked. Turn. 19 cells.
Row 42: Sl st across the first cell to its second post, ch 3, then work mesh to end. Turn. 18 cells.
Row 43: Work mesh until 1 cell remains at neck edge. Leave that cell unworked. Turn. 17 cells.
Row 44: Sl st across the first cell to its second post, ch 3, then work mesh to end. Turn. 16 cells.
Row 45: Work mesh until 1 cell remains at neck edge. Leave that cell unworked. Turn. 15 cells.
Row 46: Sl st across the first cell to its second post, ch 3, then work mesh to end. Turn. 14 cells.
Row 47: Work mesh until 1 cell remains at neck edge. Leave that cell unworked. Turn. 13 cells.
Row 48: Sl st across the first cell to its second post, ch 3, then work mesh to end. Turn. 12 cells.
Right Front Shoulder
Rejoin at opposite outer edge of front Row 36, RS facing. Repeat Rows 37 through 48 mirrored: always omit one cell at the neck edge, never at the armhole edge. 12 cells on each final shoulder.
Checkpoint: Each bodice panel measures about 44 cm wide x 40 cm long. Final shoulder width is about 11 cm. Back neck opening is about 22 cm. Prepare bodice seams as described in the Assembly section before starting the skirt.
Skirt (Joined Rounds from Waist)
After seaming bodice, distribute 192 sc evenly around lower waist edge: 96 per panel, skipping each duplicated seam edge post. Join. This is foundation Round 0. 192 sc.
Round 1:Ch 3, 95 times. Ch 1, skip final sc. Join.96 cells; 96 dc + 96 ch 1 spaces.
Round 2:Work into the 96 old ch 1 spaces. Alternately work in one space and in the next, 48 pairs in all. Replace the first dc with ch 3. Join.144 dc + 144 ch 1 spaces; 144 cells.
