

Step 3: Prepare the Front Button Plackets
- Place the blouse with the wrong side facing upward.
- Turn each front extension 1/2 inch (1.3 cm) toward the wrong side and press.
- Turn the folded edge again along the marked 1-inch (2.5 cm) line.
- Press the fold firmly and pin it in position.
- Topstitch close to the inner folded edge, approximately 1/8 inch (3 mm) from the fold.
- Repeat for the opposite front edge.
Overlap the finished plackets to check the center-front alignment. The button side and buttonhole side should meet evenly without pulling or leaving an unwanted gap.
Step 4: Construct the V-Neck Facing
- Fuse the lightweight interfacing to the wrong side of both facing pieces according to the manufacturer’s instructions.
- Join the facing pieces at the neckline junction if your drafted construction requires a center-front joining seam. Press the seam open.
- Finish the outer facing edge with a narrow zigzag or overlocked edge.
- Place the facing right sides together with the bodice neckline, matching the shoulder seams and V point.
- Sew along the neckline using a 3/8-inch (1 cm) seam allowance.
- At the V point, stop precisely at the marked point and secure the stitching.
- Clip carefully toward the V point without cutting through the stitching.
- Trim and grade bulky seam allowances, then understitch the facing where accessible.
- Turn the facing to the inside and press the neckline into a crisp V.
- Secure the facing at the shoulder seams and inside the front placket.
The neckline should lie flat without puckering. Do not stretch the bias portions of the V while sewing or pressing.
Step 5: Sew the Bodice Side Seams
- Place the front and back bodice right sides together.
- Align the underarm points and waist edges.
- Pin the side seams from the armhole to the bottom hem.
- Sew both sides using a 3/8-inch (1 cm) seam allowance.
- Finish the seam allowances and press them toward the back.
- Check the garment’s bust and waist circumference against the intended finished measurements.
If the waist feels too tight, adjust the side seams gradually on both sides rather than changing only one seam. Keep the blouse balanced at the center front and center back.
Step 6: Prepare the Sleeve Plackets
Each sleeve needs a short opening near the wrist so the cuff can open comfortably over the hand.
- Mark a vertical slit approximately 4 inches (10 cm) long on the lower sleeve edge, positioned along the sleeve seam area.
- Cut two binding strips measuring 1.25 by 6 inches (3.2 by 15 cm).
- Place one strip right sides together with the slit edge, aligning its center with the slit.
- Stitch close to the slit edge using a narrow seam allowance, stopping just before the bottom of the opening.
- Clip carefully toward the bottom of the slit without cutting the stitching.
- Turn the binding to the wrong side and fold its raw edges inward.
- Topstitch the binding securely around the opening.
- Repeat for the second sleeve.
Check that both openings are similar in length and that the finished binding lies flat.
Step 7: Sew the Sleeve Seams
- Fold each sleeve right sides together, matching the underarm edges.
- Keep the sleeve placket opening accessible and unsewn.
- Sew the underarm seam with a 3/8-inch (1 cm) allowance.
- Finish the raw edges and press the seam toward the back of the sleeve.
- Check that both sleeves are mirrored correctly.
Step 8: Gather the Sleeve Caps
- Set the machine to a long stitch length of approximately 3.5 to 4 mm.
- Sew two parallel rows of gathering stitches between the front and back sleeve notches, staying inside the 3/8-inch (1 cm) seam allowance.
- Leave long thread tails at both ends.
- Gently pull the bobbin threads to gather the sleeve cap.
- Distribute the gathers evenly between the notches, keeping the shoulder area slightly fuller if desired.
- Measure the gathered cap against the bodice armhole stitching line.
- Adjust until the sleeve cap fits the armhole with approximately 1 inch (2.5 cm) of controlled ease.
Do not create large concentrated pleats unless you intentionally want a more dramatic sleeve shape. Small, evenly distributed gathers create a softer result.
Step 9: Attach the Sleeves
- Turn the bodice inside out and keep the sleeves right side out.
- Insert each sleeve into the corresponding armhole.
- Match the sleeve underarm seam to the bodice side seam.
- Match the front notch, back notches, and shoulder point.
- Pin the sleeve cap, distributing the gathers evenly.
- Sew around the armhole using a 3/8-inch (1 cm) seam allowance.
- Remove visible gathering threads after checking the seam.
- Finish the seam allowance with a narrow zigzag or overlocker.
- Press the seam allowance toward the sleeve.
Try the blouse on before proceeding. Check shoulder movement, armhole comfort, and sleeve length. Make any necessary fitting changes before permanently finishing the seams.
Step 10: Construct the Buttoned Cuffs
- Fuse interfacing to one half of each cuff on the wrong side.
- Fold each cuff lengthwise with right sides together.
- Sew the short ends using a 3/8-inch (1 cm) allowance, leaving the long joining edge open.
- Trim the corners diagonally without cutting the stitching.
- Turn the cuffs right side out and gently push the corners into shape.
- Press the cuffs flat, keeping the folded edge crisp.
- Gather the lower sleeve edge to match the cuff attachment length.
- Place the cuff right sides together with the sleeve, aligning the raw edges and keeping the overlap ends correctly positioned.
- Sew using a 3/8-inch (1 cm) allowance.
- Turn the inner cuff edge over the seam allowance and secure it by stitching in the ditch or hand slipstitching.
- Press the completed cuffs carefully.
Make a buttonhole on the overlap end of each cuff and sew one button opposite each buttonhole. Test the cuff around the wrist before completing the button attachment.
Step 11: Hem the Cropped Blouse
- Try the blouse on and confirm the desired cropped length.
- Trim the bottom edge evenly if necessary.
- Turn the raw hem edge 1/2 inch (1.3 cm) toward the wrong side and press.
- Turn it another 1/2 inch (1.3 cm) and press again.
- Topstitch approximately 1/8 inch (3 mm) from the folded inner edge.
- Press the finished hem without flattening the bodice shaping.
Step 12: Add Front Buttons and Buttonholes
- Overlap the front plackets evenly and secure them temporarily.
- Mark five button positions along the front opening, beginning approximately 3/4 inch (2 cm) below the V point.
- Space the remaining buttons evenly toward the hem, keeping the first and last buttons away from the edges.
- Test the buttonhole size on a fabric scrap with the same interfacing layers.
- Make the buttonholes on the upper overlapping placket.
- Carefully open each buttonhole using a seam ripper or buttonhole cutter.
- Sew the matching buttons onto the opposite placket.
- Fasten the blouse and inspect the center-front alignment.
Pro Tip: Before cutting the buttonholes, close the blouse and check the spacing while it is worn. This helps prevent gaps across the bust and keeps the button line visually straight.
Final Pressing and Inspection
Give the finished blouse a final press using a temperature suitable for the fabric. Use a pressing cloth when working with delicate textiles or dark prints.
- Check both shoulder seams for smoothness.
- Inspect the V-neckline for puckering or uneven stitching.
- Confirm that the front plackets overlap evenly.
- Check that the buttonholes are secure and buttons are firmly attached.
- Inspect both sleeve caps for balanced gathering.
- Confirm that both cuffs sit comfortably around the wrists.
- Remove loose threads and any remaining gathering stitches.
- Check the hem for an even finish.
Customization, Fitting, and Size Adjustments
One of the best features of this blouse sewing pattern is how easily its details can be personalized. Small changes to the neckline, sleeve volume, or hem length can create very different looks without changing the overall construction method.
Adjusting the Bust and Waist
Always begin with accurate body measurements. If the bust measurement is larger or smaller than the sample, recalculate the quarter-bust width using the same formula. Adjust the waist darts to suit the difference between your bust and waist measurements.
For a fuller bust, you may need additional front length as well as width. A full-bust adjustment on a fitted bodice block is more reliable than simply widening the side seams. Recheck the V-neckline and button opening after making this adjustment.
If the waist is too tight, release some of the dart intake or add width gradually at both side seams. If the waist is too loose, increase the dart intake or remove a small amount at the side seams while maintaining balanced proportions.
Changing the Sleeve Volume
For a subtle puff sleeve, reduce the upper-arm ease from 4 inches (10 cm) to approximately 2 inches (5 cm) and use less cap gathering.
For a more dramatic bishop sleeve, increase the sleeve width and lengthen the lower portion while keeping the armhole seamline compatible. More fullness can be gathered into the cuff, but the cuff itself should remain comfortable at the wrist.
Changing the Neckline
The V-neckline can be made shallower for a more modest everyday blouse. Simply raise the center-front V point and redraw the diagonal neckline smoothly. A deeper V creates a more open appearance, but requires additional attention to facing stability and button placement.
For a different finish, use a narrow bias-bound neckline instead of a shaped facing. This method is especially useful with very lightweight fabrics, although the V point requires careful stitching.
Adjusting the Blouse Length
To create a longer blouse, extend the bodice below the natural waist while continuing the side-seam shaping smoothly. Add the extra length to both front and back pattern pieces, then check the button placket extension and hem position.
For a shorter cropped style, raise the hem carefully while making sure the bottom button remains a comfortable distance from the edge.
Fitting Tip
Make a toile from inexpensive woven fabric before cutting your final material. Check the bust, waist, shoulder width, neckline depth, armhole comfort, and sleeve movement. A fitted blouse can look attractive on a hanger but still need adjustments when worn, so test the button closure while sitting, standing, and moving your arms.
Common Sewing Mistakes and Troubleshooting
1. The V-Neckline Does Not Lie Flat
This usually happens when the neckline is stretched during handling or the V point is not clipped correctly. Staystitch the neckline shortly after cutting, particularly along the bias sections. Clip carefully toward the V point after sewing the facing.
2. The Front Placket Looks Uneven
Uneven folds or inconsistent button spacing can make the blouse look unbalanced. Press both plackets carefully before topstitching and mark button positions with a ruler. Keep the overlapping edges aligned during the final fitting.
3. The Sleeve Cap Has Large Bulky Gathers
Too much gathering concentrated in one area can create unwanted lumps. Distribute the gathers evenly between the notches and avoid placing excessive fullness directly at the underarm. Use a smaller stitch length for the final sleeve seam.
4. The Bodice Pulls Across the Bust
Horizontal wrinkles or gaps around the buttons may indicate insufficient bust ease or incorrect dart positioning. Recheck the bust measurement and bust apex location. A full-bust adjustment may be needed if the front bodice requires additional width and length.
5. The Cuffs Feel Too Tight
Measure the wrist and hand before finalizing cuff dimensions. The cuff must comfortably pass over the hand when opened and close without restricting wrist movement. Increase the overlap or cuff length if necessary.
6. The Fabric Puckers While Sewing
Fine woven fabrics can shift under the presser foot. Use a fresh needle, a suitable stitch length, and gentle fabric handling. Test the tension and stitch quality on scraps before sewing the garment.
Finishing, Care, and Styling Ideas
A clean finish makes a significant difference to the appearance and durability of a handmade blouse. Finish exposed seam allowances with a narrow zigzag or overlocker. For lightweight cotton, French seams can be used on the side seams if the construction allows enough room and the fabric is not bulky.
Press each seam as you sew. Avoid waiting until the end to press the entire garment because small construction adjustments are much easier while the seams are accessible.
Fabric Care Recommendations
Follow the fabric manufacturer’s care instructions. For washable cotton fabrics, prewashing before cutting helps reduce future shrinkage. Rayon and delicate blends may require gentle washing and low-temperature pressing.
- Wash delicate fabrics using an appropriate gentle cycle or hand-washing method.
- Use mild detergent and avoid harsh treatment of delicate fibers.
- Close buttons before washing to reduce snagging.
- Air-dry when appropriate to help preserve the blouse shape.
- Press on the recommended temperature setting.
- Store the blouse on a suitable hanger to maintain its shape.
Styling Your Handmade Blouse
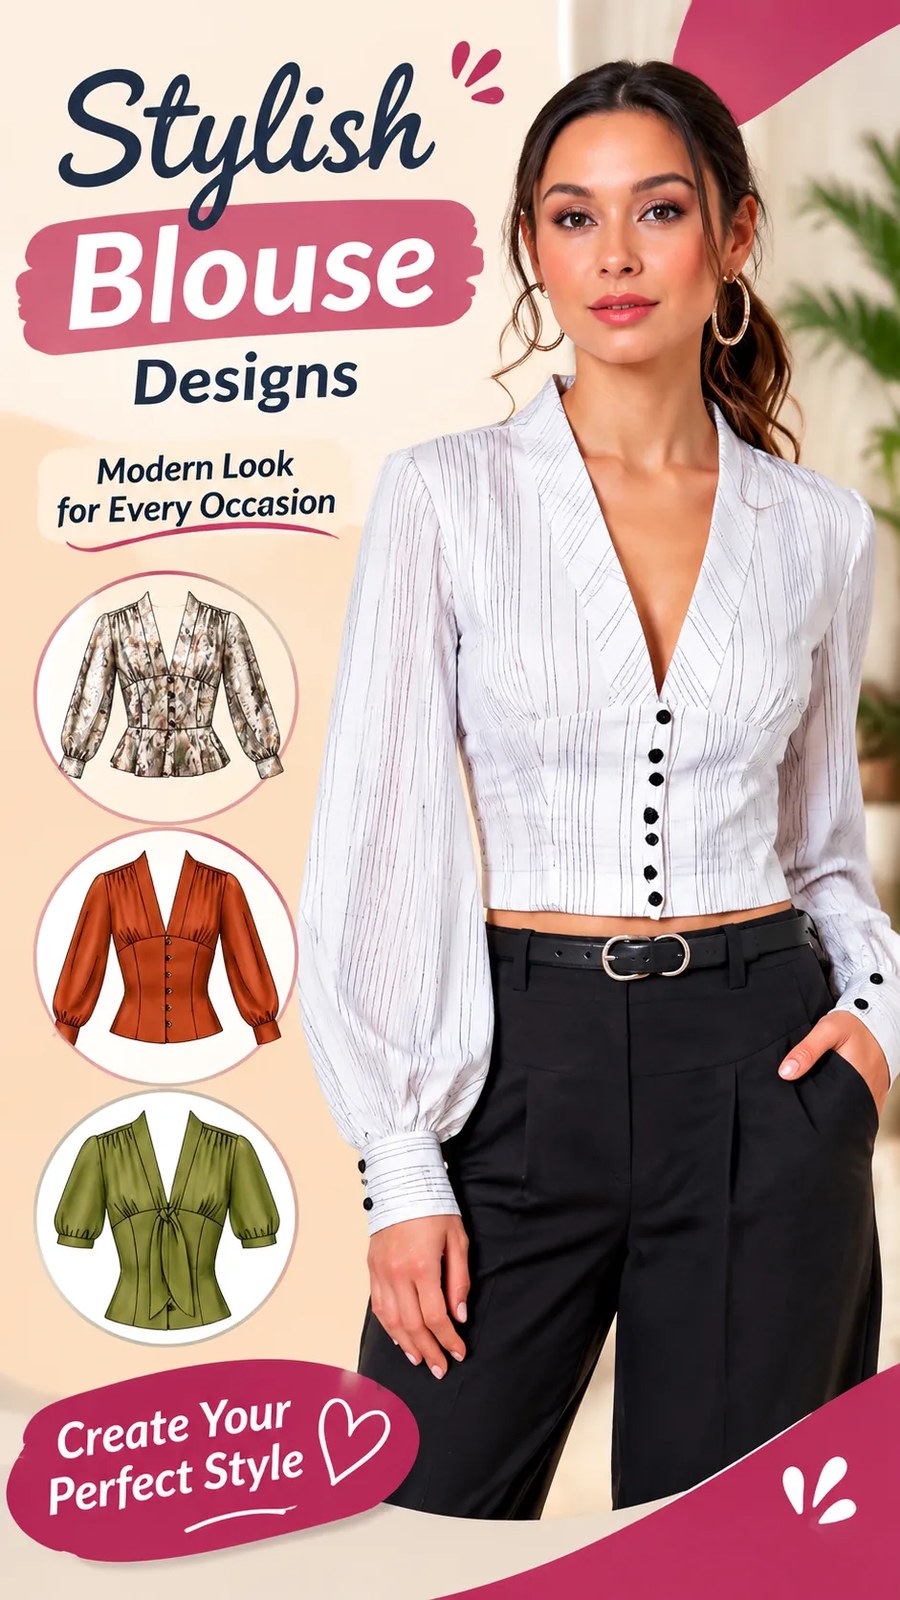
This cropped blouse works beautifully with high-waisted trousers, tailored skirts, wide-leg pants, and simple jeans. The fitted bodice balances the volume of the sleeves, making it easy to create an outfit with interesting proportions.
For a polished daytime outfit, choose a subtle plaid cotton and pair it with dark tailored trousers. A solid cream, olive, rust, or dusty blue fabric creates a softer everyday look. For an evening version, consider a fluid fabric with a little sheen and delicate matching buttons.
You can also experiment with contrast buttons, decorative cuff buttons, subtle piping, or a slightly longer hem. Keep embellishments lightweight so the fabric continues to drape naturally.
Blouse Sewing Pattern at a Glance
- Best fabric: Lightweight woven cotton, lawn, voile, or rayon challis.
- Skill level: Intermediate, particularly for the V-neckline, buttonholes, and gathered sleeves.
- Key technique: Shaped bodice darts combined with gathered long sleeves and structured cuffs.
- Fit adjustment: Draft from individual bust, waist, shoulder, and arm measurements and test with a toile.
- Finishing method: Clean neckline facing, folded front plackets, button closures, and neatly pressed seams.
Create Your Own Beautiful Puff Sleeve Blouse
This blouse sewing pattern is a wonderful project for anyone who enjoys combining classic tailoring details with soft, feminine shapes. The deep V-neckline, fitted waist, button-front closure, and voluminous sleeves create a balanced silhouette that feels both timeless and modern.
The most important part of achieving a beautiful result is careful preparation. Choose a fabric with suitable weight and drape, prewash it when appropriate, measure your body accurately, and read through the complete drafting and sewing instructions before cutting. Make a toile for the fitted bodice, check the sleeve and armhole measurements, and test your stitches and buttonholes on fabric scraps.
Take your time with the darts, neckline facing, and gathered sleeve caps. These details have a major influence on the finished appearance. Once the basic construction is complete, personalize your blouse with your favorite colors, prints, buttons, and sleeve proportions.
With thoughtful fabric selection and careful sewing, you can create a stylish handmade cropped blouse that reflects your own wardrobe preferences and sewing skills. Enjoy the process and make the design your own!
Tags
Blouse Sewing Pattern
Puff Sleeve Blouse
DIY Blouse
V Neck Blouse
Button Front Blouse
Women’s Sewing Patterns
Handmade Fashion
Sewing Tutorial
