

image
content
Craft. Ideas_02
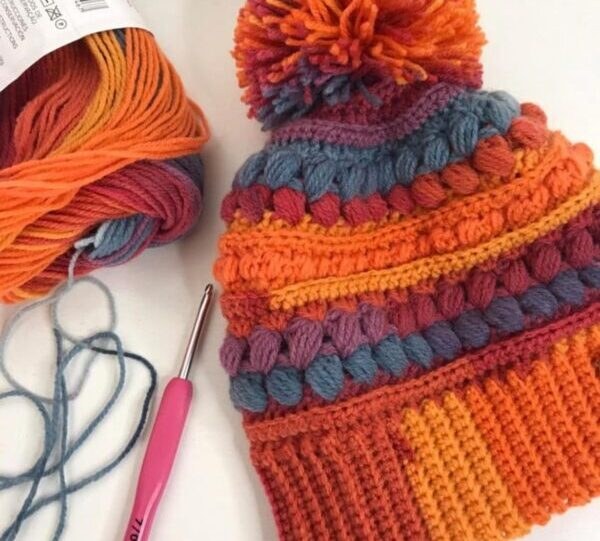
Crocheting a Wheat Stitch Beanie is a wonderful way to combine texture, warmth, and elegance in a single project. Although the stitch pattern looks intricate, it is surprisingly simple and accessible — even for beginners.
The wheat stitch creates a beautifully raised texture that resembles rows of wheat grains, giving the hat a cozy and stylish finish.
Craft. Ideas_03
In this tutorial, you’ll learn how to make a complete hat, from top to bottom, with clear instructions and smooth transitions. Let’s get started!
What Is the Wheat Stitch?
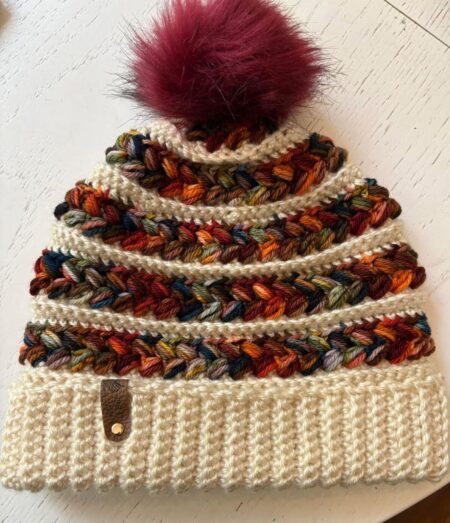
The wheat stitch is a textured pattern created by alternating:
- Double crochet (dc)
- Front post double crochet (fpdc)
This combination forms a raised, grain-like texture that resembles rows of wheat growing across your work. Despite its rich appearance, the stitch repeats easily, making it an excellent option for beginners who want to create a professional-looking project.
Materials You Will Need
- 1 skein of worsted or bulky yarn (100 g)
- Crochet hook size 4 mm or 5 mm
- Scissors
- Yarn needle
- Stitch marker (optional)
Finished Size
This beanie fits most adult heads. To modify the size, simply adjust the stitch count at the beginning or add/subtract rows.
Step-by-Step Wheat Stitch Beanie Pattern
1. Start With the Crown
- Begin with a magic ring.
- Chain 3 (counts as the first double crochet).
- Make 11 double crochets into the ring.
- Pull tight and join with a slip stitch.
➡️ You should have 12 stitches.
With the crown started, it’s time to expand the circle until it reaches the perfect width for your beanie.
2. Increase the Crown
- Round 2:
Make 2 dc in each stitch → 24 stitches. - Round 3:
(1 dc + 1 increase) around → 36 stitches. - Round 4:
(2 dc + 1 increase) around → 48 stitches.
Continue increasing (adding 1 extra dc between increases each round) until your circle measures approximately 16 cm across.
Once the crown is wide enough, the shaping stops and the textured wheat stitch begins.
