

Stitch both side seams using a 1/2-inch (1.3 cm) seam allowance. Sew the bottom seam with the same allowance, but leave a turning opening approximately 5 inches (12.7 cm) long in the center of the bottom edge.
Backstitch at both ends of the turning opening so the seam does not unravel during turning.
Form the two bottom boxed corners using the same method as the outer bag. Measure 2 inches (5.1 cm) from each pointed corner, stitch across the triangular sections, and trim the excess to approximately 1/4 inch (6 mm) beyond the stitching.
Press the lining seams gently. Keep the turning opening accessible.
Step 8: Attach the Lining to the Zipper
Keep the outer bag turned right side out and the lining turned wrong side out. Insert the outer bag inside the lining so the right sides of the lining and outer fabric face each other.
Bring the upper zipper seams together. Match the side seams of the outer bag with the corresponding side seams of the lining. Align the zipper ends and clip the layers carefully.
Check that the zipper tape is positioned between the outer and lining fabrics. The zipper teeth should remain clear of the stitching path.
Stitch around the zipper opening using the existing zipper seam as a guide and a 1/2-inch (1.3 cm) seam allowance. Sew slowly over the thicker areas near the zipper ends.
Before continuing, inspect the stitching from both sides. Make sure there are no folded lining sections or trapped pieces of outer fabric.
Step 9: Turn the Makeup Bag Right Side Out
Reach through the 5-inch (12.7 cm) opening in the lining and gently pull the outer bag through. Work slowly around the zipper ends and boxed corners to avoid stretching the seams.
Use a blunt point turner to shape the corners. Do not push sharply against the fabric, as this may damage the stitching.
Once the outer pouch is completely right side out, tuck the lining into the bag. Arrange it evenly so it sits smoothly inside the pouch.
Check that the lining does not extend beyond the zipper opening or bunch up around the bottom corners.
Step 10: Close the Lining Opening
Fold the raw edges of the lining opening inward by 1/2 inch (1.3 cm). Press the folds carefully so both sides meet evenly.
Close the opening with a straight stitch approximately 1/8 inch (3 mm) from the folded edges. Backstitch at the beginning and end.
For an almost invisible finish, use a hand-sewn ladder stitch instead. Keep the folded edges aligned and make small alternating stitches between the two sides.
Step 11: Final Pressing and Shaping
Push the lining neatly inside the pouch and shape the bottom corners with your fingers. Use a point turner to define the corners without stretching the seams.
Press the zipper area from the outer fabric side using a suitable temperature for the fabric. Avoid placing the iron directly against plastic zipper teeth.
Open and close the zipper several times. Confirm that the lining remains clear of the teeth and that the zipper slider moves smoothly.
Check the side seams, boxed corners, wrist loop attachment, and topstitching. Remove loose threads and give the finished bag one final gentle press.
Important: Always open the zipper halfway before sewing the bag panels together. Forgetting this step can make turning the pouch extremely difficult. Also, keep the zipper pull away from the presser foot whenever you sew near the zipper ends.
Customization and Size Adjustments
One of the best things about this pouch sewing pattern is how easily you can personalize it. Once you understand the basic construction, you can change the proportions, choose different prints, or introduce practical details to suit your storage needs.
Make a Smaller Cosmetic Pouch
For a compact version, use outer and lining panels measuring 11 inches wide × 7.5 inches high (27.9 × 19.1 cm). Use a zipper approximately 11 inches (27.9 cm) long.
Keep the boxed-corner measurement at 1.5 inches (3.8 cm). This creates a smaller pouch with approximately 3 inches (7.6 cm) of depth.
A smaller version is useful for lip balm, compact makeup, small brushes, and everyday handbag essentials.
Create a Larger Travel Makeup Bag
For a larger version, use panels measuring 16 inches wide × 10 inches high (40.6 × 25.4 cm). A zipper around 16 inches (40.6 cm) long is appropriate for this size.
Increase the boxed-corner measurement to 2.5 inches (6.4 cm) for a deeper base. This produces approximately 5 inches (12.7 cm) of depth.
Make sure the larger bag receives suitable interfacing so that the fabric does not become too floppy. Consider using a slightly firmer lining for additional structure.
Experiment with Different Fabrics
The floral design is only one possibility. You can make a completely different-looking pouch by changing the main fabric.
- Choose pastel floral cotton for a soft, romantic appearance.
- Use geometric prints for a modern accessory.
- Combine a solid exterior with a patterned lining.
- Try small botanical prints for a delicate handmade look.
- Use cotton canvas for a more substantial everyday pouch.
- Choose contrasting zipper tape to create a decorative detail.
Add Practical Interior Features
You can introduce simple storage details without changing the basic bag shape. For example, add a small slip pocket to one lining panel before attaching the zipper.
For a basic pocket, cut one lining-fabric rectangle measuring 8 × 6 inches (20.3 × 15.2 cm). Fold its upper edge under twice by 1/2 inch (1.3 cm), press, and stitch the hem. Fold the remaining raw edges inward by 1/2 inch (1.3 cm), press, and position the pocket on the right side of one lining panel.
Place the pocket approximately 2 inches (5.1 cm) below the upper edge and centered horizontally. Stitch around its sides and bottom, leaving the top open. Backstitch at the upper corners to reinforce the pocket opening.
Sewing Insight: The Importance of Boxed Corners
Boxed corners are what transform a flat fabric pouch into a three-dimensional storage bag. The distance from the pointed corner to the stitching line determines the finished depth.
- Use a ruler to mark identical distances on both lower corners.
- Match the side and bottom seams before stitching across each triangle.
- Check both corners before trimming excess fabric.
Consistent measurements help the bag sit evenly and give the finished base a balanced appearance.
Common Makeup Bag Sewing Mistakes and How to Fix Them
Even a relatively simple zipper pouch involves several layers and construction stages. Taking time to check the fabric alignment and stitching before moving to the next step can prevent unnecessary unpicking.
The Zipper Looks Wavy
A wavy zipper is often caused by stretching the fabric while sewing or using an unsuitable presser-foot pressure. Lightweight cotton may also shift when it is not properly supported.
Use fabric clips, avoid pulling the fabric, and sew slowly with a zipper foot. If necessary, use a temporary stabilizing strip along the zipper seam to prevent stretching.
The Boxed Corners Are Uneven
Uneven corners usually occur when the stitching lines are marked at different distances or the seams are not aligned correctly.
Measure both corners carefully and match the side seam with the bottom seam before sewing. Check the finished depth of each corner before trimming the excess fabric.
The Lining Gets Caught in the Zipper
This problem can happen when the lining is too loose near the zipper or the zipper seam is not topstitched properly.
Keep the lining smooth during installation and topstitch close to the zipper tape. Before closing the lining opening, inspect the interior and confirm that no loose fabric can reach the zipper teeth.
The Fabric Feels Too Soft
If the finished pouch collapses too easily, the outer fabric may need additional structure. Lightweight interfacing is suitable for many cotton fabrics, but heavier materials may need a firmer stabilizer.
Test different interfacing weights on scraps before committing to the full project. Avoid adding excessive thickness around the zipper seams and boxed corners.
The Bag Looks Bulky at the Corners
Too much fabric trapped inside the seam allowances can create thick, uneven corners. Carefully grade bulky seam allowances and trim the triangular excess after stitching the boxed corners.
Use a point turner to shape the corners gently rather than forcing them into position with sharp scissors or other pointed tools.
Pressing, Finishing, and Caring for Your Handmade Makeup Bag
Pressing is an important part of achieving a professional-looking finish. Although this pouch is made from simple rectangles, carefully pressed seams help the zipper lie flat and the boxed corners retain their shape.
Pressing Throughout Construction
- Press the main fabric before cutting to remove wrinkles and folds.
- Apply fusible interfacing according to the manufacturer’s instructions.
- Press zipper seams away from the teeth before topstitching.
- Press the wrist loop folds before securing the long edges.
- Press the lining seams open where practical.
- Shape the boxed corners with your fingers and a gentle iron if the fabric allows it.
- Give the finished pouch a final press without placing excessive heat on the zipper.
Final Quality Checks
Before using the bag, inspect the entire construction. Check that the zipper opens and closes smoothly, the lining is secure, and the bottom corners are symmetrical.
Look for loose threads, skipped stitches, and any areas where the seam allowances may have become exposed. Reinforce any weak stitching before placing items inside the pouch.
If you added a wrist loop, inspect its attachment carefully. It is intended as a convenient carrying detail, not as a guaranteed load-bearing handle.
How to Care for the Finished Pouch
Follow the care requirements of the main fabric, lining, interfacing, and zipper. If all materials are washable, gentle hand washing or a delicate machine cycle may be suitable.
Close the zipper before washing and place the pouch in a protective laundry bag if using a washing machine. Avoid aggressive spinning and excessive heat, particularly if the interfacing is sensitive to high temperatures.
Allow the pouch to dry thoroughly before storing cosmetics or other personal items inside. Do not leave damp toiletries in the bag for extended periods.
For small makeup stains, spot-clean the affected area using a suitable fabric cleaner after testing it on an inconspicuous section. Avoid harsh cleaning products that may affect the print or interfacing.
At a Glance: DIY Floral Zipper Pouch
- Best fabric: Medium-weight woven cotton with lightweight fusible interfacing.
- Skill level: Confident beginner with basic zipper-sewing experience.
- Key techniques: Zipper installation, topstitching, boxed corners, and lined bag construction.
- Finished dimensions: Approximately 9 × 5.5 × 4 inches (22.9 × 14 × 10.2 cm).
- Finishing method: Fully enclosed lining, clean zipper edges, and reinforced seams.
Create Your Own Beautiful Handmade Makeup Bag
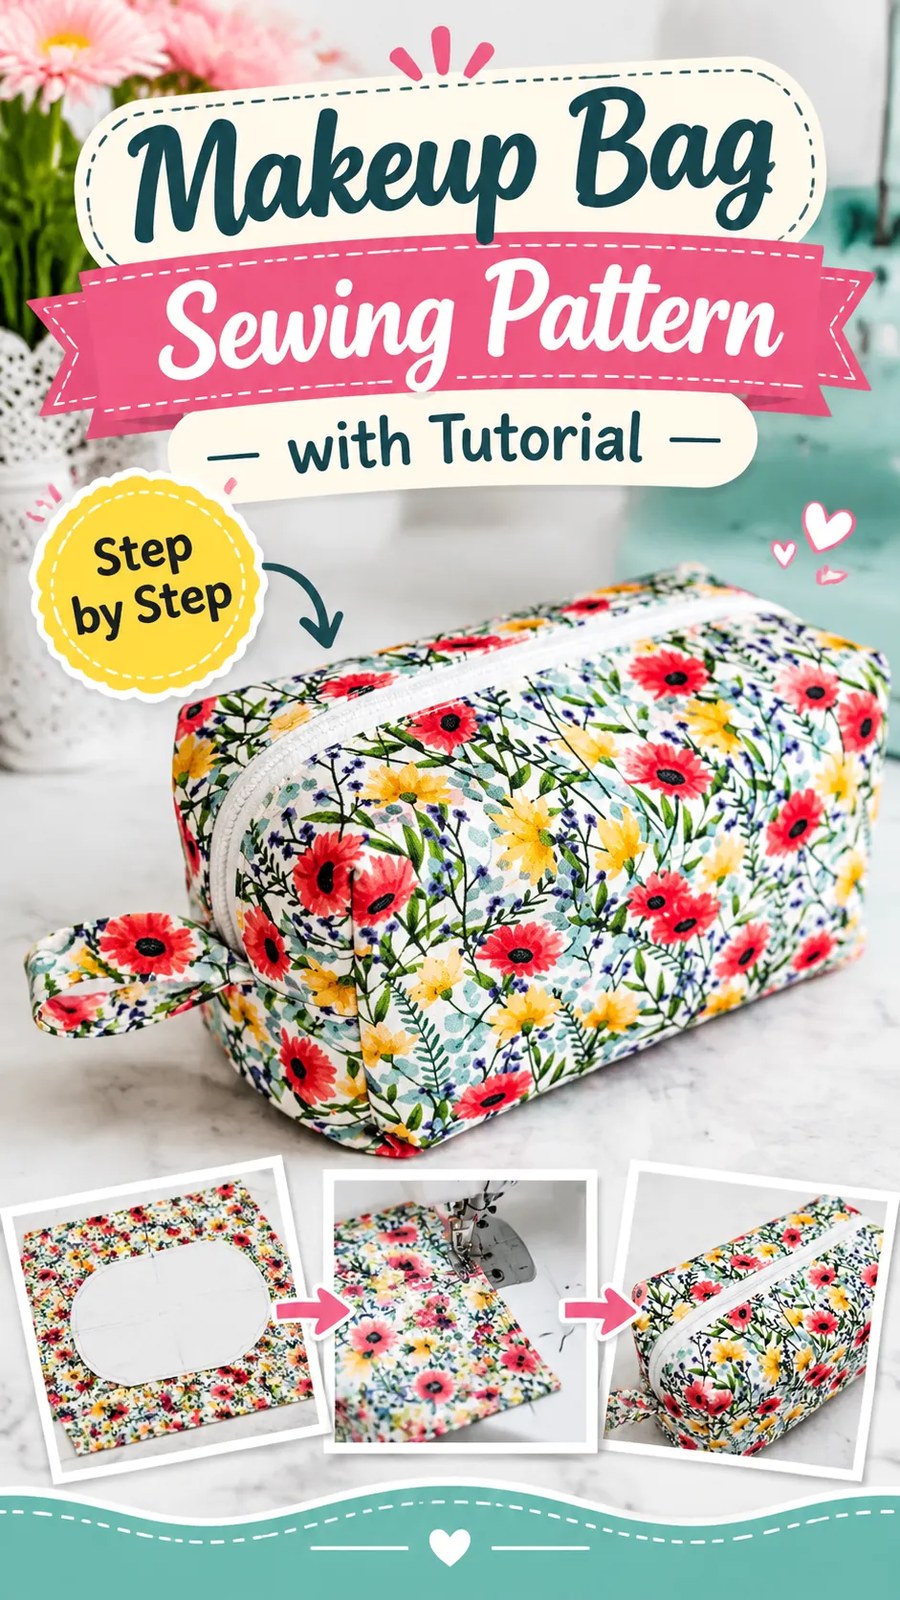
This floral makeup bag sewing pattern is a lovely way to turn a favorite printed fabric into a practical handmade accessory. Its colorful exterior, neat zipper opening, roomy interior, and dimensional boxed corners combine style with everyday usefulness.
The construction also provides an excellent opportunity to practice important sewing techniques. You can improve your zipper installation, learn how to work with interfacing, create balanced boxed corners, and develop confidence sewing lined bags.
Before cutting your final fabric, read through the complete pattern, check all measurements, and prepare your sewing machine. Choose a suitable needle and thread, test the stitch settings on fabric scraps, and make sure your interfacing works well with the selected material.
Most importantly, personalize the project. Try a cheerful floral print, add a contrasting lining, experiment with zipper colors, or include a small wrist loop. A thoughtful fabric combination can turn a simple zipper pouch into a special handmade gift or a useful addition to your own everyday essentials.
With careful preparation, accurate cutting, and patient stitching, you can create a beautiful DIY makeup bag that reflects your personal style while giving you a practical place to organize your favorite accessories.
Tags
Makeup Bag Sewing Pattern
Zipper Pouch Tutorial
DIY Cosmetic Bag
Easy Sewing Projects
Beginner Sewing Tutorial
Handmade Fabric Pouch
Boxed Corner Sewing
DIY Sewing Gifts
