

- Take one 3 x 4-inch (7.6 x 10.2 cm) arm rectangle and fold it lengthwise with right sides together.
- Stitch along the long raw edge using a 3/8-inch (1 cm) seam allowance.
- At one short end, stitch across the opening to create a closed rounded end, easing the fabric gently around the corner.
- Trim the bulky corner seam allowance and turn the arm right side out using a turning tool.
- Repeat for the second arm.
- Stuff each arm lightly with a small amount of fiberfill, keeping the open end unstuffed enough to flatten for attachment.
For a simple mitten-style end, cut two 1.5-inch (3.8 cm) squares from skin-tone fabric, round the corners, and sew them into small padded shapes. Turn and lightly stuff them. Attach them to the sleeve ends using small hand stitches. This decorative addition is optional.
Position the arms on the left and right sides of the body, approximately 1.25 inches (3.2 cm) below the gathered top. Flatten the open ends and hand stitch them securely to the body with small backstitches.
Step 7: Sew the Floppy Gnome Hat
- Place the two hat panels together with right sides facing.
- Align the curved sides and the pointed tips, making sure the base edges remain open.
- Pin from one lower corner, up one side, around the tip, and down the opposite side.
- Sew the curved perimeter using a 3/8-inch (1 cm) seam allowance.
- Leave the complete lower edge open.
- Trim bulky seam allowances near the point and clip the curved seam carefully without cutting through the stitches.
- Turn the hat right side out, gently pushing the tip into shape.
- Press the seams lightly from the wrong side using a temperature appropriate for the fabric.
If the hat fabric is very soft, apply lightweight woven interfacing to the wrong side of both panels before sewing. Avoid stiff interfacing if you want the tip to droop naturally.
To create the decorative bell, sew a small loop of strong thread through the bell’s attachment opening. Hand stitch the loop to the hat tip using several secure passes. Keep the attachment neat and avoid pulling the tip into an awkward shape.
Step 8: Make the Round Fabric Nose
The nose is created using a simple gathered fabric circle. It provides the rounded shape that is characteristic of a traditional fabric gnome.
- Take the 2.5-inch (6.4 cm) fabric circle.
- Sew a line of small running stitches approximately 1/4 inch (6 mm) from the raw edge.
- Leave long thread tails at the beginning and end.
- Place a small amount of polyester fiberfill in the center of the circle.
- Pull the gathering threads gradually, enclosing the stuffing and creating a rounded ball.
- Adjust the stuffing until the nose is smooth and evenly shaped.
- Secure the opening with several small stitches and knot the thread securely.
The finished nose should be approximately 1 to 1.25 inches (2.5 to 3.2 cm) across. Its exact size will depend on the fabric thickness and the amount of stuffing.
Step 9: Prepare the Faux-Fur Beard
Lay the faux fur with the backing facing upward. Mark a beard shape within the 5 x 6.5-inch (12.7 x 16.5 cm) rectangle.
Begin with a top edge approximately 4.5 inches (11.4 cm) wide. Shape the sides inward gradually so the lower edge forms a soft rounded point. The finished beard should be wider near the upper portion and slightly narrower toward the bottom.
Cut carefully through the backing only, using small scissors. Gently separate the pile along the cut edges to release trapped fibers.
Faux fur is usually best left with an exposed plush edge rather than turned under. This keeps the beard soft and avoids unnecessary bulk.
Step 10: Position and Attach the Beard
Place the beard on the front of the stuffed body. Its upper edge should sit approximately 1 inch (2.5 cm) below the gathered opening. Center it over the body seam or desired front position.
Use small hand stitches through the backing to secure the top edge. Add a few discreet stitches along the upper sides if necessary, keeping the lower beard free to hang naturally.
Comb the pile downward with your fingers so it covers the stitching and falls into a natural shape.
Step 11: Attach the Nose and Position the Hat
- Place the gathered nose centrally over the upper edge of the beard.
- Position it approximately 1/2 inch (1.3 cm) below the intended front edge of the hat.
- Hand stitch the nose securely to the body, passing the needle through the gathered fabric at its underside.
- Bring the hat down over the upper body so its lower edge covers the gathered opening.
- Adjust the hat until the nose sits just beneath its front edge and remains clearly visible.
- Fold the tip gently toward one side to create the soft drooping silhouette.
- Hand stitch the hat’s lower edge to the body at several points, particularly near the side seams and back.
Do not stretch the hat opening tightly around the body. Allow the fabric to fall naturally so the cap retains its relaxed, oversized appearance.
Step 12: Final Assembly and Decorative Details
Check the position of the beard, nose, arms, and hat. Make any necessary adjustments before securing the remaining attachment points.
If the body has a small visible gap beneath the beard or hat, add a few hand stitches to keep the components in position. Keep the stitches discreet and avoid flattening the beard.
Optional decorative details include:
- A small embroidered star on the hat.
- Simple decorative stitching along the hat seam.
- A small fabric patch on the body.
- Contrasting cuffs at the ends of the arms.
- Decorative buttons sewn securely onto the body.
- A small jingle bell at the pointed hat tip.
For a gnome intended for a home with young children, omit detachable bells, buttons, and other small decorative pieces. Embroidered details are a more suitable decorative alternative, although a handmade decorative figure should not be treated as a tested children’s toy.
Customization, Sizing, and Design Variations
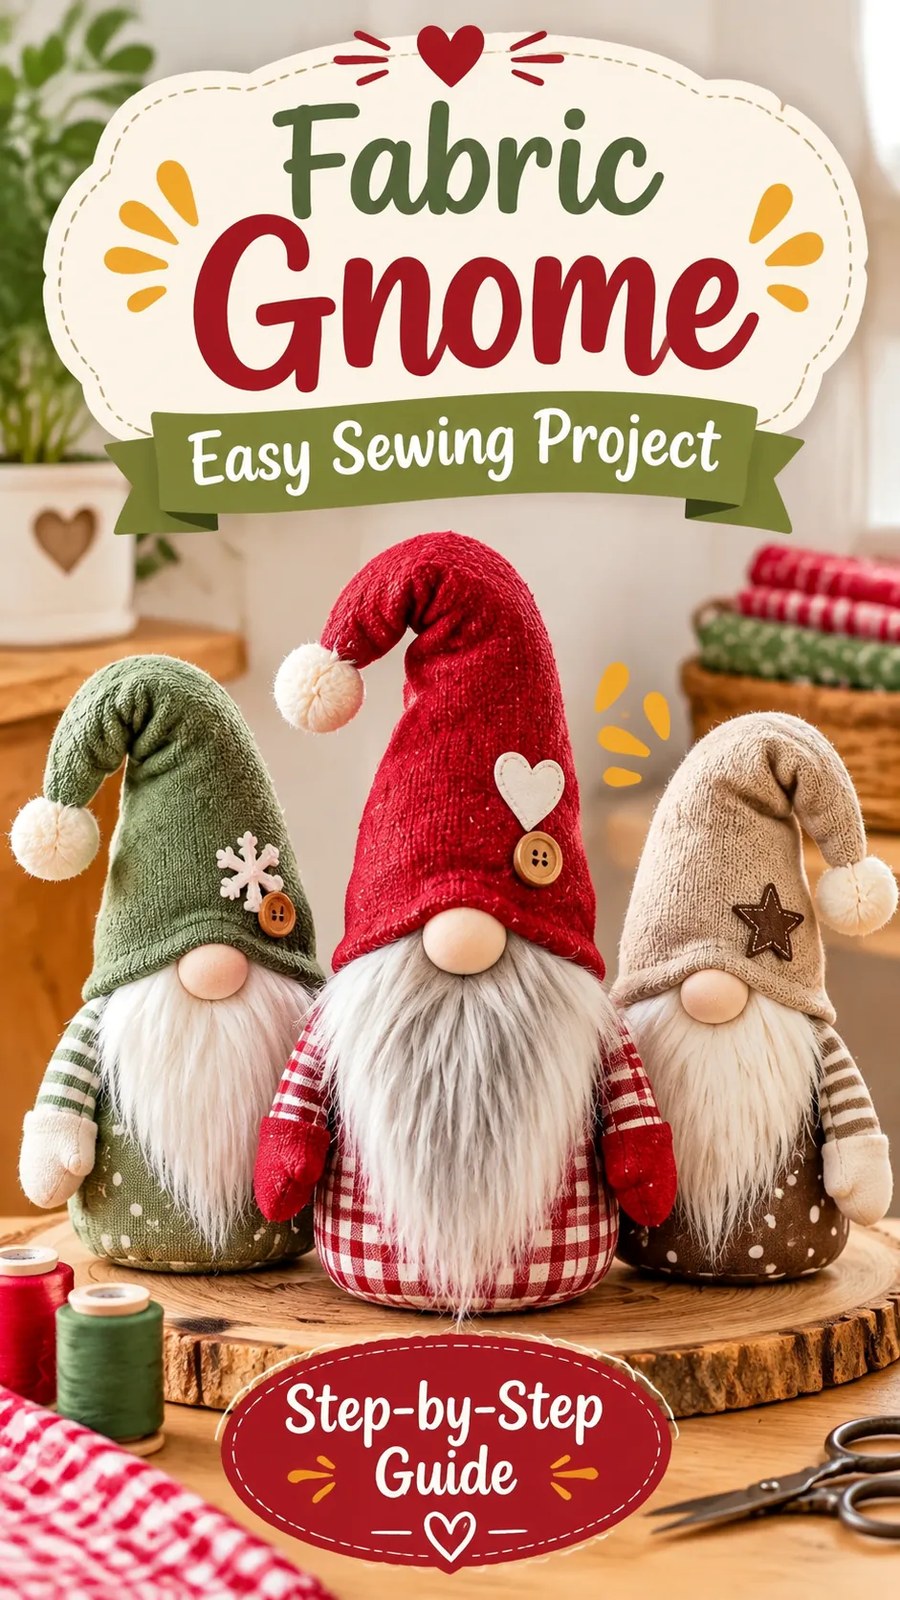
One of the best features of this DIY fabric gnome pattern is how easily it can be personalized. The same basic construction can produce a whole collection of figures with different personalities and seasonal styles.
How to Make Larger or Smaller Gnomes
The supplied pattern creates a compact gnome with an approximate finished overall height of 11 to 12 inches (28 to 30.5 cm). To create a different size, adjust the body tube, base circle, and hat together rather than changing only one component.
- Smaller gnome: Reduce the body tube to approximately 11 x 5 inches (28 x 12.7 cm), use a 4-inch (10.2 cm) base circle, and reduce the hat panels proportionally.
- Larger gnome: Increase the body tube to approximately 17 x 7.5 inches (43.2 x 19.1 cm), use a 6.25-inch (15.9 cm) base circle, and increase the hat panel dimensions by approximately 20 percent.
- Wider body: Increase the tube length and enlarge the base circle to match its circumference.
- Taller appearance: Increase the body height or lengthen the hat panels while keeping the hat opening large enough to fit over the body.
When changing the body circumference, remember that the rectangular tube’s finished circumference is its cut length minus the two seam allowances. The circular base must have a seamline circumference that matches this measurement. For the supplied pattern, the body seamline circumference is approximately 13.75 inches (34.9 cm), and the base seamline diameter is approximately 4.5 inches (11.4 cm).
For a more sculpted or tapered figure, use a shaped fabric body rather than the simple tube construction. That variation requires a separately drafted base and should be tested with a scrap sample before cutting the final material.
Creative Hat and Beard Ideas
The hat is the easiest place to experiment with color. Try deep red, forest green, muted sage, cream, charcoal, or traditional tartan. Mixing solids with small-scale plaid creates a coordinated look without making the decoration too busy.
For the beard, choose white faux fur for a classic snowy appearance, gray for a rustic winter character, or warm cream for a softer farmhouse style.
You can also vary the beard shape. A short rounded beard creates a compact figure, while a longer tapered beard gives the gnome a more traditional decorative silhouette.
Sewing Insight: Create a Coordinated Gnome Family
- Choose one main body fabric and give each gnome a different hat color.
- Use matching beard materials to create a unified collection.
- Vary the hat height, decorative embroidery, and beard length for individual character.
Common Sewing Mistakes and How to Fix Them
The Body Does Not Stand Upright
This usually happens when the bottom stuffing is uneven or the weighted pouch is positioned off-center. Open the upper body if necessary, redistribute the weight, and add fiberfill around the base. Check the figure on a flat surface before securing the hat.
The Body Base Has Uneven Gathers
Uneven fabric distribution can create small pleats around the bottom seam. Match the quarter marks before sewing and distribute any excess evenly. If the fabric is difficult to handle, use additional pins or clips and sew in short sections.
The Hat Tip Looks Too Stiff
A thick fabric or heavy interfacing can prevent the hat from bending. Choose softer woven material and avoid unnecessary stiffening. You can also lengthen the hat slightly and reposition the tip with a few discreet hand stitches.
The Nose Looks Flat or Uneven
Use smaller running stitches around the fabric circle and distribute the gathering evenly. Add stuffing in small amounts rather than filling the center all at once. Pull the gathering threads gradually and secure them firmly.
The Faux-Fur Beard Looks Thin
Cutting through the pile can shorten the fibers and leave an uneven edge. Always cut from the backing side with small scissors. After cutting, gently tease the fibers away from the seamline and comb the beard downward.
The Hat Does Not Sit Correctly
Check that the opening is not pulled too tightly around the gathered body. The cap should have enough room to cover the upper section without compressing the stuffing. Adjust its position before hand stitching it in place.
Pressing, Finishing, and Caring for Your Fabric Gnome
Good pressing helps the small components look neat and professionally finished. Press the body tube seam before attaching the circular base, and press the hat seams after turning. Use a pressing cloth for delicate fabrics and avoid placing a hot iron directly on faux fur.
Do not flatten the beard while pressing the rest of the figure. Instead, use your fingers to separate the pile and arrange it around the nose.
Final Inspection Checklist
- Check the body seam and circular base for gaps.
- Confirm that the weighted pouch is fully enclosed.
- Make sure the gnome stands on a flat surface.
- Inspect the arms and hat attachment points for loose stitches.
- Check that the nose is securely attached.
- Remove loose threads and straighten the beard fibers.
- Adjust the hat until the tip has the desired drooping shape.
- Confirm that all optional decorations are firmly attached.
Because this project combines woven fabric, stuffing, faux fur, and optional weighting materials, spot cleaning is generally preferable. Use a soft, slightly damp cloth to remove small marks from the body and hat. Avoid soaking the figure, especially when the weighted pouch contains rice or another material that should remain dry.
For storage, place the gnome in a clean, dry container away from direct sunlight and moisture. Store it upright when possible, and avoid compressing the beard or folding the hat tightly for long periods.
At a Glance: Christmas Fabric Gnome Sewing Project
- Best fabric: Medium-weight cotton, linen blends, flannel, or soft woven holiday prints.
- Skill level: Confident beginner to intermediate.
- Key sewing technique: Gathered body construction with a circular base, tapered hat panels, and hand-sewn decorative components.
- Finished size: Approximately 11 to 12 inches (28 to 30.5 cm) tall.
- Finishing method: Secure hand stitching, lightly weighted stuffing, and a soft faux-fur beard.
Make Your Own Charming Christmas Fabric Gnomes
These handmade Christmas fabric gnomes are a lovely way to turn small pieces of fabric into charming seasonal decorations. Their rounded bodies, soft beards, floppy hats, and warm color combinations make them an appealing addition to a festive mantel, holiday shelf, entryway table, or handmade Christmas display.
The best part is how easily you can personalize the design. Start with the original sewing pattern, choose a few coordinating woven fabrics, and experiment with different hat colors, beard lengths, and decorative details. A single gnome makes a sweet handmade gift, while a group of three creates a beautiful coordinated holiday arrangement.
Before cutting, read through the complete pattern, check all measurements, prepare your fabric appropriately, and test your stitches on scraps. Take particular care when matching the circular body base and distributing the stuffing so the finished figure sits neatly.
Whether you are making a traditional red Christmas gnome, a neutral farmhouse decoration, or a colorful collection for holiday craft fairs, this easy fabric gnome sewing project offers plenty of room for creativity. Choose your favorite fabrics, enjoy the sewing process, and give each little character its own personality!
Tags
Christmas Fabric Gnome
Fabric Gnome Sewing Pattern
DIY Christmas Decorations
Easy Christmas Sewing Projects
Handmade Christmas Gifts
Stuffed Fabric Decorations
Beginner Sewing Tutorial
Holiday Craft Ideas
