

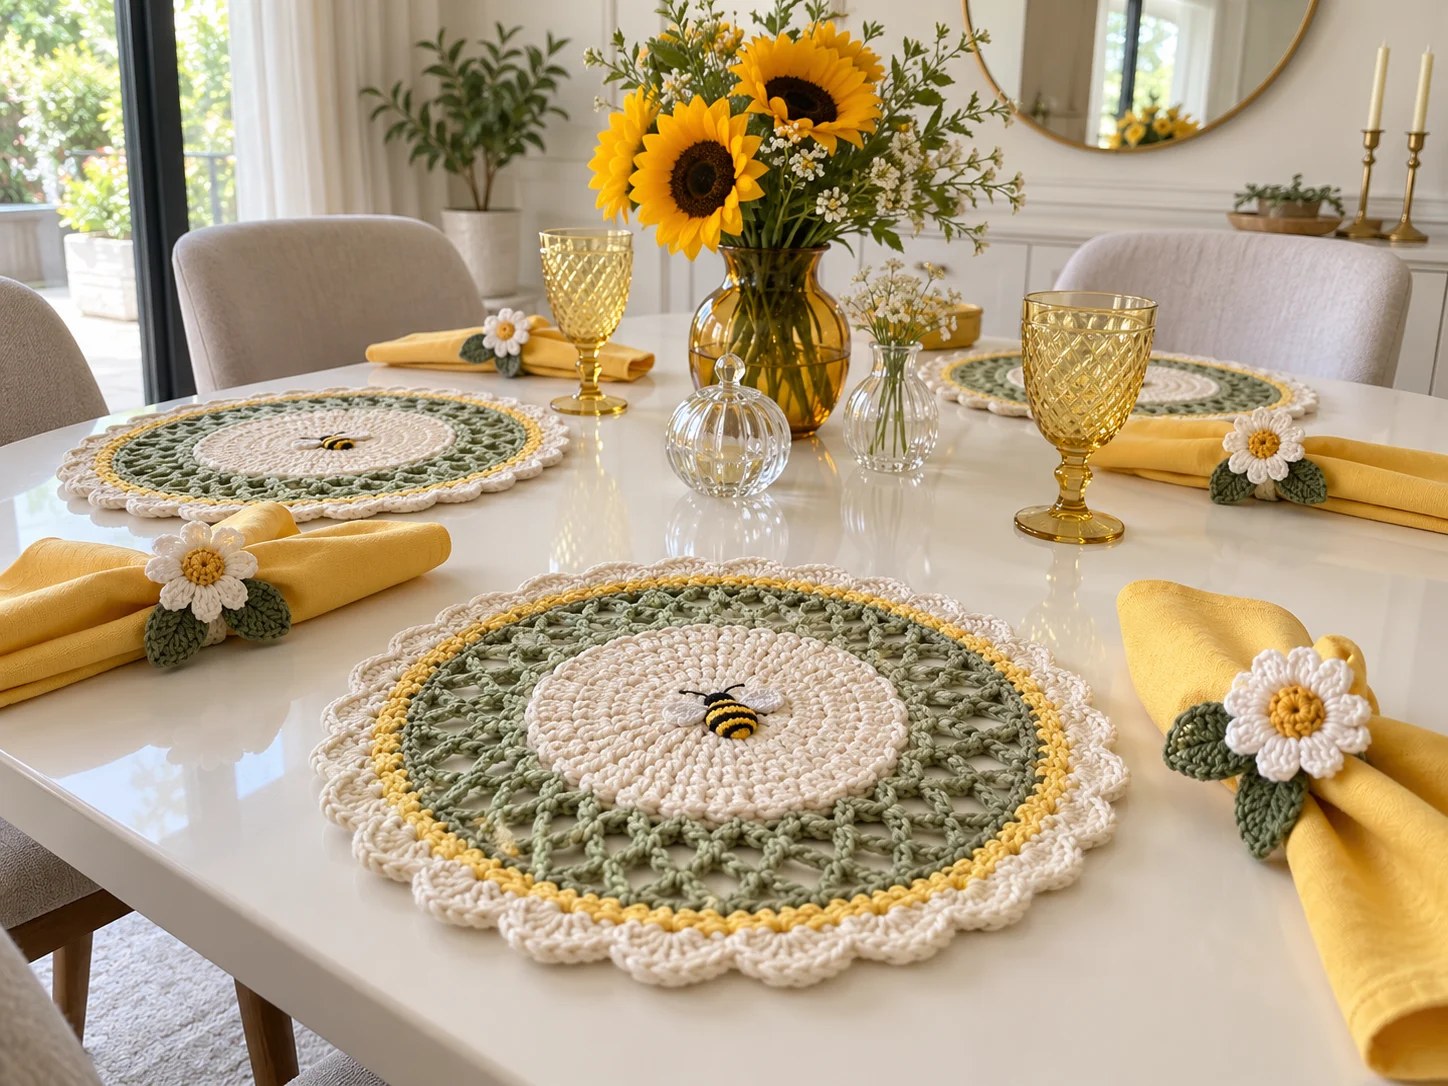
I don’t know about you, but I absolutely love a table setting that feels like a warm hug. Something handmade, something cheerful, something that makes breakfast feel like a little celebration.
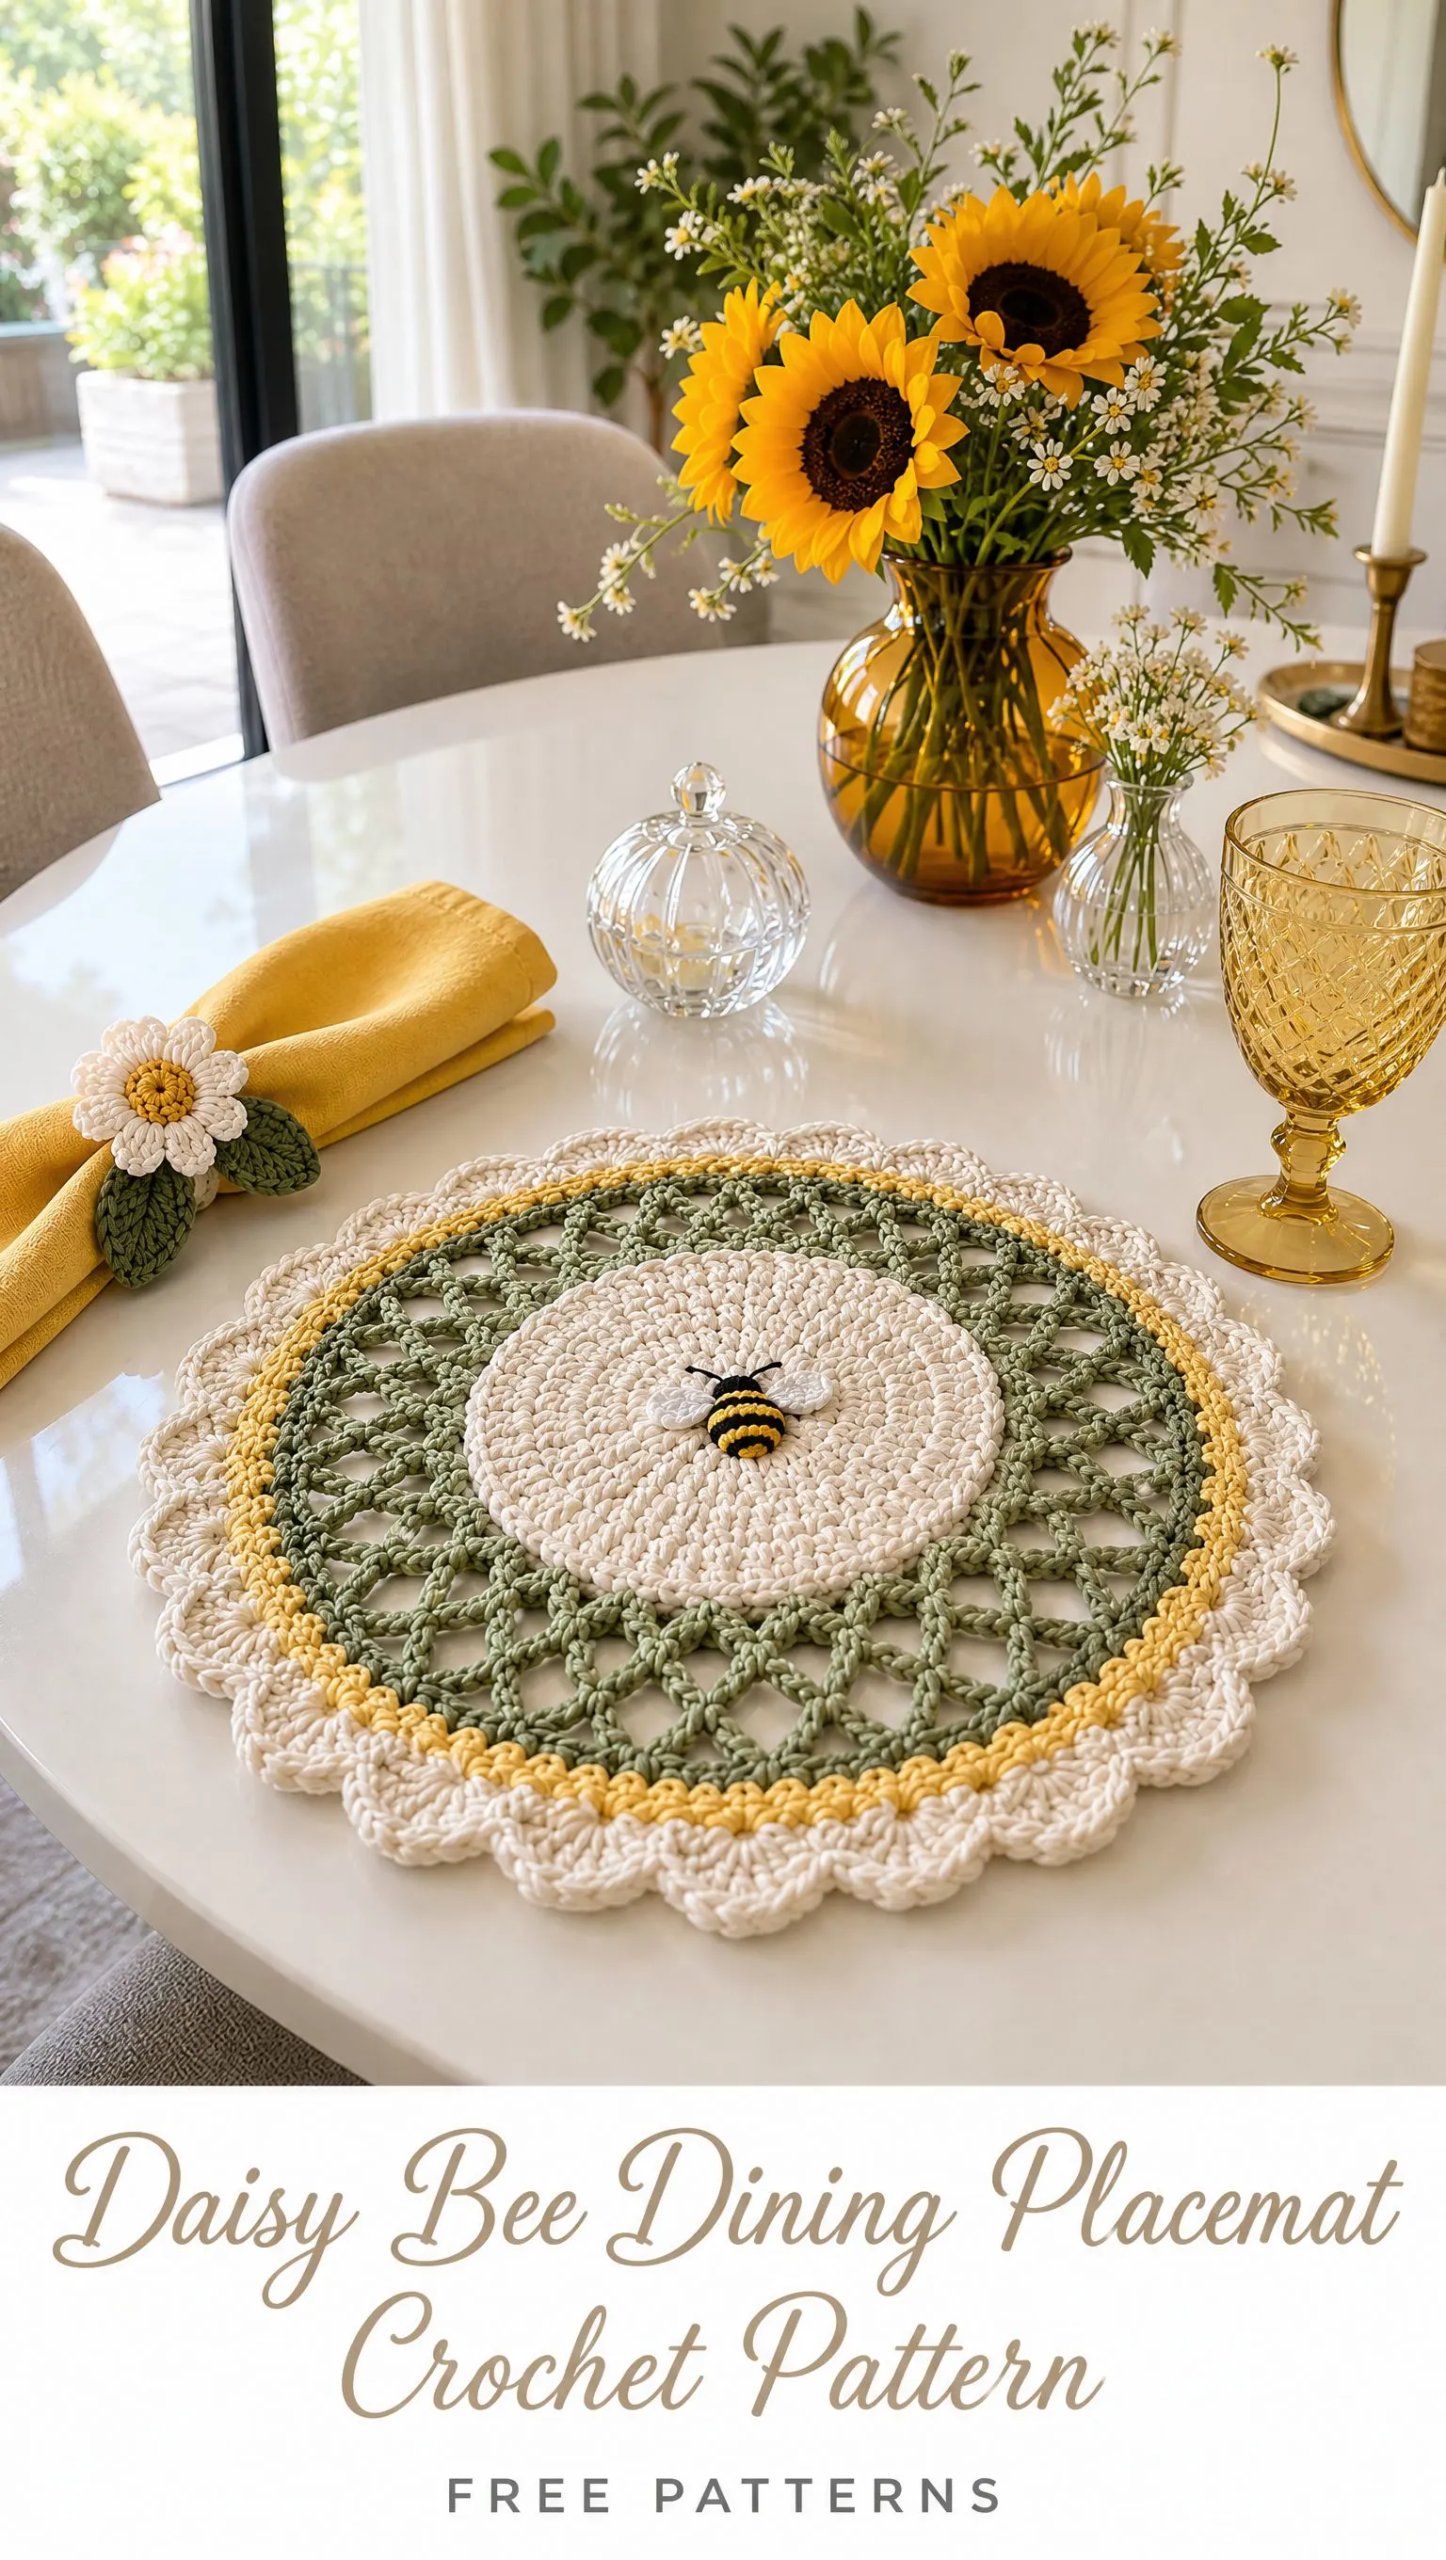
This Daisy Bee Dining Placemat is exactly that kind of project. It combines soft cream daisies, golden honeycomb texture, and the sweetest little embroidered bees into one stunning piece. All the charm of a cottage garden with none of the weeding.
If you’ve been looking for a crochet project that’s both practical and pretty, this is the one. It works up beautifully, lies perfectly flat, and honestly just makes you smile every time you see it on the table.
Why You’ll Love This Daisy Bee Placemat Pattern
This pattern hits that sweet spot between interesting enough to keep you engaged and straightforward enough to actually finish. The construction moves through several distinct sections, each one building on the last, so you’re never bored but never overwhelmed either.
The finished size comes out to approximately 14 to 16 inches (35 to 40 cm) in diameter, which is perfect for standard dinner plates. It’s substantial enough to protect your table while still looking delicate and handcrafted.
What really makes this placemat special is the combination of textures and techniques. You’ve got your smooth double crochet center, raised honeycomb clusters, embroidered bee details, daisy petals, leaf accents, and a gorgeous scalloped border. Each element adds visual interest without making the pattern complicated.
This is rated as an intermediate skill level project, but don’t let that scare you off if you’re a confident beginner. If you can work double crochet in the round and follow a simple increase pattern, you can absolutely make this.
Materials You’ll Need
Gather these supplies before you start. Having everything ready makes the whole process so much smoother.
Yarn:
Cotton yarn is essential here because it gives the placemat structure and durability. It also washes beautifully, which matters for something that’s going to live on your dining table.
Tools:
Gauge Information
Your gauge should be approximately 18 stitches and 10 rows in 4 inches of single crochet.
Here’s the good news: gauge is not critical for this project. The placemat doesn’t need to fit anyone, so if yours comes out slightly larger or smaller, that’s perfectly fine. What matters most is keeping your stitches firm and consistent so the placemat lies flat on the table without curling or bunching.
If your work is floppy or loose, go down a hook size. If it’s so tight you’re fighting the yarn, go up a size.
Stitch Abbreviations and Definitions
Let me break down every stitch you’ll use in this pattern. Understanding these before you start will make the instructions much easier to follow.
CH = Chain: The foundation stitch. Yarn over, pull through the loop on your hook. That’s one chain.
SL ST = Slip Stitch: Insert your hook, yarn over, pull through both the stitch and the loop on your hook in one motion. Used for joining rounds and moving across stitches without adding height.
SC = Single Crochet: Insert hook, yarn over and pull up a loop (2 loops on hook), yarn over and pull through both loops. The shortest and tightest of the basic stitches.
HDC = Half Double Crochet: Yarn over, insert hook, yarn over and pull up a loop (3 loops on hook), yarn over and pull through all 3 loops. Slightly taller than single crochet with a nice drape.
DC = Double Crochet: Yarn over, insert hook, yarn over and pull up a loop (3 loops on hook), yarn over and pull through 2 loops, yarn over and pull through remaining 2 loops. A versatile medium-height stitch that creates beautiful fabric.
TR = Treble Crochet: Yarn over twice, insert hook, yarn over and pull up a loop (4 loops on hook), then yarn over and pull through 2 loops three times until one loop remains.
INC = Increase: Working 2 stitches into the same stitch to add width.
ST = Stitch: Refers to a single stitch.
SK = Skip: Pass over the indicated number of stitches without working into them.
Pattern Instructions
Now let’s get into the actual making. I’ve broken this down into clear sections that match how you’ll actually work the placemat.
Center Circle
This is where everything begins. You’ll create a flat circle using standard double crochet increases.
Step 1: With cream yarn, make a magic ring. If you’re not comfortable with magic rings, you can chain 4 and slip stitch to join instead.
Step 2 (Round 1): CH 2, work 12 DC into the ring. Join with SL ST to the top of your starting chain.
Step 3 (Round 2): CH 2, work 2 DC in every stitch around. Join. You should have 24 stitches.
Step 4 (Round 3): CH 2, work (1 DC, 2 DC in next stitch) around. Join. This increase pattern adds stitches evenly.
Step 5 (Round 4): CH 2, work (2 DC, 2 DC in next stitch) around. Join.
Step 6: Continue increasing evenly until the center measures about 5 inches in diameter.
The key to a flat circle is consistent, evenly spaced increases. If your circle starts cupping or ruffling, adjust your increase placement on the next round.
Honeycomb Accent Round
This section adds that gorgeous golden texture that gives the placemat its bee garden feel.
Step 7: Change to golden yellow yarn.
Step 8: Work one round of HDC all the way around.
Step 9: Create the honeycomb texture by alternating raised double crochet clusters and small chain spaces. Work as follows:
The post stitches create that lovely raised texture. If you’ve never done front post double crochet before, you’re simply working your DC around the post (the vertical part) of the stitch below instead of into the top of it.
Step 10: Join and fasten off.
Bee Motif
Here’s where the personality comes in. These little embroidered bees are easier than they look.
