

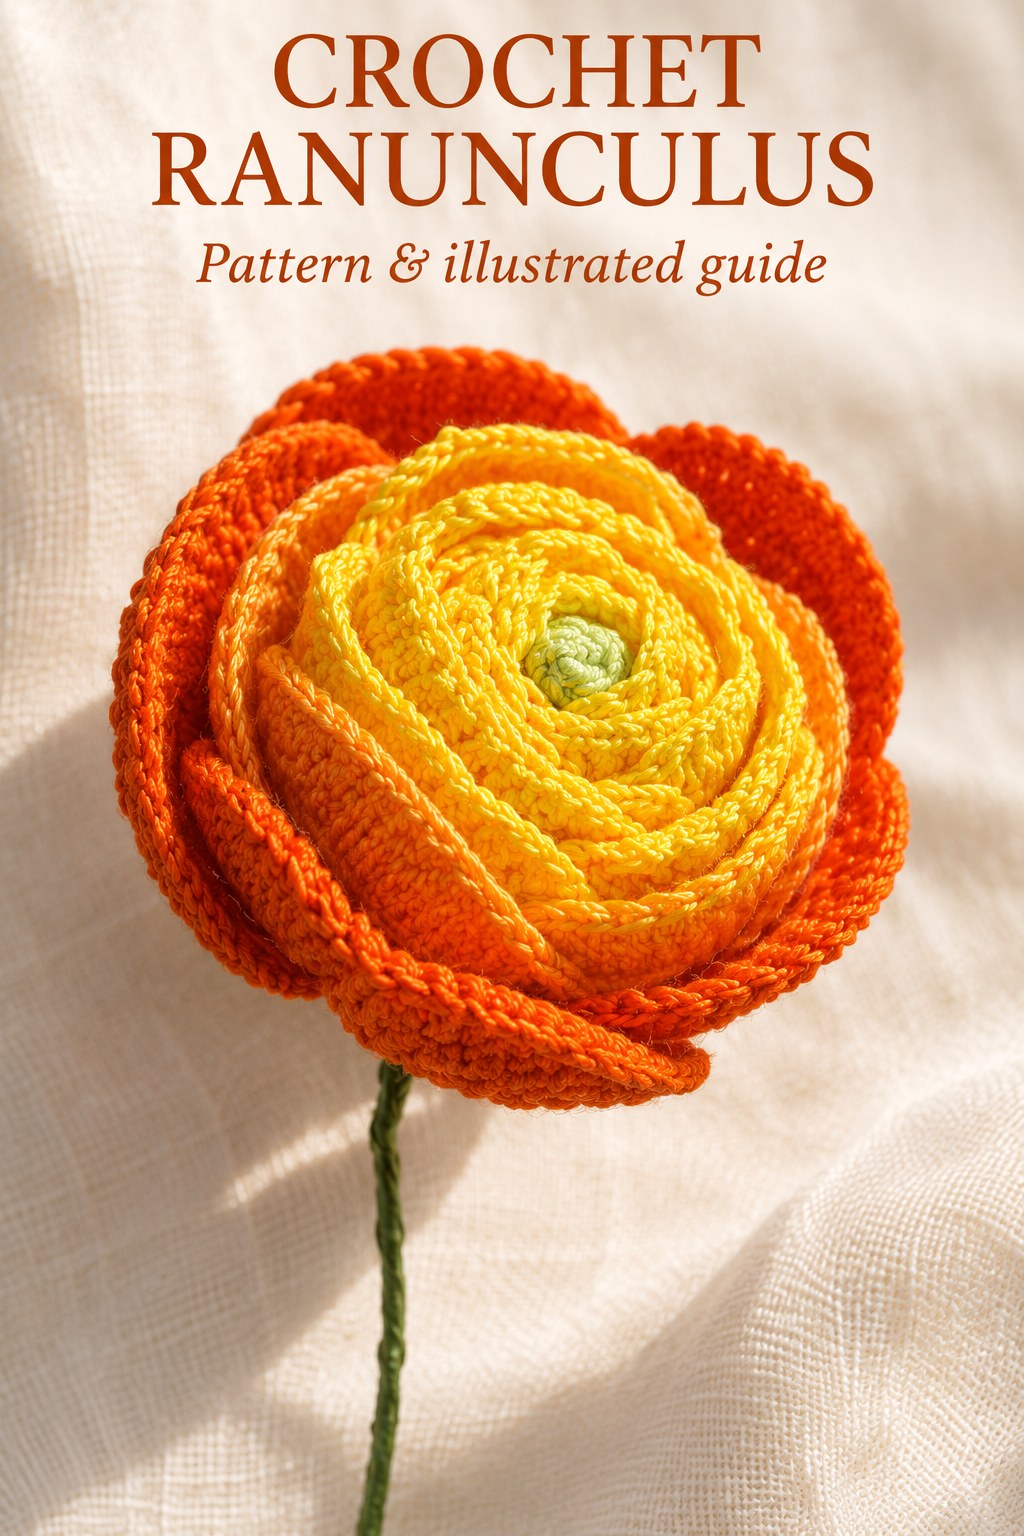
Surface Construction Note
The stuffed body and its decorative spiral are different working paths. Ten plus twenty plus thirty plus forty reserved originals give one hundred positions. The complete surface instruction uses sixty-one positions followed by three thirteen-position groups, also one hundred.
Petal A Rounds 1–3: Make the Circular Foundation
For each Petal A, make a magic ring, chain three and work ten doubles into it. Tighten and slip stitch to join. Round two works two complete doubles in every original for twenty, then joins. Round three doubles every original again, producing forty, and joins with a slip stitch.
These are joined circular petal rounds, unlike the continuously spiraled stuffed base. Keep the ten working doubles separate from the initial height chain. The two full increase rounds create the broad circular petal fabric before its narrow attachment extension is worked. No stuffing is inserted into either petal type.
Petal A Round 4: Add the Basal Extension
Chain nine plus one height chain and work nine singles along the new extension. Continue with forty singles around the circular petal, then nine slip stitches along the extension as shown by its chart. Chain two to lock and cut the yarn. Make five or more complete Petals A.
The extension provides a narrow section for joining at the base. Keep its nine singles and nine returning slips associated with the same attachment feature, rather than adding another forty-stitch circle. The source assembly photograph later shows the petal seated against the core with this narrow portion gathered below and secured with yarn.
Petal B Rounds 1–4: Repeat the Circle and Add Wire
Begin Petal B by repeating Petal A rounds one through three: ten doubles in a magic ring after chain three, then twenty doubles, then forty, joining each round. For round four, work forty singles while incorporating wire. This replaces the extension treatment used for Petal A.
Keep the 0.8 mm wire enclosed by the border stitches as shown in the source process photograph. No fixed cut length is supplied. The support stays with the circular petal and later joins the stem assembly, while the source’s additional fifth round creates its broader shaped edge above the wired single-crochet circuit.
Petal B Round 5: Shape the Outer Edge
Work two singles, then repeat two complete doubles in one original followed by one double in each of the next three originals nine times. Finish with two singles. Slip stitch to join, chain two to lock and cut the yarn. Make five or more Petals B.
The two singles at each end use four positions, and the nine double-crochet groups each use four more, totaling forty incoming originals. Each group produces five doubles, so the completed edge has forty-five doubles plus four singles, or forty-nine stitches. Preserve those plain end sections rather than increasing all the way around.
Petal B checkpoint: Its final round consumes forty originals and produces forty-nine stitches. The extra width comes from nine complete double-crochet increases, with two singles at both ends.
Make and Support the Small Green Center
For the pistil, chain three and slip stitch to form a ring. Work twenty-five singles into the ring. Insert wire at the back of this small green component. The printed center uses the joined chain ring, rather than the magic-ring foundation used for the base and petals.
Place the wired center at the middle of the base and twist the wire, following the source assembly photographs. Seat the pistil inside the base as instructed so it remains nestled among the yellow ruffles. It is a small central detail, not another large stuffed sphere placed above the completed spiral.
Join the Inner and Outer Petal Sets
Join the Petals A at the base and lock them with yarn, following the actual source attachment view. Keep the completed spiral visible above the inner petal group and gather the narrow attachment portions beneath. The source gives five or more pieces but no fixed placement angles or numbered wrapping sequence.
Join the Petals B around the assembly and twist their wires. Their larger supported edges form the orange outer layers shown in the finished flower. Cover the combined stem with green floral tape. No separate leaf, glued beading step or additional crochet calyx is supplied for this entry, so keep those additions outside the source instructions.
Customize the Display without Losing the Construction
The source permits five or more of each separate petal type. Additional pieces can change the fullness of your own flower, but no upper limit or formula for enlarging the stuffed core is supplied. Keep each petal’s exact circular rounds and finishing treatment consistent within its group.
The named shades establish a yellow center surrounded by lighter and deeper orange, with light green at the middle. Reassigning colors is a personal variation. Different cotton thickness may affect proportions, but no gauge or measured diameter is given for predicting the change. Assess your own completed components before planning a larger matching arrangement.
Troubleshoot the Core, Spiral and Petals
If the base fails to widen, check that the source’s paired half doubles are complete increases. If the surface path runs out early, review the early back-loop processing and the one-hundred reserved originals before adding invented stitches. If the spiral looks uniform, check the successive five-, seven- and nine-double sections.
If Petal A lacks an attachment extension, revisit its nine-chain plus one foundation and return path. If Petal B’s edge count differs, check its nine increase groups and four end singles. If the center stands too high, reassess its seating inside the base before covering the stem, using the actual assembly photographs as the placement reference.
Source Credit and Care
This guide follows Ranunculus on PDF pages 119 through 122 of the supplied 350 page 1 (1).pdf, with the increase legend on page sixty-nine. The illustrations preserve the finished source flower, original core and petal charts, stuffed-base and surface-work photographs, and actual wiring and assembly sequence. The explanations do not claim a physical crochet test.
Care for the decoration according to the cotton, wire, stuffing and floral tape actually used. No washing method, blocking schedule or heat treatment is printed. Support the taped stem while moving the flower and protect the layered wired edges and tucked central detail from unnecessary pulling or compression in storage.
At a Glance
- Stuffed base: ten, twenty, thirty, forty; plain section; then thirty, twenty, ten and five.
- The complete surface spiral uses all one hundred reserved originals.
- Make five or more inner Petals A and five or more wired outer Petals B.
- Seat the green center, secure the petal sets, twist the wires and tape the stem.
Finish Your Crochet Ranunculus
Prepare the palette, reserve the base loops carefully and finish the spiral before gathering the two petal sets around it. Keep the round counts, supported outer edges and seated green center clear through assembly. Click the Pin to see the crochet Ranunculus pattern and illustrated guide, and save the component charts and source assembly views before beginning.
Tags
Crochet RanunculusCrochet FlowersCrochet PatternSpiral CrochetWired PetalsCotton YarnIllustrated Pattern
