

For the largest leaf, chain fourteen plus one height chain. Work a single, a double, six trebles, three doubles, six singles across the end and return path, three doubles, six trebles, a double and a single. This circuit produces twenty-eight worked stitches around the two foundation sides.
The six-treble runs are the main difference from the medium leaf’s four-treble runs. Keep the three-double transitions and the six singles at the end unchanged. Increasing every section at once would make a different outline and disrupt the border count supplied specifically for the fourteen-chain foundation.
Leaf 3: Complete the Thirteen-Loop Edges
Repeat one single and chain two thirteen times, then add one single. Make the short pointed extension with chain two plus one height chain, then slip stitch and single along it. Repeat thirteen single-and-chain-two groups on the return side, followed by one final single.
Slip stitch to join, chain two to lock, cut the yarn and tie the knot. The border has fourteen single anchors along each side, with thirteen chain-two spaces between them. Check the larger leaf’s two sides before wiring so an omitted anchor or extra loop is corrected while the crochet remains easy to handle.
Border tally: Repeat counts are nine, eleven and thirteen per side. Each side also ends with one additional single, giving ten, twelve and fourteen anchors respectively.
Work a US Treble without Changing Its Placement
For each treble in the medium and large leaves, wrap yarn twice over the hook before inserting it in the next indicated foundation position. Draw up a loop and work through the loops two at a time until the stitch is complete. The completed stitch occupies one original and has one finished top.
This explains the standard named stitch represented by the chart; it does not add another increase or a new pattern round. Work the required four or six trebles individually along each side. Keeping their height and placement distinct from the adjacent doubles gives the broader leaf center its intended raised profile.
Insert Wire along the Leaf Center
Insert the green 0.8 mm wire into the center of each completed leaf, passing up and down through the fabric as shown. The actual source photograph places the support along the central line, leaving the bright border free. This differs from crocheting wire into the outer edge, which is not the method printed here.
Use the image to understand the up-and-down passage and the relationship between the support and the foundation vein. No exact number of passes, wire-cut length or insertion depth is supplied. Keep any allowance chosen for your own branch practical, without turning it into an invented numerical requirement from the source.
Bend and Lock the Support at the Base
Bend the wire as shown by the close photograph, then lock it at the leaf base. The next source view shows the looped support and the ends positioned below the leaf. Keep the support associated with the central fabric while retaining the crocheted point and looped border above.
Do not add an unlisted glued backing or fill the leaf with stuffing to hold its shape. The source’s support comes from the inserted wire. Assess the completed component while handling the center gently, and avoid pulling the fine cotton chain loops as though they were the attachment points for the branch.
Twist the Three Supports into a Branch
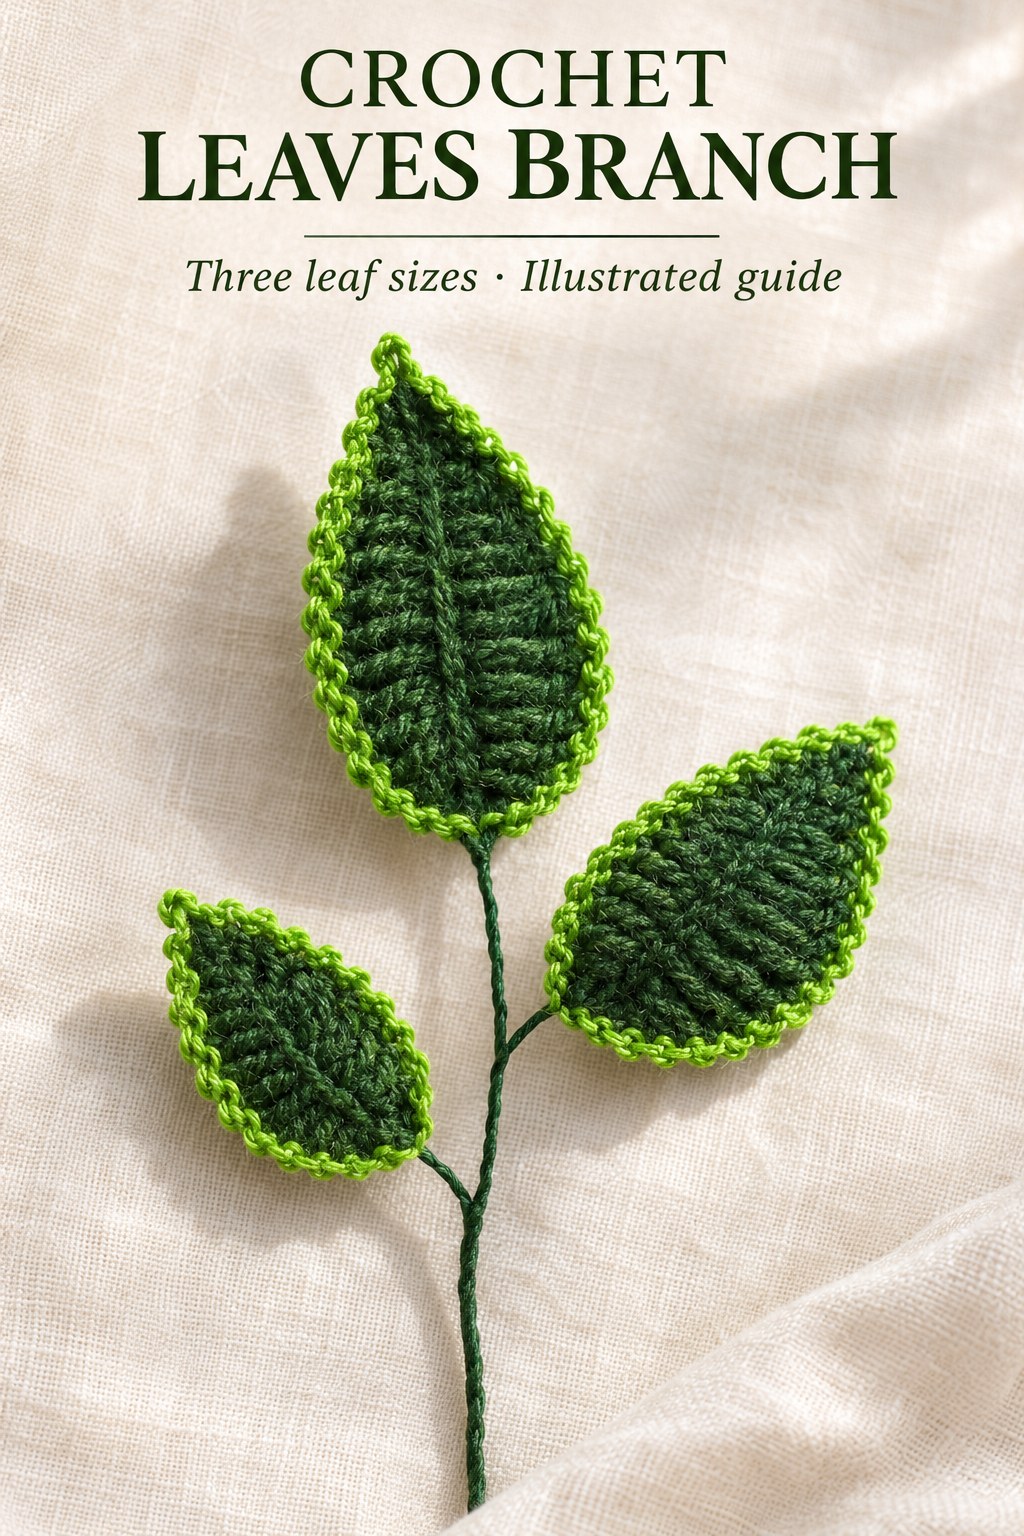
Arrange the supported leaves together and join them by twisting the wire. The finished reference places the largest leaf at the top, a medium leaf to one side and the smallest lower on the opposite side. The assembly photograph also shows all three components gathered into the same slender support.
No fixed branch length, measured angle or counted twist sequence is stated. Use the photographed arrangement as a placement reference while keeping each leaf’s center support secured at its base. The local material list does not include floral tape or a separately crocheted stem sleeve, so neither is a mandatory missing finishing step here.
Use the Sizes in Your Own Display
The supplied branch illustrates the three graduated sizes together. Making additional leaves is a personal display choice rather than an extra printed component count. Keep each size’s foundation, first-round sequence and matching border repeats intact when preparing a fuller arrangement or several matching branches.
A different distribution of greens can change the contrast between the wool face and cotton border. Such a color choice is a variation; the original material pairing remains green wool and light-green cotton. Changing fiber thickness may alter size, but no gauge or measured leaf dimensions are supplied for predicting those changes in advance.
Troubleshoot the Shape and Border Counts
If a leaf becomes a round fan, check that its first round follows both sides of the foundation and that the six singles are not all placed in one original. If the larger leaf is too flat in the center, check the two-bar MD symbols and retain their US treble interpretation rather than replacing them with half doubles.
If the border runs short, count its anchors separately from the chain spaces. The final single after each set of repeats matters. If the point leans strongly to one side, revisit the short chain extension and its position between the two border halves before using the wire to compensate for an actual crochet-count error.
Source Credit and Care
This guide follows Leaves Branch on PDF pages 147 and 148 of the supplied 350 page 1 (1).pdf. Its illustrations retain the finished branch, all three original leaf charts and the actual wire-insertion, bending, locking and joining photographs. The expanded explanations preserve the printed size sequences without claiming a physical crochet test.
Care for the decoration according to the wool, cotton and wire actually used. No washing schedule, blocking process, stiffening recipe or heat treatment is printed. Support the joined branch when moving it and protect the small cotton border loops and leaf points from unnecessary pulling, bending or compression during storage.
At a Glance
- Three foundations: ten, twelve and fourteen working chains, plus one height chain each.
- First rounds produce twenty, twenty-four and twenty-eight stitches.
- Border repeats are nine, eleven and thirteen per side, plus the final single and separate tip extension.
- Insert central wire, bend and lock it at each base, then twist the supports together.
Finish Your Crochet Leaves Branch
Prepare the wool, contrasting cotton and two hook sizes, then keep each leaf’s complete sequence beside its chart. Finish the points and looped borders before inserting the central supports and joining the branch. Click the Pin to see the crochet Leaves Branch pattern and illustrated guide, and save all three charts before beginning your own graduated set.
Tags
Crochet LeavesCrochet BranchCrochet PatternWool and CottonWire SupportLeaf SizesIllustrated Pattern
