

Crochet the Connected Leaf Pair
For the first leaf lobe, begin seven plus one chains. This means seven working foundation chains and the added starting chain. Work two single crochets, one half double crochet, two double crochets, one half double crochet and one single crochet along the seven working positions. The graduated heights form a narrow lobe with a fuller middle and lower ends.
Begin another seven plus one chains for the second lobe and repeat the same sequence: two single crochets, one half double crochet, two double crochets, one half double crochet and one single crochet. The source presents these as connected parts of the leaf unit. Do not separate them into two independently fastened-off leaves before working their common perimeter.
For the third round, work all around in slip stitches. Follow the paired outline shown by the leaf chart, including the center junction between the two lobes. Lock with two chains and cut the yarn. No total number of leaf pairs is given, so make enough for the arrangement you want while preserving the two-lobed construction shown in the source.
Construction Note
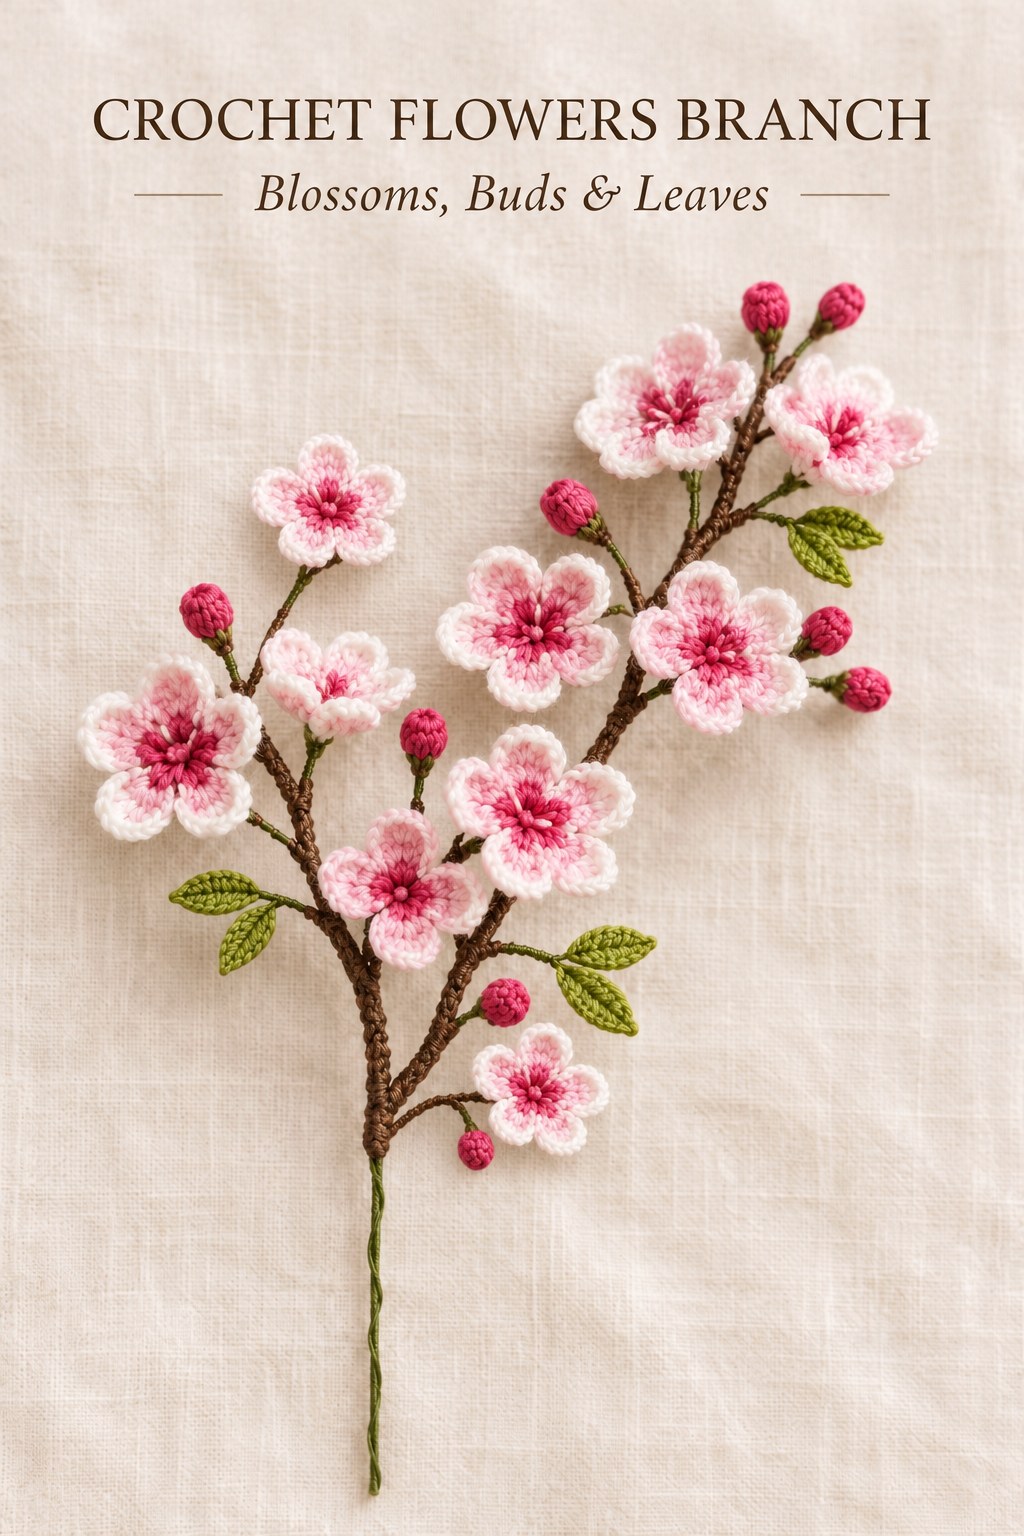
The blossoms, closed buds and paired leaves are separate elements on fine wire. The brown crocheted tube receives the thicker main support before the small element stems are wrapped around it.
The leaf chart is more useful here than a guessed perimeter total. It shows both chain foundations, the taller central stitches and the continuous slip-stitch outline. The dashed route around the leaves indicates their support path. The source assembly then demonstrates attaching fine wire at the bases of the small elements; keep that wire work distinct from the crochet stitch sequence.
Crochet the Brown Branch Tube
Begin a magic ring in the branch yarn. Work chain three and five double crochets into the ring, tighten the circle and join with a slip stitch. Round two is chain three and five double crochets, joined with a slip stitch. Repeat round two until the tube reaches the height you want for the branch. The source leaves that length adjustable.
Join with a slip stitch, lock with two chains and cut the yarn. This repeated narrow round produces the crocheted covering that receives the thicker wire. The method does not specify adding stuffing or crocheting an elaborate branching increase structure. The support and arrangement photographs explain how the small element stems are wrapped around this main covered branch.
Before installing the support, compare the branch opening with the bent wire end in the photograph. The wire should pass into the tube rather than pierce through several random stitch faces along its length. The bend is part of the printed method and helps create the shape shown at the base. No precise angle, loop diameter or wire length is specified.
Support checkpoint: Use the listed 0.8 mm wire inside the main branch and 0.6 mm wire at the small elements. Their cutting lengths are not specified.
Support and Attach the Flowers, Buds and Leaves
Bend one end of the 0.8 mm wire and insert it into the crocheted branch. Lock the wire at the base, following the close photograph. This is the main structural support. Keep the cotton covering along the branch rather than stretching it into gaps simply to gain extra length; the source offers repeated branch rounds when a longer tube is needed.
Insert 0.6 mm wire at the bases of the small elements and twist it. The paired source photographs show this operation first beneath an individual flower and then with several supported pieces. The fine stems let the components approach the branch from slightly different directions. Keep the attachment at the component base so it does not replace or distort the visible petal stitches.
Place a flower cluster along the brown branch and compare its orientation with the source. Some flowers face forward while others turn slightly away, allowing the buds and small green leaves to remain visible. The source does not print a fixed numbered placement map. Use the demonstrated wrapping method and the stated component minimums without inventing a mandatory position for every blossom.
Wrap the element stems around the main branch and twist them into place. Work through the remaining flowers, buds and leaf pairs, checking the view from the front as each cluster is added. The final photograph shows the hand-supported wrapping operation. It is an assembly illustration, not evidence of an extra crochet round or an additional unlisted structural component.
Checks Before You Finish
Count five flower arches before filling them and five complete petal groups before fastening off. Confirm that the edging increases remain two complete single crochets in each shared anchor. For the bud, check the two ten-single-crochet body rounds before reducing to five. For each leaf pair, verify that both lobes have the same seven-position height sequence and a continuous slip-stitch border.
If the sprig looks unlike the reference, compare component construction before changing the assembly. A flower with four arches, a bud left open at ten stitches or a leaf with a missing second lobe will alter the silhouette. These are sequence checks based on the supplied pattern; they do not require a guessed gauge or a promised finished flower diameter.
Save the Pattern and Plan Your Branch
At a Glance
- Five arches support five petals per blossom.
- Make ten or more blossoms and five or more closed buds.
- The leaf unit has two connected lobes with one continuous slip-stitch outline.
- Wire the main tube first, then attach and wrap the small elements.
This guide follows Flowers Branch on PDF pages seventy-nine and eighty of the supplied 350 page 1 (1).pdf, with stitch symbols checked against the general legend on page sixty-nine. The illustrations are actual source charts and finished or process photographs, identified in their captions. The explanations preserve the component counts and wire-supported assembly without claiming a physical crochet test. Follow care guidance for the actual cotton and wire; no washing, stiffening or heat-treatment method is supplied.
Keep the flower chart, bud chart, paired-leaf chart and branch chart beside the pattern card while you work. The actual source photographs show the support order: insert the main wire, lock its base, wire the small elements, then wrap them onto the branch. That order makes the relationship between the crocheted pieces and their support easier to follow.
Click the Pin to return to the complete pattern and illustrated assembly guide, and save it to your crochet flower board for later. When you make another sprig, use the same component sequences and adjust only the source’s open choices, such as branch height, leaf-pair quantity and the number of flowers beyond its stated minimum.
Tags
Crochet flowersFive-petal blossomsWire-supported branchSource chartsIllustrated assembly
