Row 6: Turn, ch 1. Work one sl st in every odd-numbered stitch of Row 5: 1, 3, 5, 7, 9, 11, 13, 15, and 17. Between those anchors, work the following into the even-numbered stitches:
- St 2: 3 hdc.
- St 4: 1 sc.
- St 6: (hdc, dc, hdc).
- St 8: 1 sc.
- St 10: (hdc, 2 dc, hdc).
- St 12: 1 sc.
- St 14: 3 hdc.
- St 16: 1 sc.
Fasten off after the sl st in stitch 17, leaving a sewing tail. Row 6 uses all 17 foundation stitches once and produces 10 hdc, 3 dc, 4 sc, and 9 sl sts. The four fans form shallow, rounded drips; the single crochets between them keep the lower edge connected.
4. Holly leaves — make two
Foundation: With dark green, ch 7. Keep the foundation loose enough to work into both sides.
Round 1: Starting in the second ch from the hook, work sc, hdc, dc, hdc, sc into the next five chains. Work 3 sc into the last chain. Rotate the work and crochet along the unused underside loops of the foundation: sc, hdc, dc, hdc, sc into the remaining five chains. Sl st to the first sc. Fasten off. 13 sts: 7 sc, 4 hdc, and 2 dc.
Round 2: Join green with a sl st to the first sc of Round 1 and ch 1. Sc in each of the 13 stitches. After stitches 2, 4, 7, 10, and 12, add a picot: ch 2, sl st in the second chain from the hook. Continue to the next leaf stitch after each picot. Sl st to the first sc and fasten off, leaving a sewing tail. 13 sc and 5 picots.
The picot chains and their closing slip stitches do not add to the 13-stitch perimeter. The three single crochets in the final foundation chain turn the tip; do not repeat that increase in Round 2.
5. Red berry
Round 1: With red, make an MR, ch 1, work 6 sc into the ring. Close the ring and sl st to the first sc. 6 sc.
Round 2: Ch 1, work 2 sc in each st; sl st to the first sc. 12 sc. Fasten off with a sewing tail. Leave the berry flat; no stuffing is needed.
Assembly and Finishing
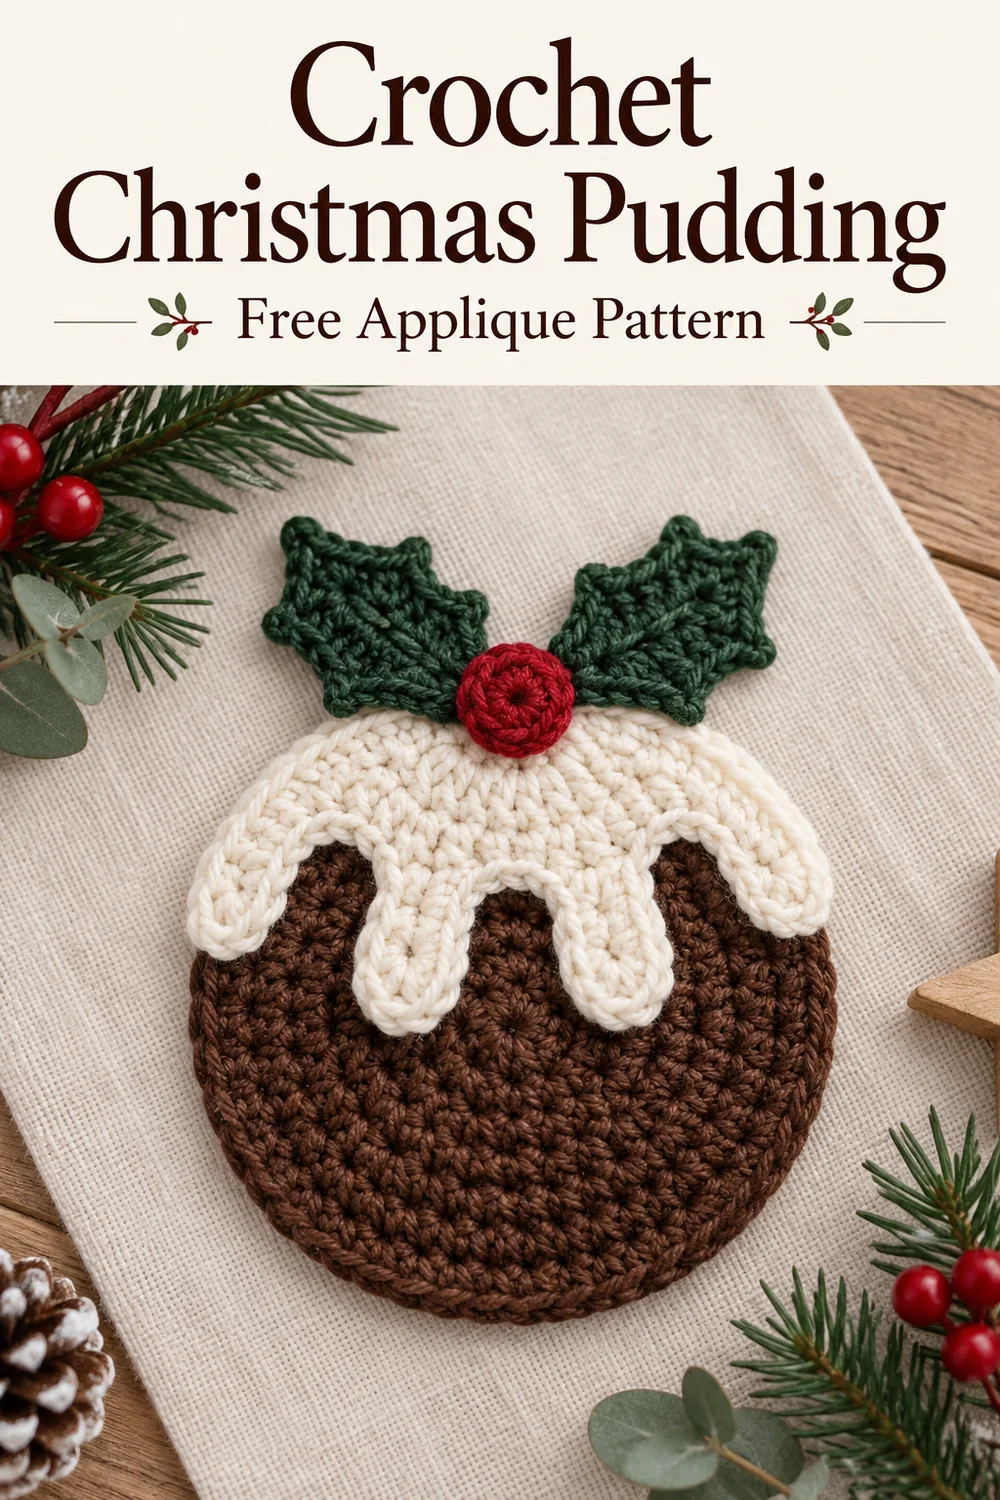
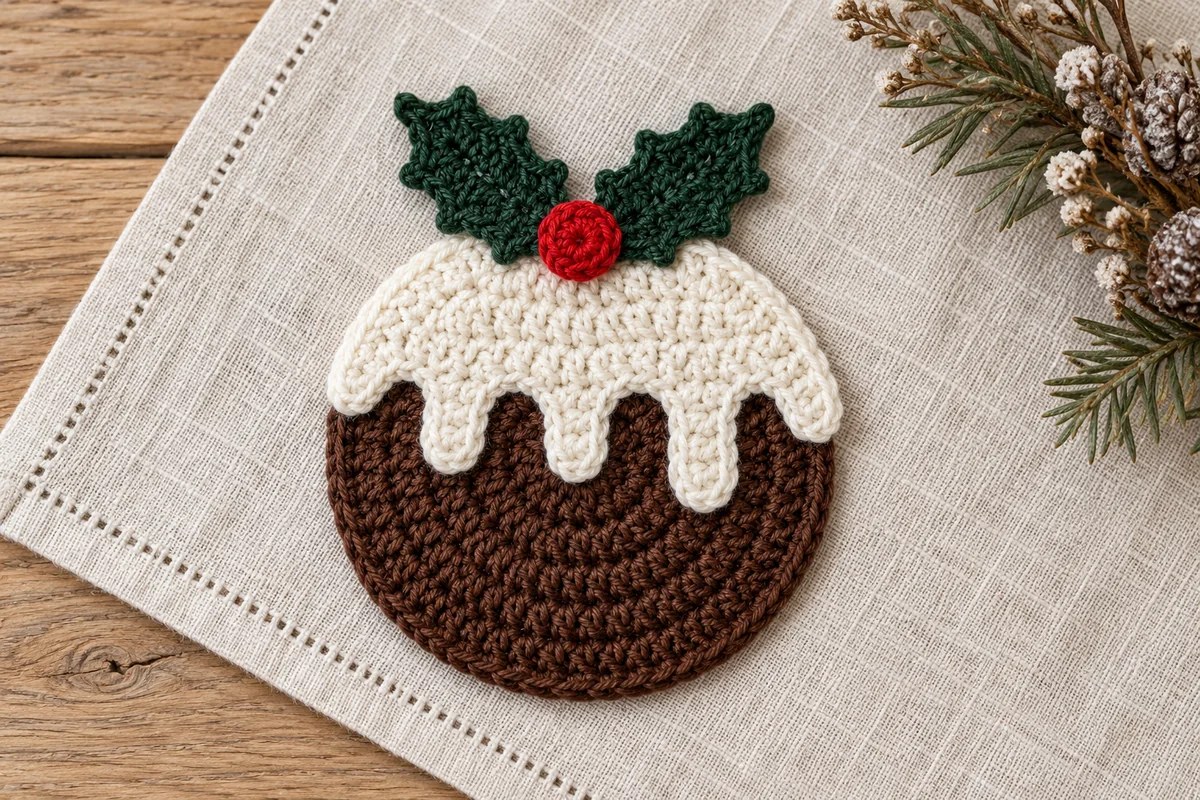
- Lay the brown disk RS up. Place the icing on the upper half, with its curved edge following the disk edge and the four fans pointing down across the brown section. Adjust the position before sewing.
- With ivory yarn, sew the icing around its outer curve and lower edge using small stitches. Catch the brown fabric without pulling so tightly that it buckles. Secure each drip near its tip while keeping the sewing stitches inconspicuous.
- Place the two leaves at the top with their bases overlapping and tips angled outward. Sew their bases firmly to the upper pudding edge; add a discreet stitch farther up each leaf if you want it to stay flat.
- Place the red berry over the leaf bases and sew around its edge. Weave in all tails on the back.
- If needed, lightly dampen and shape the applique according to the yarn label. Keep the drips rounded and allow everything to dry flat.
Optional hanging loop: Ch 16 with a coordinating yarn, fasten off, and sew both ends to the back of the brown disk at the top. Secure the ends into the disk itself, rather than relying on the leaves to support the ornament.
To attach the crochet Christmas pudding to fabric, pin it in place and sew around the brown outline with matching thread. Check the care instructions of both the yarn and the base fabric before laundering. For decorations accessible to young children, use sewn yarn details and keep hanging loops out of reach.
Troubleshooting Your Crochet Christmas Pudding
The icing is folding instead of lying flat
Check that Rows 1–4 contain 6, 12, 18, and 24 dc and that you turned without joining. A join at the end of Row 1 creates a small circle instead of a semicircle. Also check that Row 5 contains 17 sc placed across the diameter, with one center stitch between the two groups of eight.
The drips look crowded
Each fan goes into one base stitch. Do not place its stitches across neighboring stitches. Use a marker in every odd-numbered foundation stitch to identify the nine slip-stitch anchors, and keep those slip stitches loose enough that they do not draw the edge into a tight cord.
The leaves twist or lose their points
A tight starting chain can bend the leaf lengthwise. Make a fresh loose chain and check that Round 1 has exactly 13 stitches. Work the five picots after the specified stitches in Round 2; do not crochet additional single crochets into the picot chains. Shape the points gently during finishing.
The applique puckers after sewing
Unpick the tight section and resew with the pieces lying on a flat surface. Leave a little ease in each sewing stitch. The ivory layer should rest against the brown disk without shrinking its width; sewing more tightly will not correct a mismatched curve.
More Festive Crochet Ideas
For another holly detail, try the holly crochet coaster. The Christmas bauble coaster offers a round holiday motif with a different finish, while the crochet heart bell adds a small three-dimensional ornament to a coordinated display.
Pins and Crochet Christmas Pudding Diagrams
The complete symbol sheet shows the disk, icing, both leaves, berry, and optional hanger. The two detail guides focus on the icing edge and holly assembly. These charts follow the written stitch counts; they are construction guides for this original interpretation, not a claim of physical testing or an exact transcription of the reference photograph.