

For a large petal, work the same first two sequences and the same third shaping path as the medium, reaching sixty. Its fourth path is ten slip stitches, one single, fifteen half doubles, one single, six slips, one single, fifteen half doubles, one single and ten slips.
This last path consumes sixty without increasing. Twist the wire, join, chain two to lock, cut and knot. Make three large petals. Do not add this fourth path to the small or medium pieces; it is the written distinction that completes the largest size.
Secure Each Prepared Petal Wire
The source process image shows a completed petal with an arrow indicating its support twist. Keep that support available below the petal base. The shaping wire stays inside the crocheted edge, allowing the petal to hold a cupped form when the flower is assembled.
The source gives no fixed number of wire rotations, petal bend angle or measured cup depth. Use the completed components and photos to assess the form while retaining the exact crochet paths. No additional stiffening mixture or adhesive step is specified.
Arrange the Six-Part Flower Layout
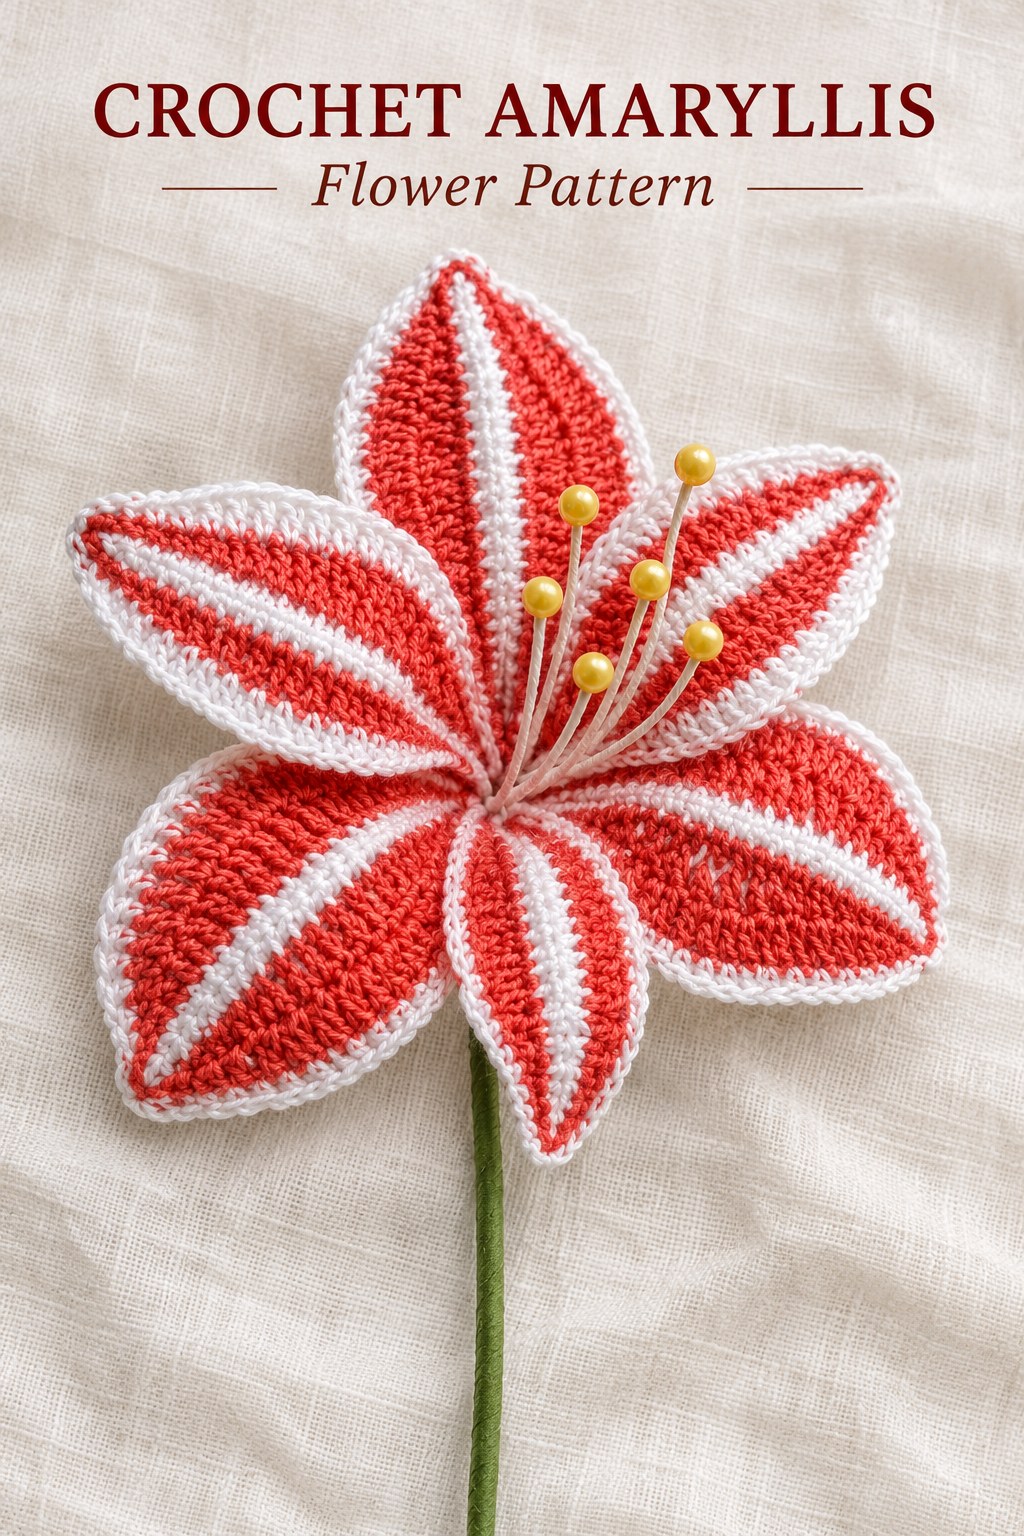
Join the petal supports by twisting their wires. The source layout places a large petal at the upper position, medium petals at the left and right, the small petal at the lower center and the other two large petals around the lower sides. Preserve all six pieces in the arrangement.
The layout is an assembly reference rather than a scale drawing with measured angles. Use it to identify which size goes where, then assess the overlap in your actual wired components. Do not claim exact petal spacing or a guaranteed flower diameter from the scanned image.
Thread and Twist Six Yellow Pearl Stamens
Thread one yellow pearl onto a piece of wire, fold the support around it and twist the ends. Repeat to prepare six stamen units. The source process panel shows the pearl on its doubled support before and after twisting.
The materials specify six yellow pearls but no diameter or individual stamen length. Keep those omissions clear. These tips are physical pearls or beads, not crocheted bobbles or yellow embroidered knots, and their six-wire group is prepared separately from the red-and-white petals.
Cover the Individual Stamen Supports in White
Cover each pearl-tipped support with white floral tape. The source photo shows the tape being applied along the wire below a yellow tip. This produces the pale center filaments visible above the flower throat.
Retain enough free support for gathering the six units afterward, using your actual component needs rather than a printed cut length that does not exist. Keep the pearls exposed at the tips instead of wrapping tape over their visible yellow surfaces.
Gather and Insert the Center Group
Gather the prepared stamens and twist their support ends together. Insert this six-tip group into the flower center. The source process illustrations show both the gathered wires and the center positioned within the joined petals.
Arrange the visible pearl tips while the support remains accessible. The source gives no required numerical height difference between them. Keep all six units rather than replacing the group with a single large center bead or an extra crocheted pistil.
Center checkpoint: Prepare six separate yellow pearl tips, cover their wires with white tape, gather them and insert the group before the final green stem covering.
Cover the Main Stem with Green Floral Tape
Join the supporting wires and cover the main stem with green floral tape, following the final source image. White tape belongs on the individual visible stamen filaments, while green covers the combined support beneath the bloom.
No separately crocheted leaf component is provided in this Amaryllis entry. A small tape end visible in a finished process photo is not an instruction for another leaf pattern. Keep the delivered flower construction complete through the six petals, six pearl tips and taped stem without borrowing extra parts from another design.
Check Color, Size Groups and Shaping
Before final covering, confirm one small, two medium and three large petals. Check the white central stripe, light-red shaping section and white outer path against the source charts and completed example. The written instructions supply no special counted color-joining stitch; use normal neat color joins while preserving the charted roles.
If a medium path does not reach sixty, review its eight increases and fifty-two incoming originals. If a large finishing path runs out early, count its two fifteen-half-double sections, six central slips and ten slips at each end. If the flower looks uneven, inspect the assigned petal sizes before changing their stitch counts.
Source Credit and Care
This guide follows Amaryllis on PDF pages 115–117 of the supplied 350 page 1 (1).pdf. The illustrations include the finished example, all three petal charts, prepared components and actual source process photos for wire and floral-tape assembly. The expanded explanations preserve the six-part layout and six pearl stamens without claiming a physical crochet test or measured finished sample.
Follow care guidance appropriate to your actual cotton, wire, pearls and floral tape. No washing schedule, blocking recipe or heat treatment is supplied. Support the taped stem when handling the decoration and protect the wired petal edges and pearl tips from unnecessary pulling or compression.
At a Glance
- Petal set: one small, two medium and three large.
- Shared crochet paths produce twenty-five, then fifty-two stitches.
- Medium shaping reaches sixty; large adds a plain sixty-position finishing path.
- Six yellow pearl-tipped supports are white-taped, gathered and inserted before the green stem covering.
Finish Your Crochet Amaryllis
Keep the three petal sizes organized, follow the charted color roles and complete each supported edge before joining the flower. Prepare all six pearl stamens, insert the center group and cover the main stem neatly. Click the Pin to see the crochet Amaryllis pattern and illustrated guide, and save the three charts and assembly photographs before beginning.
Tags
Crochet AmaryllisCrochet FlowersCrochet PatternWired PetalsPearl StamensCotton YarnCrochet Charts
