


There are some crochet patterns that never seem to go out of style, and the classic granny square is definitely one of them. It’s simple enough for someone picking up a crochet hook for the first time, but it’s also a pattern that experienced crocheters return to again and again.
What makes granny squares so much fun is their versatility. You can keep things simple with one color, change colors every round, or use up leftover yarn from your stash to create a completely unique combination. Once you have a few squares made, they can be joined together to create blankets, pillows, bags, scarves, and all kinds of other projects.
The granny square became especially popular in the United States during the 1960s and 1970s, although its exact origins are difficult to trace. The name is often associated with grandmothers, who traditionally made these colorful little squares for blankets and other household items. Even today, there’s something wonderfully nostalgic about working a granny square.
If you’re new to crochet, this is a great pattern to practice your basic stitches and learn how a simple combination of stitches can grow into a beautiful square.
Crochet Abbreviations
Here are the abbreviations used in the pattern:
ad 26 3
- Approx = Approximately
- Beg = Beginning
- Ch = Chain
- Dc = Double crochet
- Rep = Repeat
- Rnd(s) = Round(s)
- RS = Right side
- Sl st = Slip stitch
- Sp(s) = Space(s)
- St(s) = Stitch(es)
- Tog = Together
- WS = Wrong side
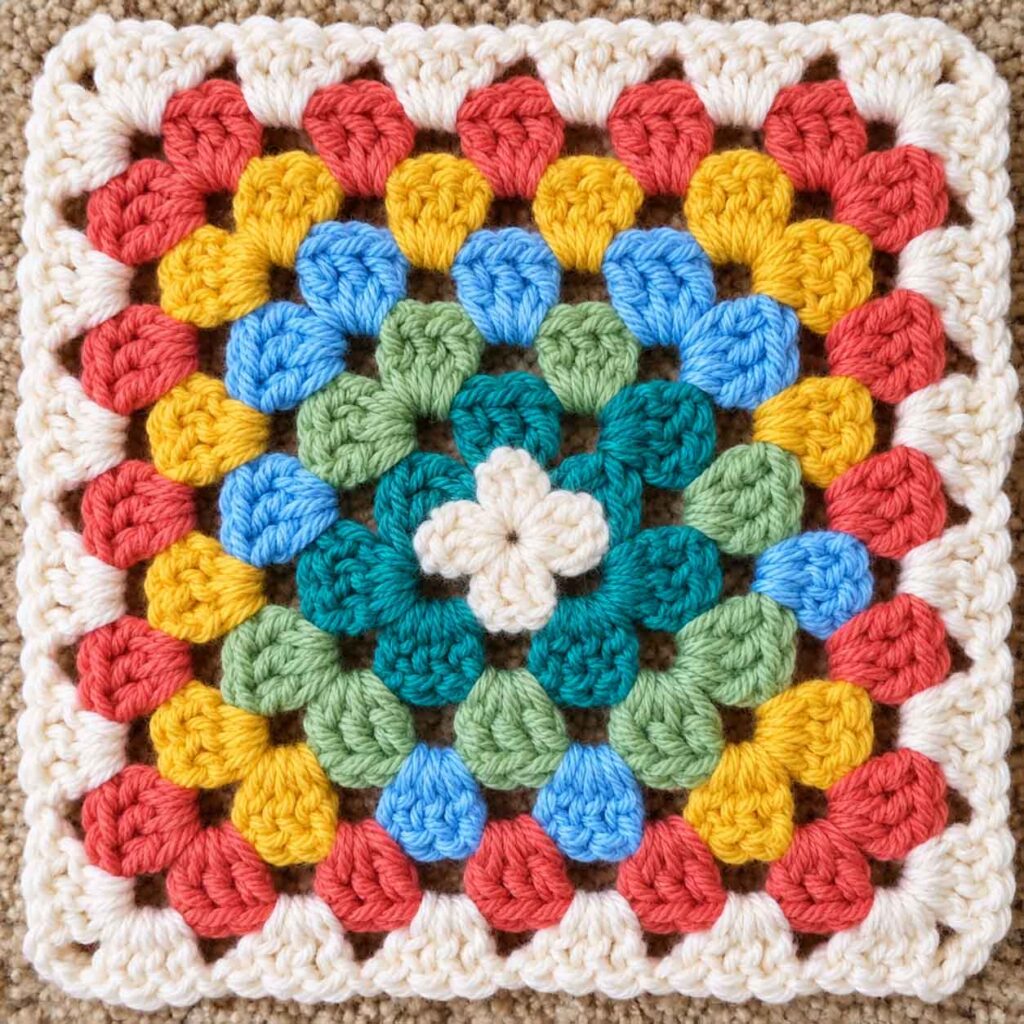
A Few Notes Before You Begin
Before starting the pattern, keep these details in mind:
- A ch 3 at the beginning of a row or round counts as a double crochet.
- A ch 6 at the beginning of a round counts as 1 dc and a ch-3 space.
- Unless the pattern says otherwise, join each round with a slip stitch to the 3rd chain of the ch-6.
Keeping these points in mind will make the pattern much easier to follow, especially when you get to the corners.
Classic Granny Square Pattern
Starting the Square
Using Color 1, chain 4. Join with a slip stitch to the first chain to form a ring.
ad 26 3
1st Round
Chain 6.
ad 26 3
Work (3 dc, ch 3) three times into the ring.
Then work 2 dc into the ring.
Join with a slip stitch.
ad 26 3
You should now have the basic four-corner structure of your granny square.
2nd Round
Slip stitch into the ch-3 space.
Chain 6, then work 3 dc into the same ch-3 space.
Chain 1. Work (3 dc, ch 3, 3 dc) into the next ch-3 space.
Repeat from * two more times.
Chain 1, then work 2 dc into the first ch-3 space.
Join with a slip stitch.
3rd Round
Slip stitch into the ch-3 space.
Chain 6, then work 3 dc into the same ch-3 space.
Chain 1. Work 3 dc in the next ch-1 space. Chain 1. Work (3 dc, ch 3, 3 dc) in the next ch-3 space.
Repeat from * two more times.
Chain 1, work 3 dc in the last ch-1 space, then chain 1.
