

Bring Color A back into the pattern.
Repeat the instructions for Rows 1–10, alternating between Colors A and B in 10-stitch blocks.
Continue working the same single crochet and double crochet sequence throughout each row.
Rows 31–40: Colors B and C
Switch back to Colors B and C.
Repeat the instructions for Rows 11–20, maintaining the same 10-stitch color blocks.
Continue the Plaid Repeat
From this point forward, continue alternating the two color sections:
- 10 rows using Colors A and B
- 10 rows using Colors B and C
Repeat these sections until you’ve completed 120 rows.
Then work one final 10-row section using Colors A and B.
Your finished blanket body should contain:
- 130 stitches across
- 130 rows from top to bottom
- 13 blocks across
- 13 blocks high
Fasten off and weave in any loose ends that remain.
A Note About the Finished Size
The stitch and row counts above create a blanket with 13 blocks across and 13 blocks high.
If you’d prefer a smaller blanket with 11 blocks across and 11 blocks high, use a foundation chain of 111 and work 110 rows instead.
Keep in mind that changing the stitch count will also affect the finished dimensions. Check your gauge and measurements as you work to make sure the blanket is turning out the way you want.
Adding the Crochet Border
A simple border gives the blanket a neat, finished appearance without taking attention away from the plaid pattern.
For the border, use Color A.
Border Round 1
Join Color A in any corner of the blanket.
Chain 1, then work single crochet stitches evenly around the entire edge.
Along the top and bottom edges, work one single crochet into each stitch.
Along the sides, space your single crochet stitches evenly between the rows. You may need to adjust the spacing slightly to keep the edges flat.
At each corner, work:
(sc, ch 1, sc)
This creates a small corner space that will help the border turn neatly around the blanket.
Continue around all four sides, then join with a slip stitch to the first single crochet.
Chain 1.
Border Round 2
Work single crochet stitches in the back loop only around the blanket.
When you reach each corner chain-1 space, work:
(sc, ch 1, sc)
Continue around the entire blanket, then join with a slip stitch to the first single crochet.
Chain 1.
Working in the back loop only creates a subtle raised line that gives the border a little extra texture.
Border Rounds 3–5
Repeat Round 2 for the remaining three rounds.
Work one single crochet in the back loop only of each stitch, and remember to work (sc, ch 1, sc) in every corner chain-1 space.
Keep your tension consistent so the border lies flat and the corners remain neat.
After completing Round 5, join with a slip stitch and fasten off.
Finishing Your Baby Plaid Blanket
You’re almost there!
Use a yarn needle to weave in any remaining ends. Take a moment to check the edges and make sure there are no loose strands or areas where the carried yarn has pulled the fabric too tightly.
If needed, gently block the blanket according to your yarn’s care instructions. This can help even out the stitches and give the finished blanket a lovely shape.
Once everything is finished, lay the blanket flat and check that the border sits evenly around all four sides.
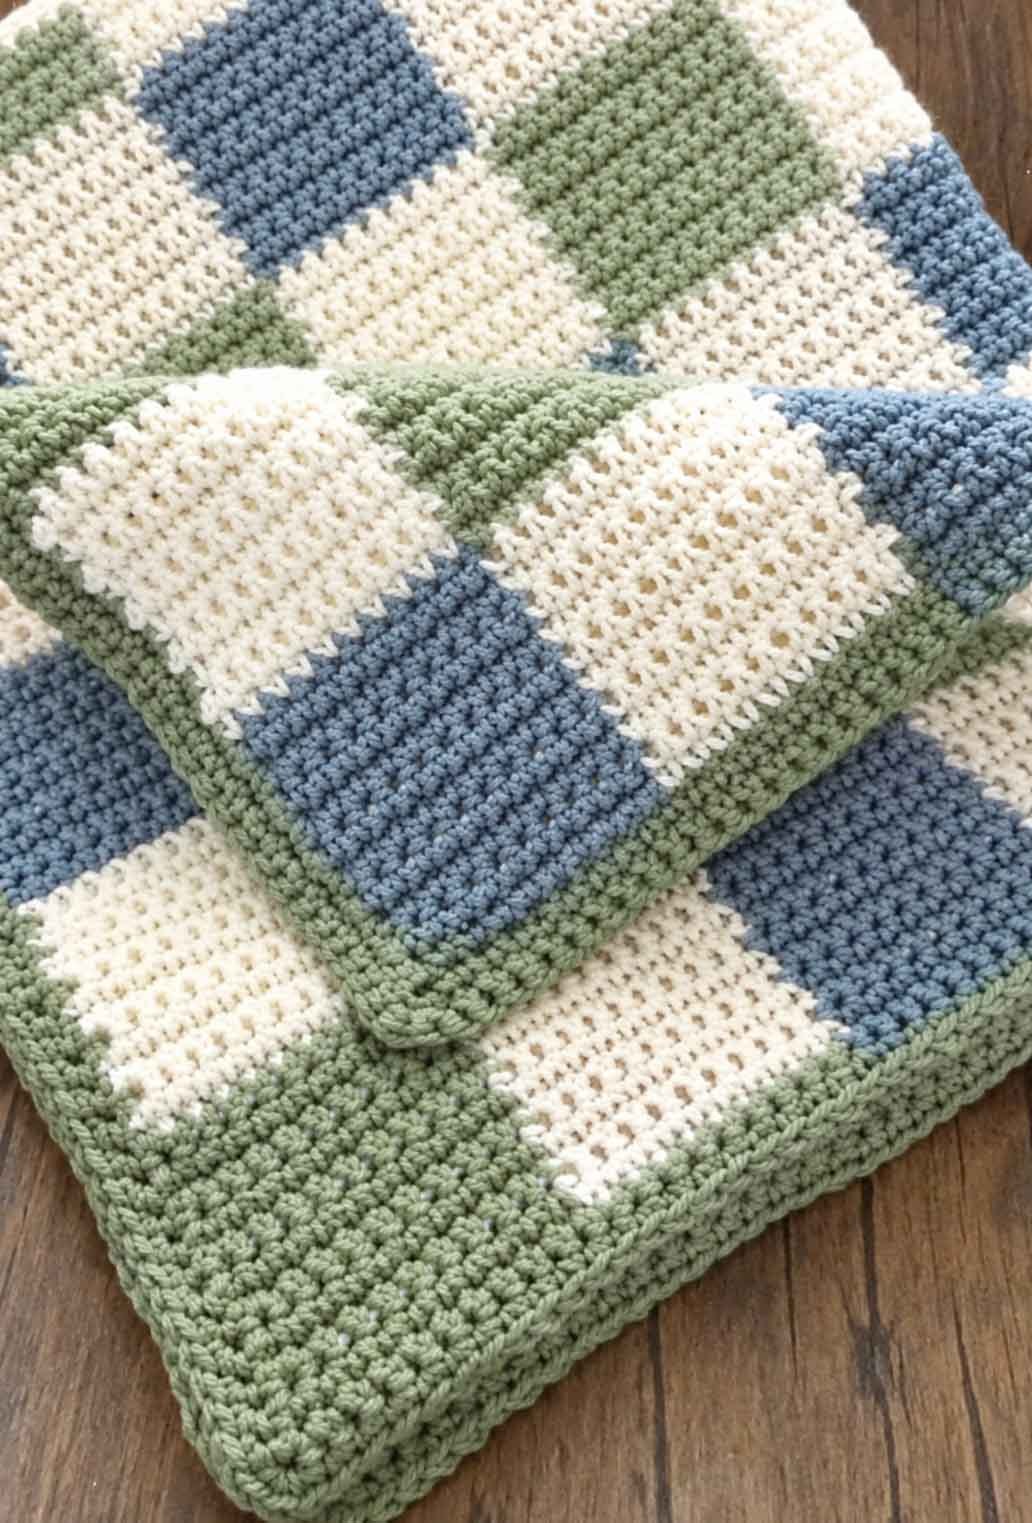
The combination of the simple stitch pattern, alternating colors, and textured border gives this blanket a classic look that will never go out of style.
Choosing Colors for Your Baby Blanket
One of the nicest things about making a plaid blanket is how easily you can personalize it.
For a traditional nursery look, try blue, cream, and soft green. If you prefer something warmer, beige, ivory, and caramel would make a beautiful combination.
Blush pink, cream, and dusty rose would be lovely for a softer look, while sage green, oatmeal, and ivory create a calm, natural palette.
You can also choose colors that match the baby’s nursery or use leftover yarn from other projects. Just make sure the shades have enough contrast for the plaid blocks to stand out.
There’s no need to stick to the original colors. Sometimes the most beautiful combinations are the ones you put together yourself.
Is This Baby Plaid Blanket Suitable for Beginners?
Yes! If you’re comfortable with basic crochet stitches, this blanket is a manageable project to try.
You’ll need to know how to chain, single crochet, double crochet, turn your work, and change colors. The main challenge is keeping track of the 10-stitch blocks and carrying the unused yarn neatly.
Take your time with the first few rows. Once you understand how the colors alternate, you’ll find that the repeating pattern becomes easier to follow.
A row counter or a few notes beside your project can also help you keep track of which color section you’re working on.
Video Tutorial
If you prefer watching someone demonstrate a technique before trying it yourself, look for a video tutorial that shows how to carry yarn through crochet stitches and change colors neatly.
Pay particular attention to how the unused strand is held behind the stitches and how the new color is introduced. Seeing those small details can make the process much easier to understand.
Final Thoughts
I love how this Baby Plaid Blanket brings together a traditional design and simple crochet techniques. The repeating blocks give it that familiar plaid look, while the soft yarn and coordinating colors make it feel warm and welcoming.
It’s also a wonderful project to customize. You can follow the original color combination or choose shades that match a special nursery, making the finished blanket feel even more personal.
Whether you’re making it for your own baby, a grandchild, or someone special in your life, a handmade blanket is a thoughtful gift that can be treasured for years.
Thank you for spending some crochet time with me here at Soofha! I hope you enjoy making this blanket as much as I enjoyed sharing the pattern. Happy crocheting!

Free PDF Pattern
CONTENT END 1
