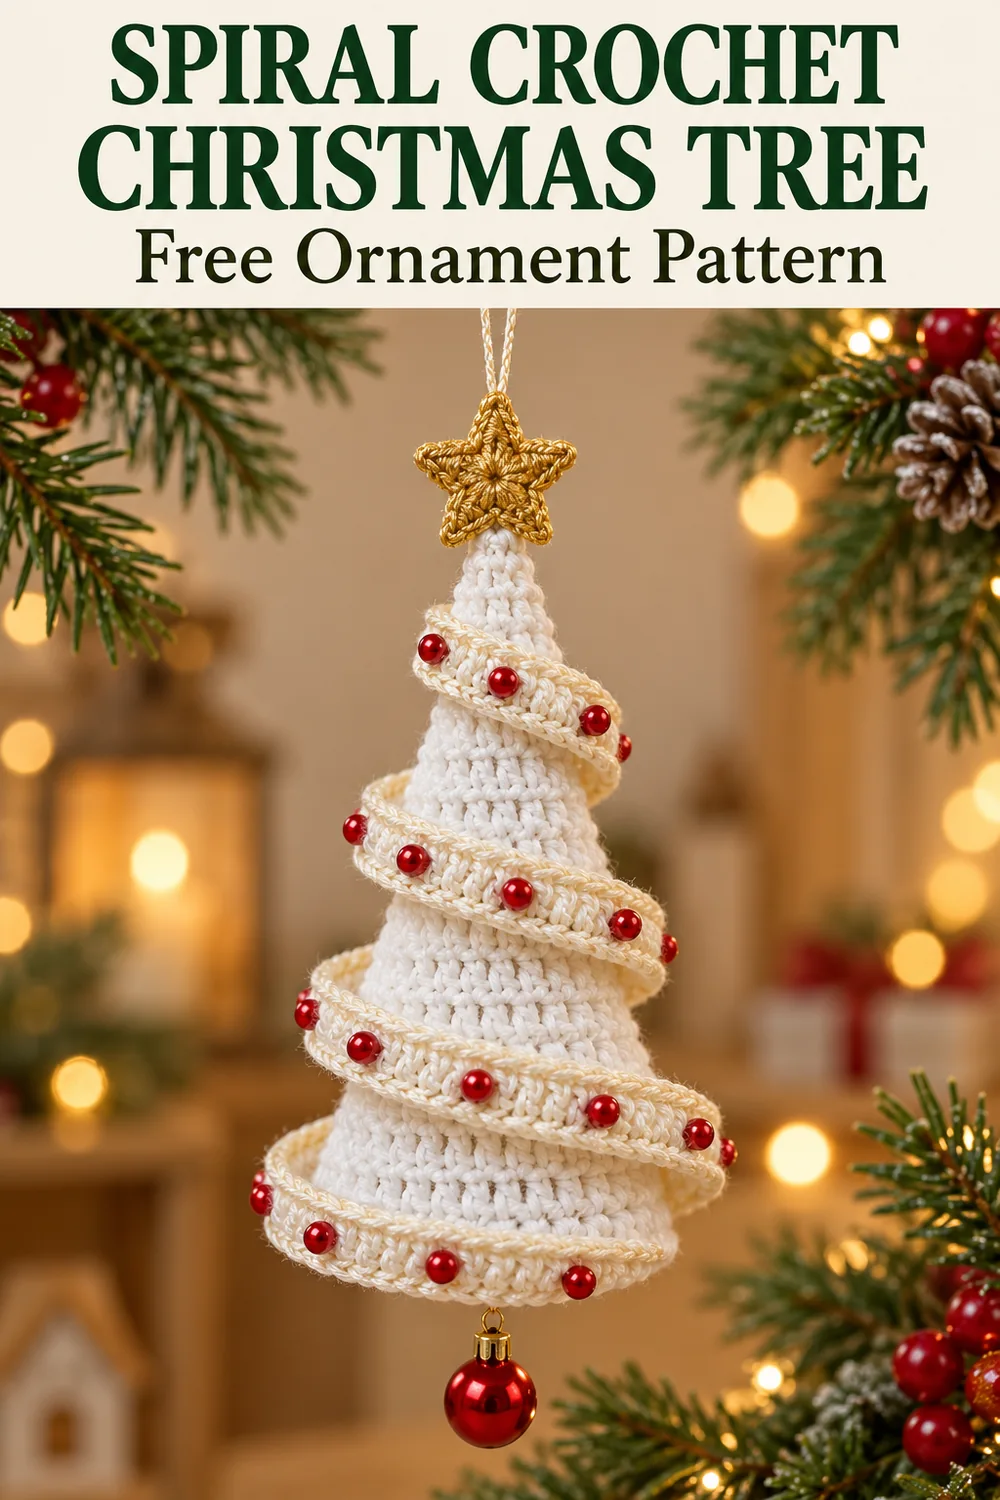
Set the narrow foundation edge near the cone tip, leaving space for the star. Wind it diagonally downward, pinning the foundation edge against the cone. Let the wider dc edge project outward. Distribute the ribbon along the cone before choosing the final spacing: neither the number of turns nor the exact silhouette is fixed.
With matching yarn, sew through the foundation chain loops and nearby cone stitches. Work along the entire inner edge with small relaxed stitches. Avoid catching the free outer edge. Remove pins as you sew and turn the ornament to check the back as well as the front.
5. Crochet a small gold star
Center: Make a magic ring, ch 1, work 10 sc into it and join to the first sc. 10 sc. Ch 1 and the join do not count.
Points: Starting in the first center stitch, repeat the following five times: sl st in the next unused center stitch, ch 5, sl st in the second chain from the hook, sc in the next chain, hdc in the next chain, dc in the last chain, then sl st in the next unused center stitch. Each repeat uses two center stitches and makes one four-stitch return along its chain.
Check: 5 repeats × 2 center stitches = all 10 center stitches. Each point has 1 sl st, 1 sc, 1 hdc and 1 dc along its chain, plus two anchoring sl sts in the center. Fasten off and secure the ring tail. Shape the five points gently. Sew the star to the cone tip; keep the hanging cord attached to the cone itself.
6. Add the red accents
After fitting the ribbon, sew an optional red bead near every tenth dc along the outer edge: positions 10, 20 and so on through 240 give 24 beads for the unshortened strip. Fasten each bead securely with thread. An embroidered red dot can replace each bead. Clip the lightweight bauble to the bottom cord loop and check that it does not pull the base out of shape.
Keep beaded ornaments and detachable decorations away from young children and pets. For a simpler display, omit both beads and bauble and embroider red accents instead.
Count check before finishing
| Section | Count rule |
|---|---|
| Cone growth | 6 increases on R4, 7, 10, 13 and 16: 6 → 12 → 18 → 24 → 30 → 36 |
| Base closure | 6 decreases per round: 36 → 30 → 24 → 18 → 12 → 6 |
| Ribbon | 120 sc × 2 = 240 dc; 240 edging sl sts |
| Gold star | 10 center sc divided into 5 groups of 2 |
Solving shape and tension problems
The ribbon looks crowded
Unpin it and spread the turns farther apart. Check that you sewed the foundation edge to the cone and left the dc edge free. A strip that remains too long needs shortening; folding spare length underneath creates a bulky patch.
The cone has an unexpected ridge
Count the stitches at each marked round and check for an increase worked into the marker gap twice. The rounds between increases remain even. Also remove excess stuffing before changing the crochet.
The cream edge curls tightly inward
Loosen the slip stitches or use a slightly larger hook for that edge. There should be one edging stitch for each dc top. The intended flare comes from the two dc in every sc, while the edge should simply outline it.
The tree hangs crooked
Check the cord attachment at the tip, redistribute filling and compare the ribbon on both sides. A heavy bauble can stretch the bottom: use a lighter decoration or omit it. The star is decorative and should not bear the ornament’s weight.
Color changes and care
A sage ribbon on a white cone gives more contrast, as shown in the editorial image. Cream, white or gold edging can all be used with the same stitch counts. The picture details illustrate styling; use the written rows for the actual ribbon and gold star.
Clean according to the yarn and trim labels, avoiding soaking decorations that cannot be washed. Store the ornament with tissue supporting the free ribbon edge. For another dimensional decoration, try the layered crochet pinecone; for an open flat ornament, see the floral crochet snowflake.
Spiral crochet Christmas tree: pins and diagram guides
The first three images offer styling ideas. The final three explain the cone, ribbon repeat and assembly. The overall cone schematic deliberately omits stitches and is not a complete tested chart; its count table and the written instructions provide the totals.