

Make 1 single crochet into the next single crochet.
Continue repeating the same sequence across the row:
7 double crochets in the center space, followed by 1 single crochet in the next single crochet.
FREE CROCHET HERE
When you reach the other side, finish with the half-shell:
3 double crochets in the final corner space, then 1 double crochet in the last chain.
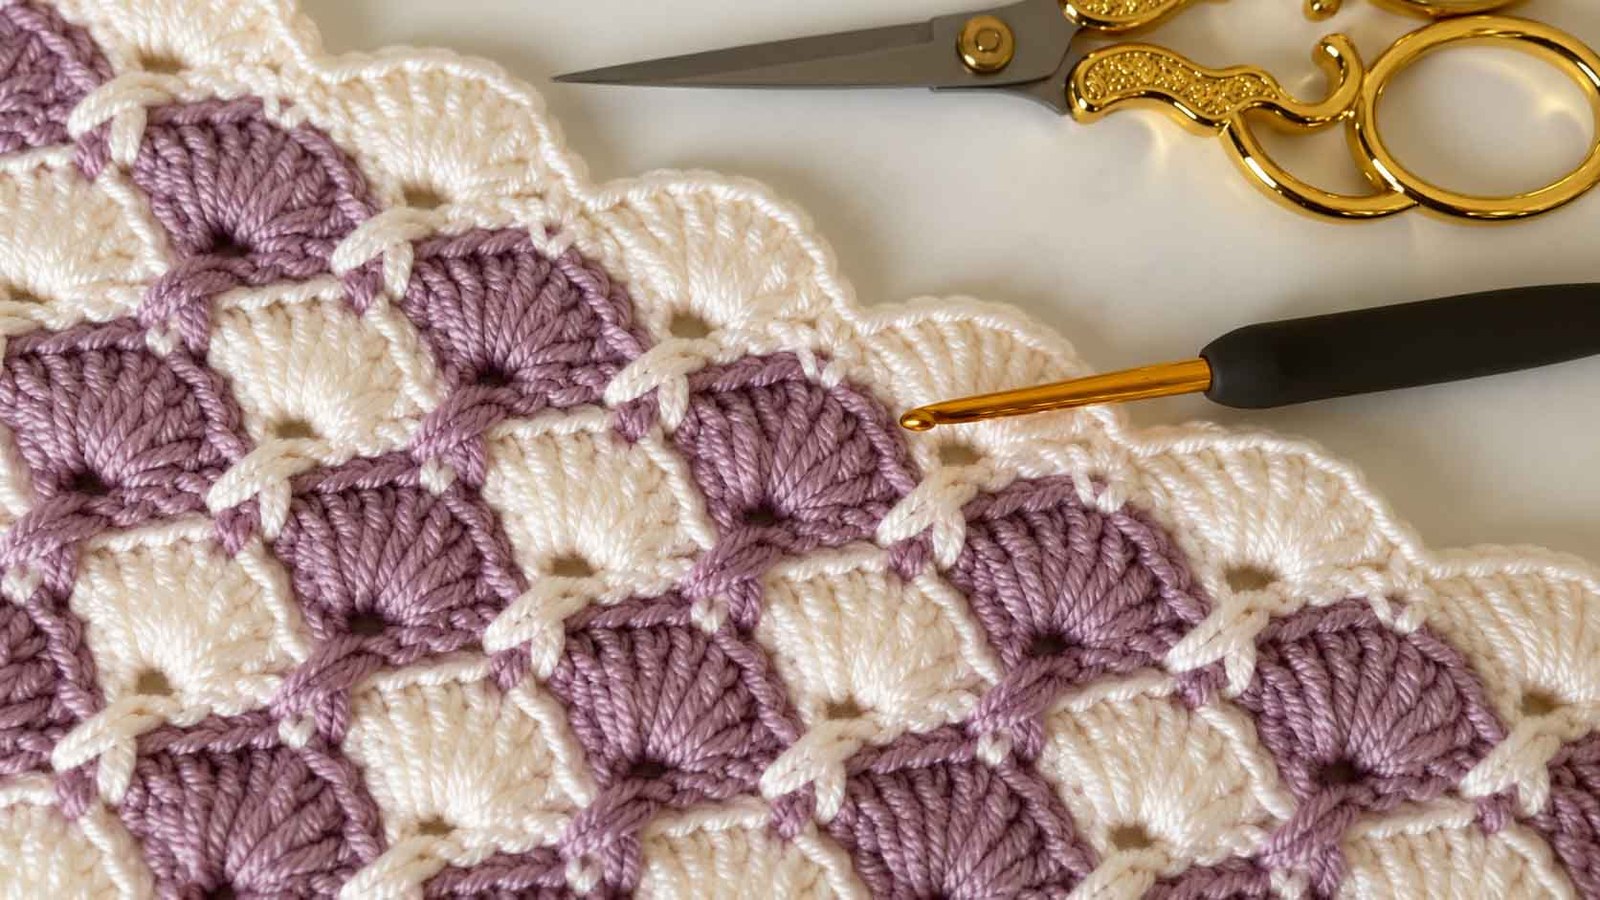
At this point, you’ll have a row of beautiful, rounded shell shapes.
Row 4
Row 4 repeats the same basic structure as Row 2.
Change back to your first color.
Chain 1 and turn.
Make 1 single crochet in the first single crochet.
Chain 2, skip the next 3 double crochets, then work 1 double crochet, chain 2, and 1 double crochet in the center space.
Continue repeating this pattern across the row.
Finish the row with a single crochet in the final single crochet.
Row 5
Row 5 follows the same pattern as Row 3.
Chain 3 and turn.
Work 3 double crochets into the first corner space to create the half-shell.
Make 1 single crochet in the single crochet from the previous row.
Work 7 double crochets into the next center space, followed by 1 single crochet in the next single crochet.
Continue this repeat across the entire row.
Finish with the half-shell at the opposite edge.
Continue the Pattern
From here, simply continue repeating Rows 2 and 3.
The colors can be alternated after every row to create the striped effect. If you prefer a more subtle look, you can also work the entire blanket in one color.
As you continue, you’ll notice that the full shells line up beautifully with the spaces created in the previous rows. The edges use half-shells, which keeps the blanket looking neat and balanced.
A Few Helpful Tips
Don’t worry if the first couple of rows feel a little slow. The shell pattern becomes much easier to recognize once you’ve completed a few repeats.
Try to keep your tension consistent, especially when working the 7 double crochets into each shell. If your stitches become too tight, the shells may look crowded. If they’re too loose, the finished fabric can become quite open.
If you’re making a blanket, it’s also a good idea to check the width after the first few rows. It’s much easier to adjust your foundation chain at the beginning than to discover later that the blanket isn’t the size you wanted.
And if you’re using two colors, changing yarn at the same point on each row will help keep those beautiful stripes clean and even.
Why You’ll Love the Shell Stitch
There is something really satisfying about this stitch. The pattern looks intricate, but once you understand the repeat, it becomes wonderfully rhythmic.
The shells give the fabric plenty of texture without making it feel too heavy, and the stitch works especially well for cozy blankets and baby projects. You can also experiment with different color combinations to completely change the personality of the finished piece.
Soft pastels would make a sweet baby blanket, while richer colors can give the stitch a more traditional or vintage feel.
Whether you’re making a gift for someone special or simply looking for your next relaxing crochet project, the shell stitch is a lovely pattern to have in your collection.
Final Thoughts
The shell stitch is one of those crochet patterns that looks beautiful without requiring an overly complicated technique. Once the first few rows are established, the repeating shells make the project enjoyable and easy to settle into.
So grab your favorite yarn, choose a couple of colors you love, and give this shell stitch a try. You may find yourself using it for far more than just one blanket!
Video Tutorial:
If you’re a visual learner, following along with a video tutorial can be especially helpful for the first few rows. Once you can see how the shells and center spaces are formed, the written pattern becomes much easier to follow.

Free PDF Pattern
CONTENT END 1
