

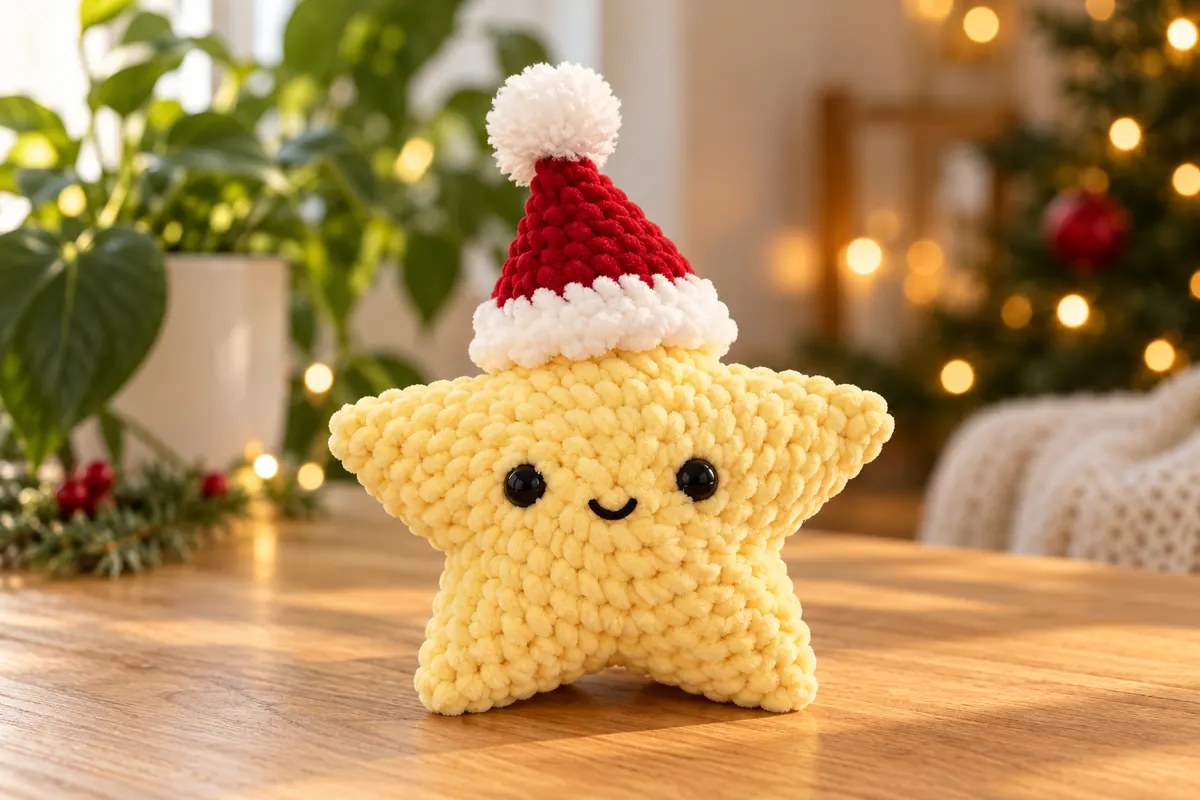
This Santa star amigurumi has a butter-yellow plush body, five soft points and a small smiling face beneath a red Christmas hat. The white brim and pom-pom give the little star the festive character seen in the reference.
The pattern below uses two matching star panels, sewn together and lightly stuffed. Each panel begins with a small center worked in rounds, then five short tapered points are added around its edge. The hat is made separately and sewn over the top point.
Display the finished star on a shelf or beside wrapped Christmas gifts. For a smaller accessory in the same holiday theme, the crochet Christmas tree keychain combines layered branches with a tiny star.
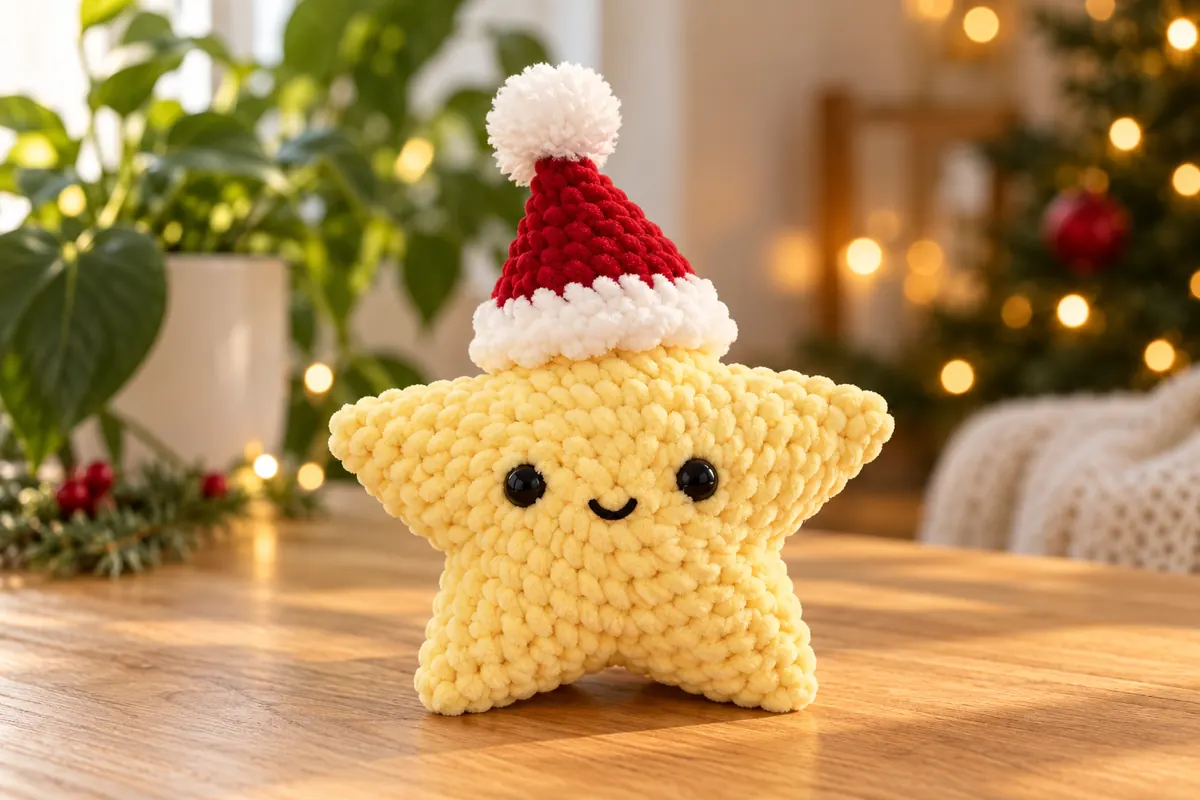
How this Santa star amigurumi is constructed
Design note: This is an original pattern inspired by the photo, not the exact instructions used for that sample. Its stitch counts have been checked mathematically, but it has not been physically crocheted or tested. The AI-generated styling images illustrate the inspiration; follow the written construction and count diagrams for this version.
- Skill level: Intermediate, or a confident beginner familiar with decreases and sewing amigurumi.
- Terminology: US crochet terms.
- Pieces: Two yellow star panels, one red-and-white hat and one white crocheted pom-pom.
- Texture: Bulky chenille or plush yarn, with a hook that makes close stitches.
- Finished size: No measured sample size is available. The diameter depends on yarn thickness, hook size, tension and stuffing.
Choose the yarn and face details
- Bulky chenille yarn in butter yellow, red and white; use comparable thicknesses for the star and hat.
- A 4.5 mm hook as a starting point, adjusted to the yarn.
- Black smooth yarn or embroidery thread for the face.
- Polyester fiberfill.
- Stitch markers, a blunt needle and scissors.
- Smooth matching yellow sewing yarn if the chenille sheds or breaks when pulled through a seam.
Make a small section before committing to your hook size. The stitches should hold the stuffing inside without making the fabric rigid. Chenille can hide stitch tops, so place a marker in the first stitch of every round and count before moving it.
The written version uses embroidered eyes. Plastic eyes like those in the inspiration are an optional detail for a decorative display piece. Avoid small hard attachments on an item intended for a child under three; the CPSC toy safety guidance explains the small-parts concern. Embroidery alone does not make an untested handmade item a certified toy.
Stitches to know before starting
MR = magic ring; ch = chain; sc = single crochet; inc = two sc in the same stitch; sc2tog = single crochet two stitches together; sl st = slip stitch; BLO = back loop only; st/sts = stitch/stitches. The Craft Yarn Council abbreviation guide is a useful reference for standard US terms.
Single crochet two together
Insert the hook into the next stitch and pull up a loop. Insert into the following stitch and pull up another loop. Yarn over and pull through all three loops. Two stitches become one. Use this decrease on the flat point rows.
Working the rounds and rows
Work the star centers, hat and pom-pom in continuous rounds without joining or turning. Work the star points in turned rows. A turning ch 1 never counts as a stitch. All slip stitches used to finish a piece are excluded from its stitch count.
Santa star amigurumi pattern: two yellow panels
Make the following center twice, once for the front and once for the back. Each completed center has 30 edge stitches, divided into five groups of six for the points.
Center rounds
Round 1: Make an MR and work 5 sc into it. Close the ring gently. 5 sc.
Round 2: Inc in every stitch. 10 sc.
Round 3: Repeat (sc, inc) five times. 15 sc.
Round 4: Repeat (sc in next 2 sts, inc) five times. 20 sc.
Round 5: Repeat (sc in next 3 sts, inc) five times. 25 sc.
Round 6: Repeat (sc in next 4 sts, inc) five times. 30 sc. Sl st in the next stitch to finish, fasten off and weave in the end. This slip stitch does not create a new base stitch.
The center uses five increases per round to form five sections. It may cup slightly with some yarns, which can contribute to the stuffed shape. The two centers should have similar dimensions; do not stretch one panel to force it to match the other.
Mark the five point bases
Count only the 30 sc of Round 6. Place markers in stitches 1, 7, 13, 19 and 25. The groups are 1–6, 7–12, 13–18, 19–24 and 25–30. Every stitch belongs to exactly one group.
Choose the first group as the top point and keep that choice consistent on both panels. You can add a different-colored marker there so you recognize it during assembly.
Point rows — repeat five times on each panel
Join yellow in the first stitch of one unused six-stitch group.
Row 1: Ch 1, sc in the same stitch and in the next five base stitches. Turn. 6 sc.
Row 2: Ch 1, sc2tog, sc in the next two stitches, sc2tog. Turn. 4 sc.
Row 3: Ch 1, sc2tog twice. Turn. 2 sc.
Row 4: Ch 1, sc2tog once. 1 sc. Fasten off and secure the end on the inside.
Repeat Rows 1–4 on each remaining group of six unused Round 6 stitches. Do not reuse the last stitch of the previous group. Each panel ends with five points, all following the sequence 6, 4, 2, 1.
| Part | Count sequence | Quantity |
|---|---|---|
| Center | 5, 10, 15, 20, 25, 30 sc | Two centers |
| Point | 6, 4, 2, 1 sc | Five per panel |
| Base division | 5 groups × 6 stitches = 30 | Every edge stitch used once |
