

There’s something special about making a piece of home décor with your own two hands. A little yarn, a crochet hook, and some patience can turn into something beautiful that you’ll enjoy using every day.
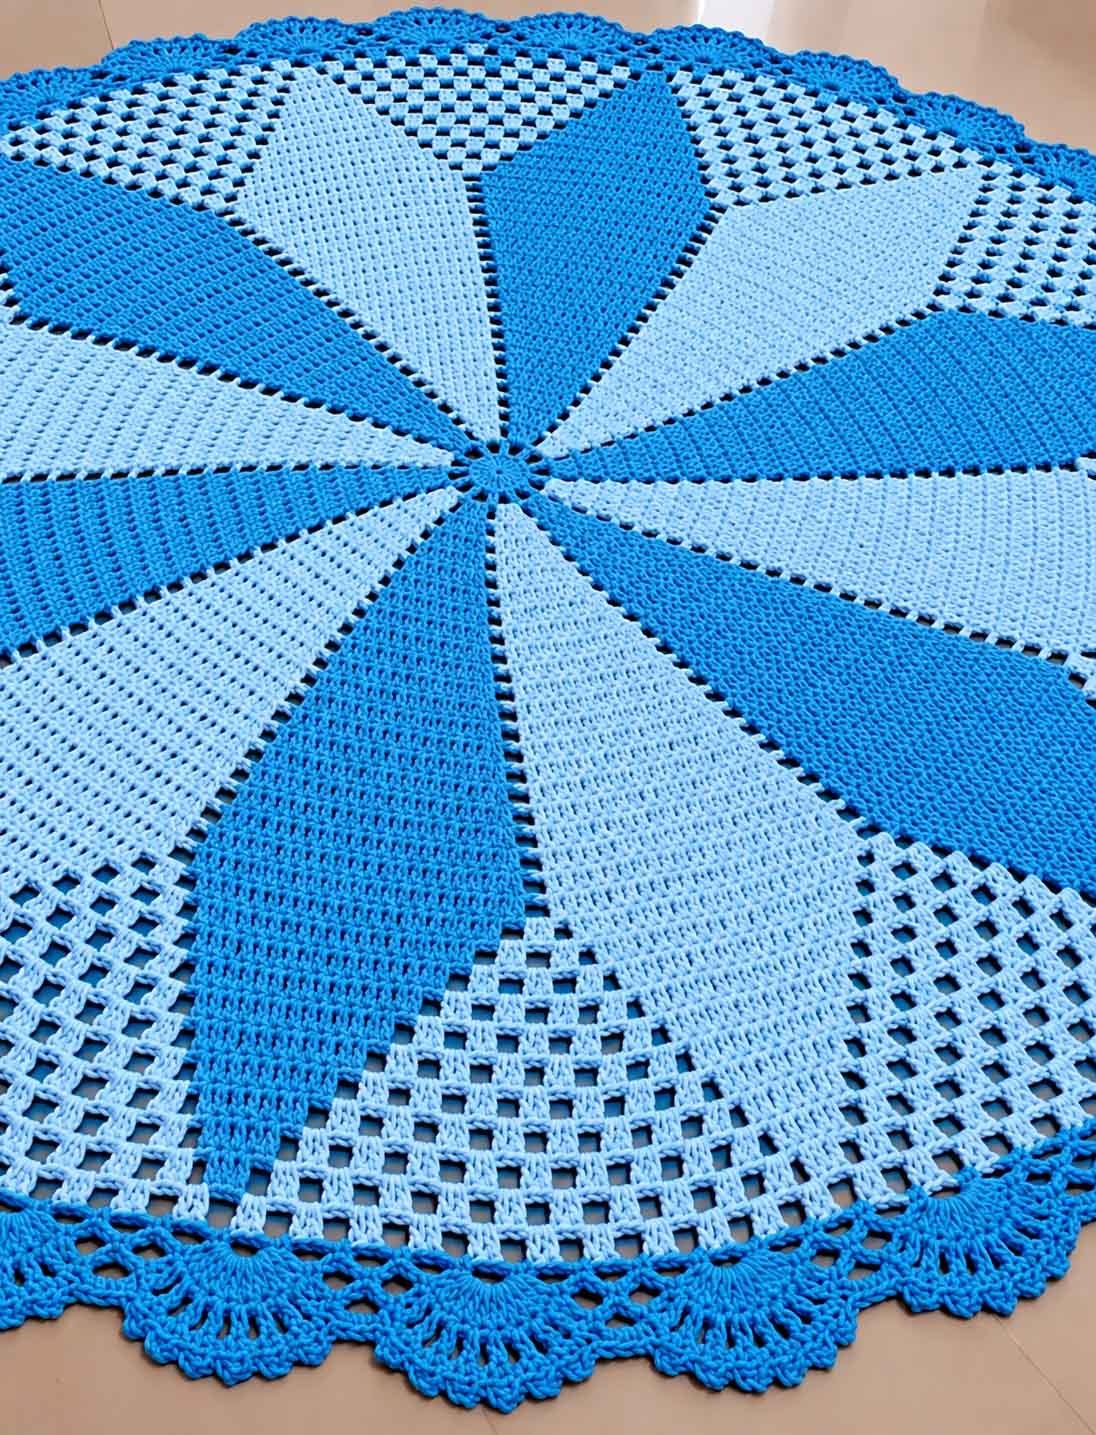
Today on Soofha, we’re making a round crochet rug with a lovely shell border and delicate picot details. The finished design has a classic look, with a textured center and a decorative edge that gives the whole piece a polished finish.
The rug is worked in joined rounds, starting at the center and gradually growing outward. The stitch pattern becomes more interesting as you work through the tapered sections, and the final shell border adds a soft, scalloped edge.
Although the finished rug looks detailed, much of the pattern comes from repeating familiar stitches. Once you get comfortable with the rhythm, you can settle into your crochet and watch the design take shape round by round.
A natural cotton color gives this rug a timeless appearance, but feel free to choose a shade that works with your home. Whether you prefer a simple neutral or something more colorful, this pattern offers plenty of room to make it your own.
ad 26 3
What Makes This Round Crochet Rug Special?
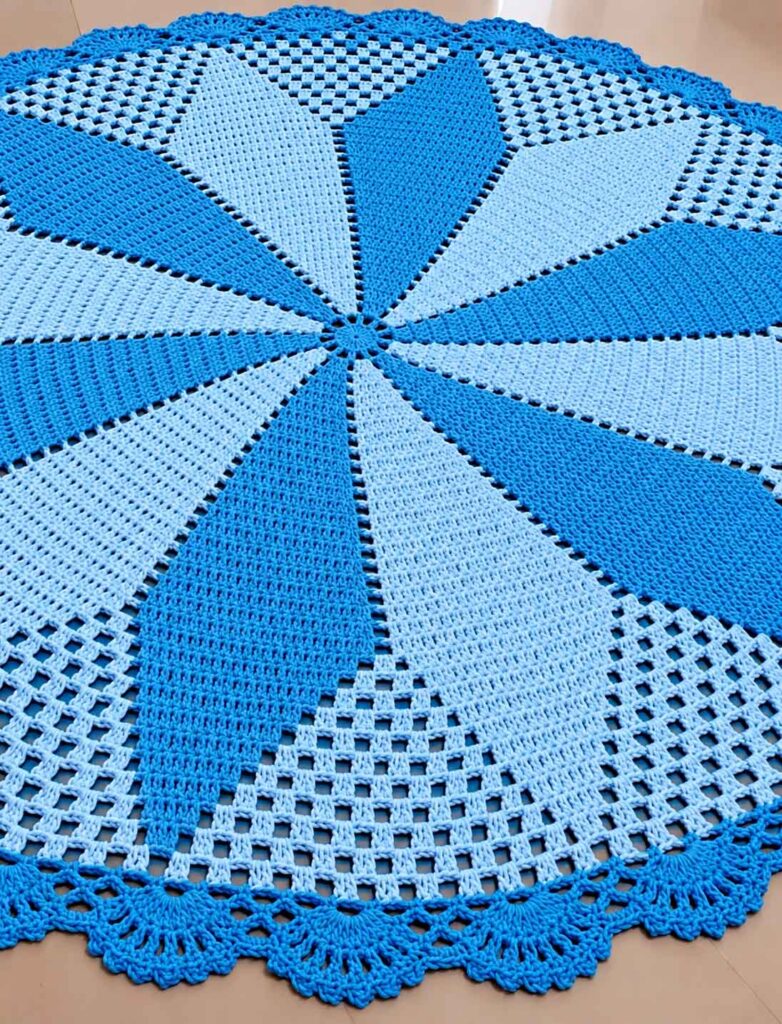
The design begins with a small circle of double crochet stitches. As you work outward, the stitches form 12 large sections that gradually increase in size. Later, these sections become narrower while smaller groups of stitches fill the spaces between them.
The final rounds create a decorative border of repeating shells. Small picots add a delicate touch to the outer edge, giving the rug its distinctive finish.
It’s a satisfying project for crocheters who enjoy working in the round and seeing a design develop gradually. The repeating sections also make it easier to keep track of your progress as the rug grows.
ad 26 3
Materials and Finished Size
Before you begin, gather the following supplies:
- Brazilian No. 6 cotton crochet cord
- 3.5 mm crochet hook
- Scissors
- Tapestry needle for weaving in the ends
ad 26 3
Finished size: Approximately 59 inches (1.5 meters) in diameter.
Yarn requirement: Approximately 2,275 grams of cotton cord.
These measurements come from the designer’s sample. Your finished rug may be slightly larger or smaller depending on your tension, hook, and the cord you use.
ad 26 3
One important detail when choosing your yarn: Brazilian No. 6 cotton cord does not necessarily correspond to US category 6 yarn. Check the actual thickness of your cord rather than relying on the number alone.
No measured gauge is provided for this pattern. Instead, pay attention to the shape of your work as you crochet. The rug should remain flat without curling upward or developing waves.
Crochet Abbreviations
This pattern uses standard US crochet terminology.
- ch: Chain
- sl st: Slip stitch
- dc: Double crochet
- st / sts: Stitch / stitches
- sp: Space
- sk: Skip
- rep: Repeat
Special Stitches
Shell: Work (2 dc, ch 2, 2 dc) into the indicated stitch or space.
Picot: Ch 3, then sl st into the first chain made.
Final shell with picots: Work 3 dc into the indicated space, make a picot, work 3 more dc into the same space, and make a second picot.
Before You Start
A few notes will help you follow the pattern more easily.
- Work in joined rounds without turning your work.
- In Rounds 1 and 2, the beginning ch 3 counts as a dc.
- From Round 3 onward, the beginning ch 2 counts as a dc.
- Unless otherwise stated, join each round with a sl st to the top of the beginning chain.
- When an instruction tells you to repeat a sequence, continue until you have completed the required number of repeats.
- Whenever two dc stitches are worked into the same stitch or space, they are separate stitches, not a decrease.
- Keep your chain spaces consistent, especially while establishing the main pattern.
Throughout the project, check that the rug is lying flat. Small adjustments made early can save you from having to undo several rounds later.
Round Crochet Rug Pattern
Part 1: Creating the Center
The first few rounds establish the circular center of your rug. Take your time here, as a neat beginning will make the following rounds easier to manage.
Round 1
Make a magic ring.
Ch 3, then work 11 dc into the ring. Pull the ring closed and join with a sl st to the top of the beginning ch 3.
Stitch count: 12 dc.
If you prefer not to use a magic ring, ch 5 and join with a sl st to form a ring. Work the same stitches into the ring.
Round 2
Ch 5. This counts as 1 dc and ch 2.
Repeat the following sequence 11 times: dc in the next st, ch 2.
Join with a sl st to the third chain of the beginning ch 5.
Stitch count: 12 dc and 12 ch-2 spaces.
Round 3
Sl st into the first ch-2 space.
Ch 2, work 2 dc into the same space, then ch 1.
Repeat the following sequence 11 times: work 3 dc into the next ch-2 space, ch 1.
Join.
Stitch count: 12 groups of 3 dc and 12 ch-1 spaces.
Part 2: Building the Main Sections
In this part, the 12 sections gradually become wider. You will add stitches to each group while keeping a small chain space between neighboring groups.
Round 4
Ch 2, work 1 dc in the next st, then work 2 dc in the last st of the first group. Ch 1.
For each remaining group, work 1 dc in every stitch except the last stitch. Work 2 dc in the last stitch, then ch 1.
Do not work into the chain spaces.
Join.
Stitch count: 12 groups of 4 dc and 12 ch-1 spaces.
Rounds 5–30
Ch 2, counting it as the first dc of the first group.
Work 1 dc into each remaining stitch of the group except the last. Work 2 dc into the last stitch, then ch 1.
Repeat the same sequence for each remaining group: work 1 dc in every stitch except the last, work 2 dc in the last stitch, then ch 1.
Join at the end of the round.
With every round, each large group gains one additional dc. Keep following the same sequence until you finish Round 30.
Round 30 stitch count: 12 groups of 30 dc and 12 ch-1 spaces.
At this stage, you should have a much larger circle with 12 clearly defined sections.
Part 3: Shaping the Tapered Sections
Now the construction changes slightly. Instead of continuing to increase the large groups, you will begin reducing their size.
The first and last stitches of each large group are left unworked. At the same time, new groups of 2 dc are added into the chain spaces between the larger sections.
As you continue, the large groups become narrower and the smaller groups gradually fill the spaces around them.
Round 31
Sl st into the second dc of the first large group.
Ch 2. This counts as the first dc worked in that second stitch.
Work 1 dc into each following stitch through the next-to-last stitch of the group. Leave the final stitch unworked.
Ch 1, work 2 dc into the next ch-1 space, then ch 1.
For each remaining large group:
- Skip the first stitch.
- Work 1 dc into each stitch through the next-to-last stitch.
- Skip the last stitch.
- Ch 1, work 2 dc into the next ch-1 space, then ch 1.
Join at the end of the round.
Stitch count: 12 large groups of 28 dc, with one small group of 2 dc between each pair of large groups.
Round 32
Sl st into the second dc of the first large group.
Ch 2, then work 1 dc into each stitch through the next-to-last stitch. Leave the final stitch unworked.
Ch 1, work 2 dc into the next ch-1 space, then ch 1.
Skip the existing small group of 2 dc. Work 2 dc into the following ch-1 space, then ch 1.
Continue around, leaving the first and last stitches of each large group unworked. Between the large groups, work 2 dc into every ch-1 space, with ch 1 between groups. Skip the existing small groups of 2 dc.
Join.
Stitch count: 12 large groups of 26 dc, with two small groups of 2 dc between each pair of large groups.
