

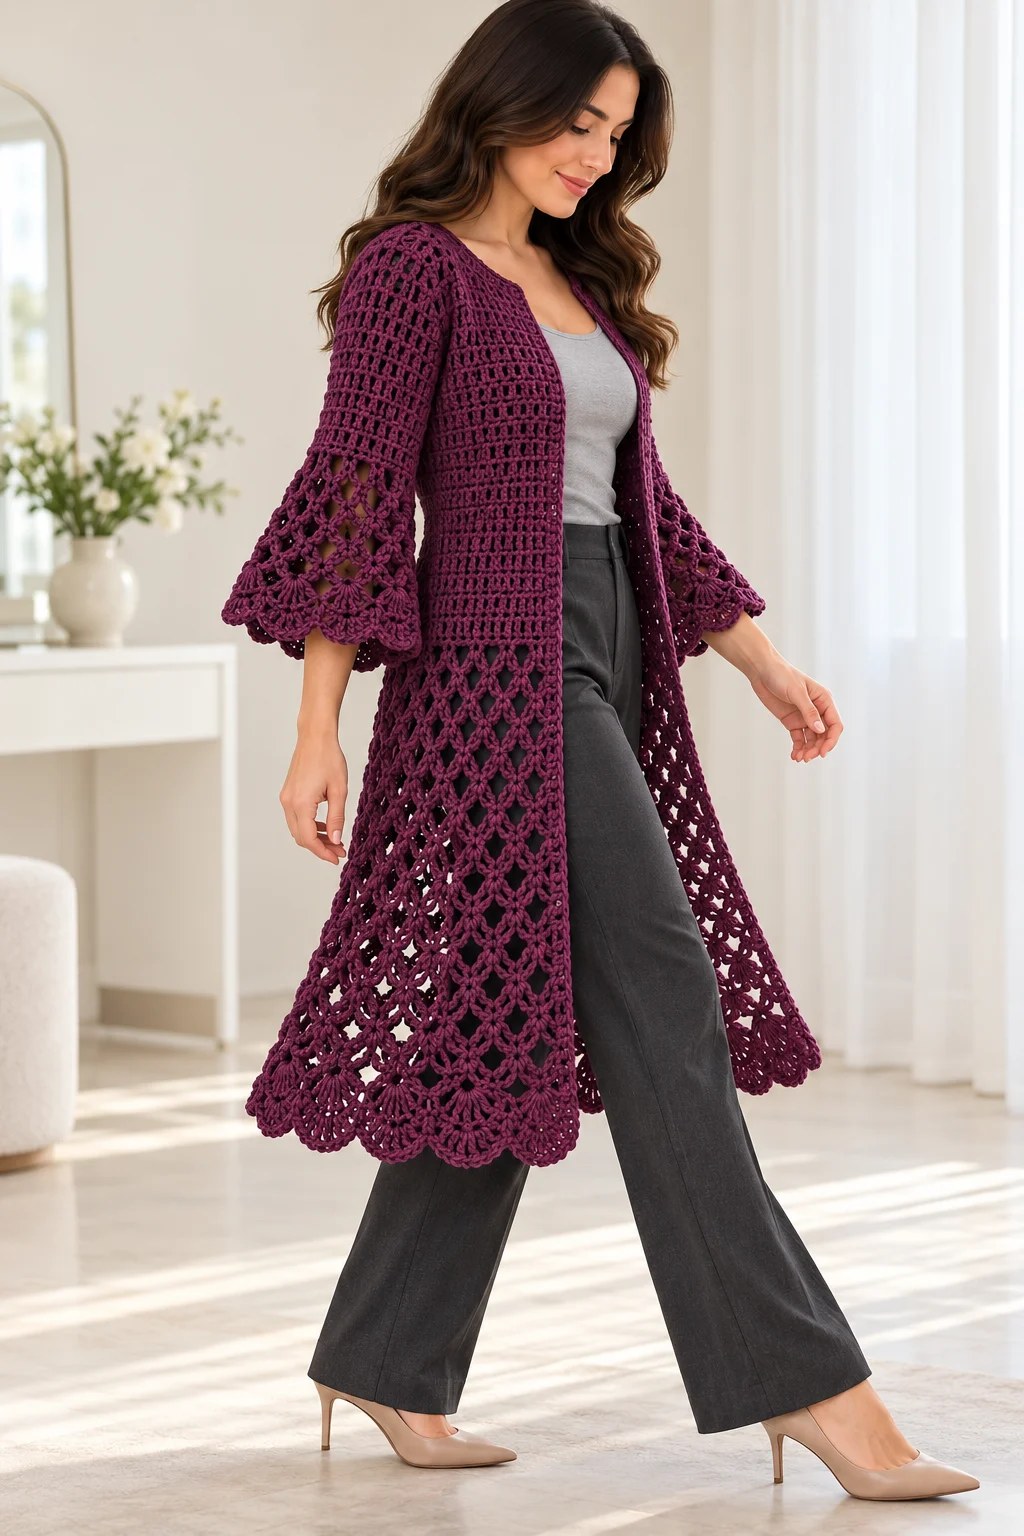
Left Front Panel
Row 1:Ch 28; dc in sixth ch from hook, 11 times; turn. — 12 cells; 13 dc + 12 ch-1 spaces.
Mark the neck edge. For the left front, the neck edge is at the start of Row 2. Keep the opposite armhole edge straight.
Neck Shaping (Rows 2-9): Work small mesh, increasing one cell at the marked neck edge only each row.
- Row 2: 13 cells
- Row 3: 14 cells
- Row 4: 15 cells
- Row 5: 16 cells
- Row 6: 17 cells
- Row 7: 18 cells
- Row 8: 19 cells
- Row 9: 20 cells
How to increase: At row start, ch 3 then (ch 1, dc) in the first dc. At row end, add (ch 1, dc) again in the last dc.
Rows 10-30: Work small mesh across; turn. — 20 cells.
Row 31: Work large-lattice foundation; turn. — 10 arch equivalents.
Rows 32-88: Continue alternating offset and return lattice rows. — 10 arch equivalents throughout.
Checkpoint: Left front length about 88 cm; width about 26 cm.
Right Front Panel
Work exactly as Left Front, but note that the neck edge is at the END of Row 2 (opposite side). Shape neck identically, increasing on the neck-edge side only for Rows 2-9.
Checkpoint: Right front length about 88 cm; width about 26 cm.
Sleeves (Make 2)
Row 1:Ch 68; dc in sixth ch from hook, 31 times; turn. — 32 cells.
Row 2: Work large-lattice foundation; turn. — 16 arches.
Rows 3-23: Continue alternating offset and return lattice rows. — 16 arch equivalents throughout.
Ribbed Cuffs (Make 2, Optional)
Switch to 3.5 mm hook.
Row 1: Ch 11; sc in second ch and each remaining ch; turn. — 10 sc.
Rows 2-40: Ch 1, sc BLO in each st; turn. — 10 sc.
Cuff target: about 5 cm deep x 20 cm around before joining. Adjust row count only if needed to pass comfortably over the hand. Record your actual count for matching the second cuff.
Assembly
Shoulder Seams: At each side, join outer 12 front mesh cells to outer 12 back mesh cells along foundation edge. Leave center 16 back cells unseamed. The front neck shaping remains open. — 2 shoulder seams, 12 cells each.
Side Seams: Mark 20 cm down from shoulder on back and corresponding front. Sew body sides from hem to markers. — 2 armholes, about 40 cm circumference each.
Sleeve Attachment: Sew each sleeve lengthwise first. Place sleeve seam at underarm, match sleeve-top midpoint to shoulder, and sew top edge evenly into armhole. — 2 sleeves attached.
Cuff Attachment (if using): Join cuff first and last rows into a ring. Quarter-mark both cuff and sleeve opening, then whipstitch while gathering sleeve evenly. Do not stretch cuff beyond comfortable hand circumference.
Checkpoint: Shoulders sit evenly, sleeves move comfortably, front edges remain open. Upper back width about 51 cm; each front about 26 cm.
Edgings and Details
Switch to 3.5 mm hook.
Border Round 1: Join at one lower front corner. Sc evenly around entire open-front/neck/hem outline using these rates:
- 2 sc per dc row end
- 1 sc per foundation position
- 4 sc per complete lower-lattice arch (2 per edge half-arch)
- 3 sc at each outward corner
Record total B and mark the middle corner stitches. — B sc.
Border Round 2: Sc in each st, placing 3 sc in each marked corner st. Move markers to middle corner stitches. — B + 2K sc (where K = number of corners).
Border Round 3 (broad-band versions only): Repeat Round 2. — B + 4K sc.
Shell Edging: For shell-edged versions, add shell trim along lower hem and sleeve openings using complete 6-stitch repeats. Finish any remainder in sc.
Keep front and neck edges plain to avoid curling.
Finishing
Weave every yarn end through at least 5 cm of fabric, reverse direction, and trim. No loose tails should remain.
Wet-block flat, aligning side seams and matching sleeve lengths. Pin lace sections to match the upper-panel width rather than stretching them wider.
Final measurements: Body length about 88 cm, sleeves about 28 cm including cuffs, total body coverage about 102 cm. Recheck after drying and again after a short wear, as cotton lace can relax and lengthen.
Care Instructions
Follow your yarn label. Unless it specifies otherwise, hand-wash cool with mild detergent, support the wet fabric, and dry flat away from direct heat. Do not wring, tumble dry, or iron acrylic components.
This is an adult garment. Open mesh does not provide sun protection or opaque coverage. If beads or pearls are added, attach them securely and inspect before each wear.
Tips for Success
Take your time with gauge. This project uses a lot of yarn, and being off by even half a centimeter per 10 cm can significantly affect the final fit.
Mark your pieces clearly. Use different colored markers for neck edges versus armhole edges on the front panels.
Count your arches regularly during the lattice sections. The offset pattern can be disorienting at first, but once you’ve worked 10 rows, you’ll find your rhythm.
Block before seaming if possible. It makes matching up edges much easier.
Try the body on before adding sleeves. Pin the shoulder seams temporarily and check the fit across your shoulders and the armhole placement.
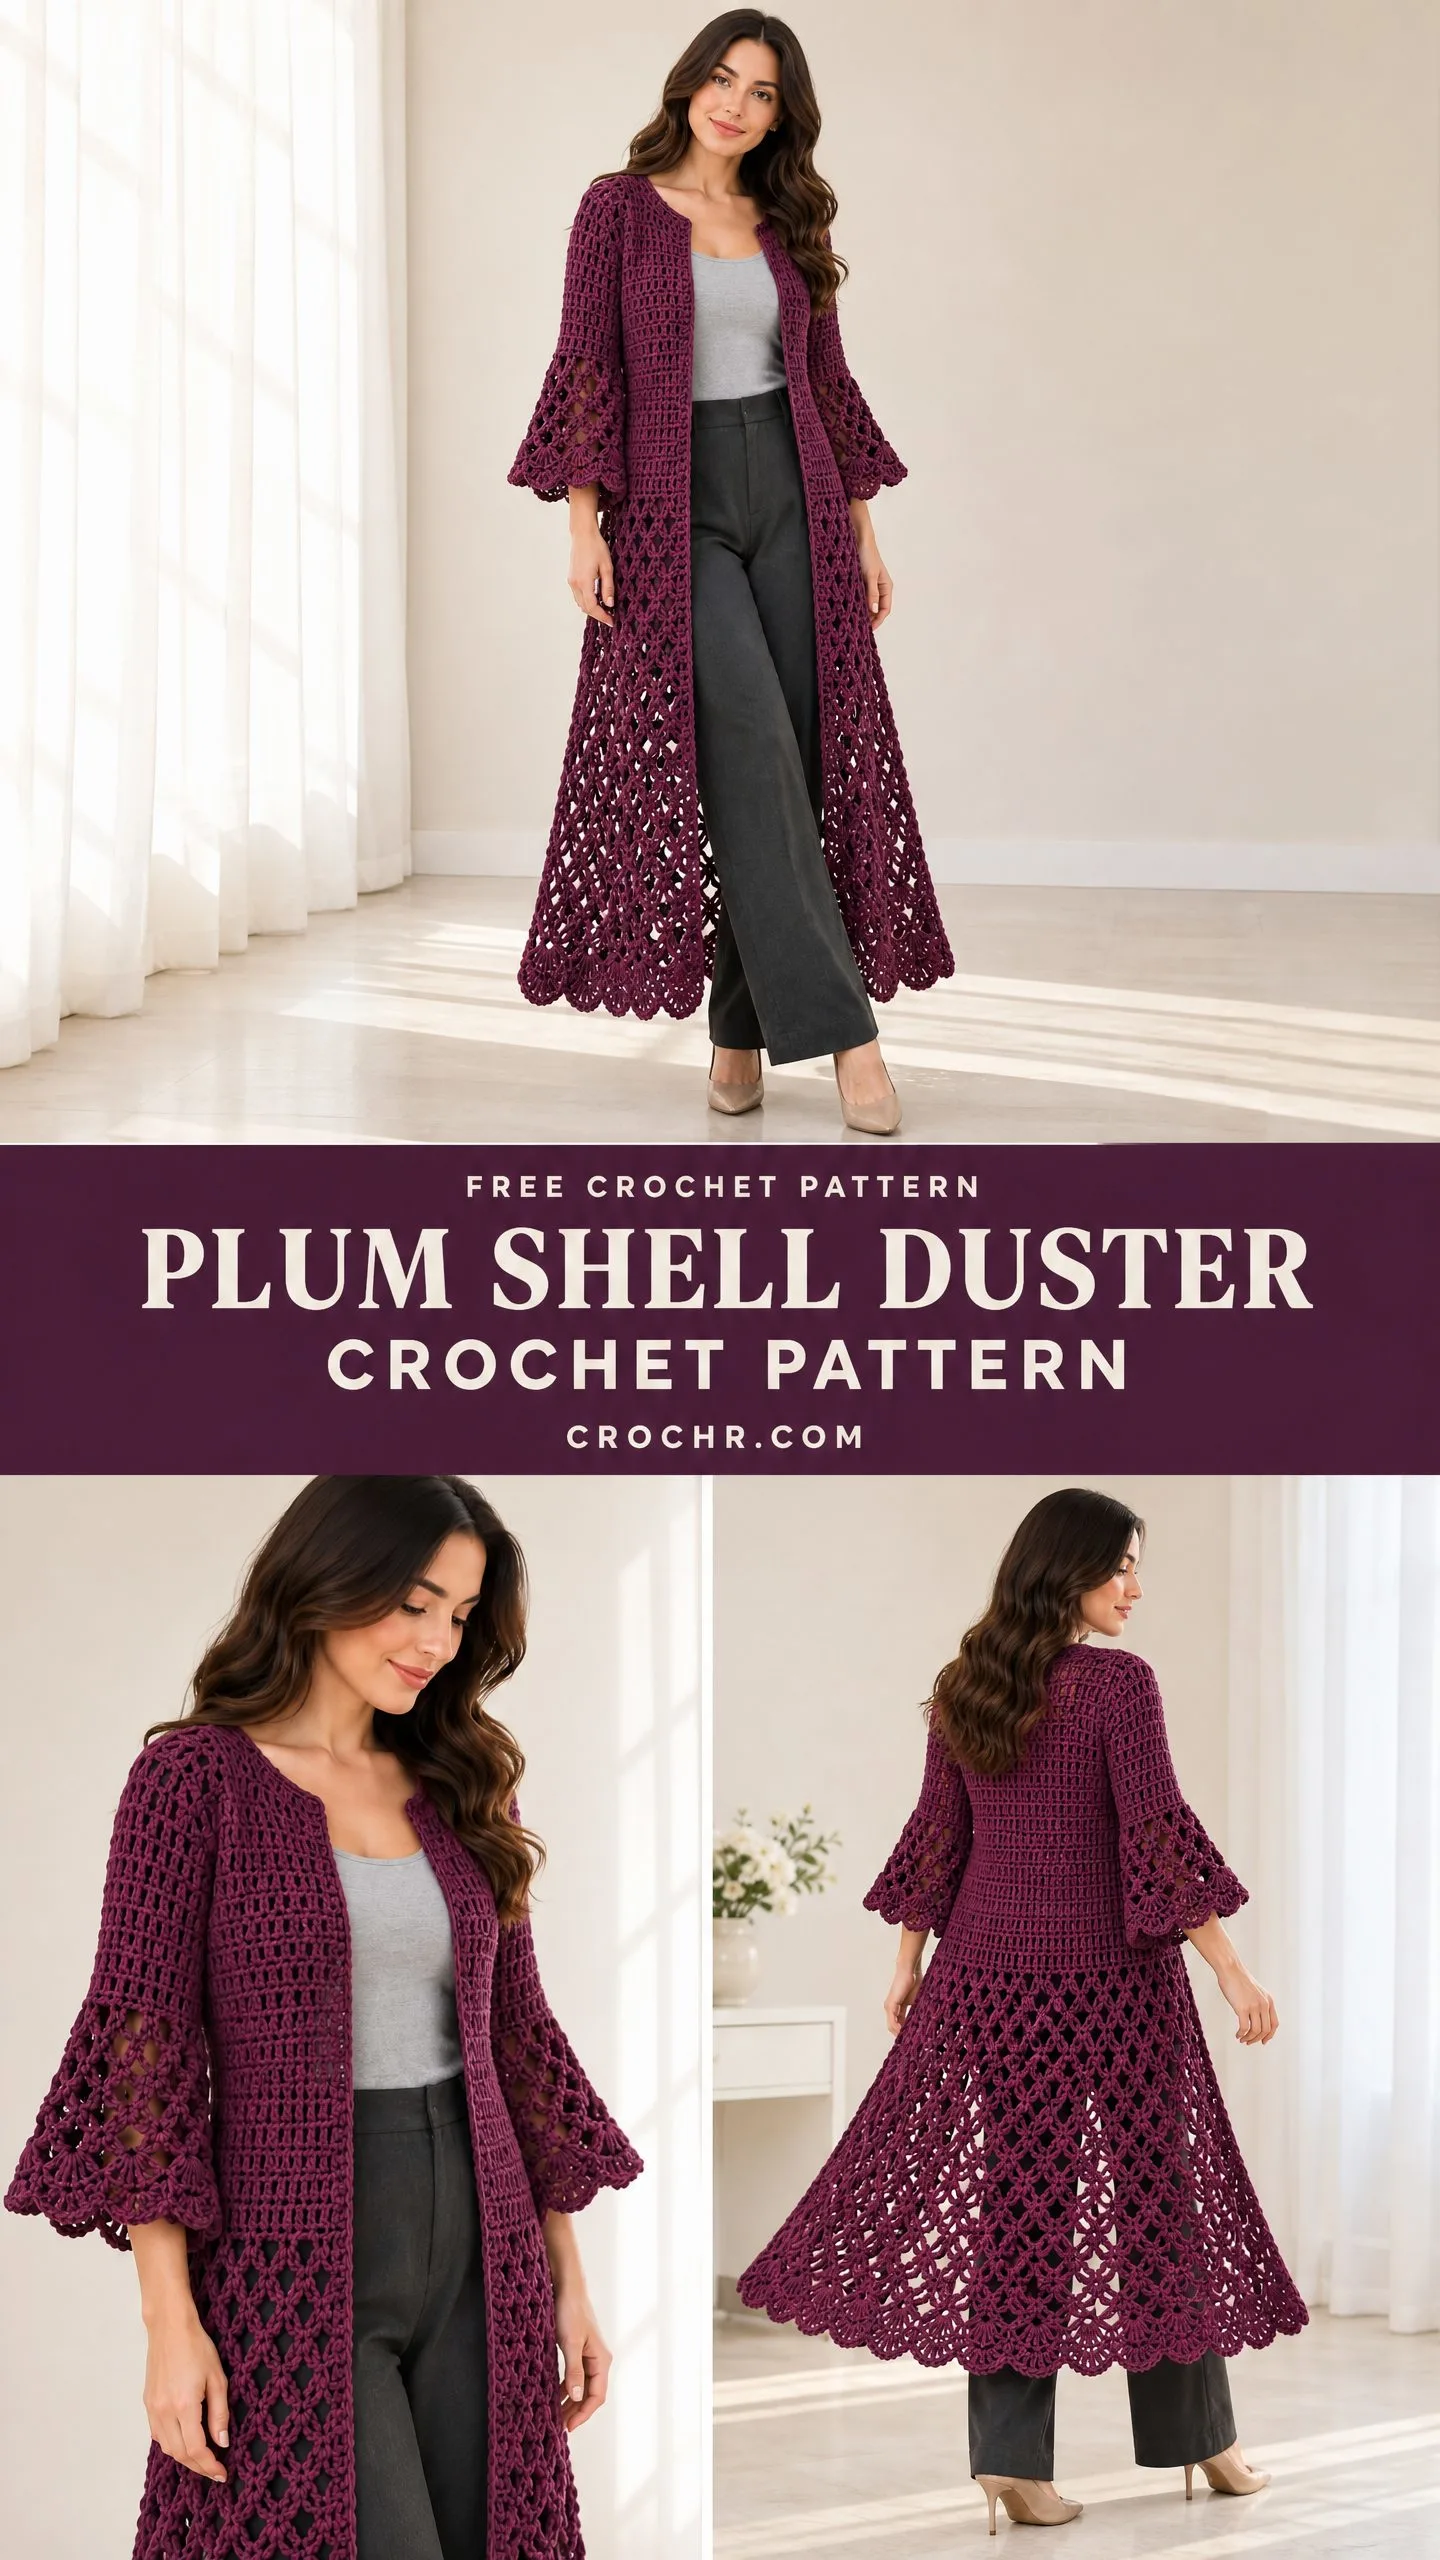
This duster is a showpiece. The kind of garment that makes people stop and ask, “Did you make that?” The combination of structured upper body and flowing lace creates beautiful movement, and the deep plum color is sophisticated without being boring.
If you make this pattern, save it to your Pinterest boards so you can find it again easily. And please leave a comment below to share how yours turned out. Seeing your finished projects is always the best part.
You Might Also Like
- Blush Pink Monochrome Daisy Blanket Free Crochet Pattern
- Sunset Gradient Jellyfish Amigurumi Free Crochet Pattern
- Ocean Blue Granny Square Baby Overalls Free Crochet Pattern
- Sage Green Lacy Summer Romper Free Crochet Pattern
CONTENT END 1
