

633 shares
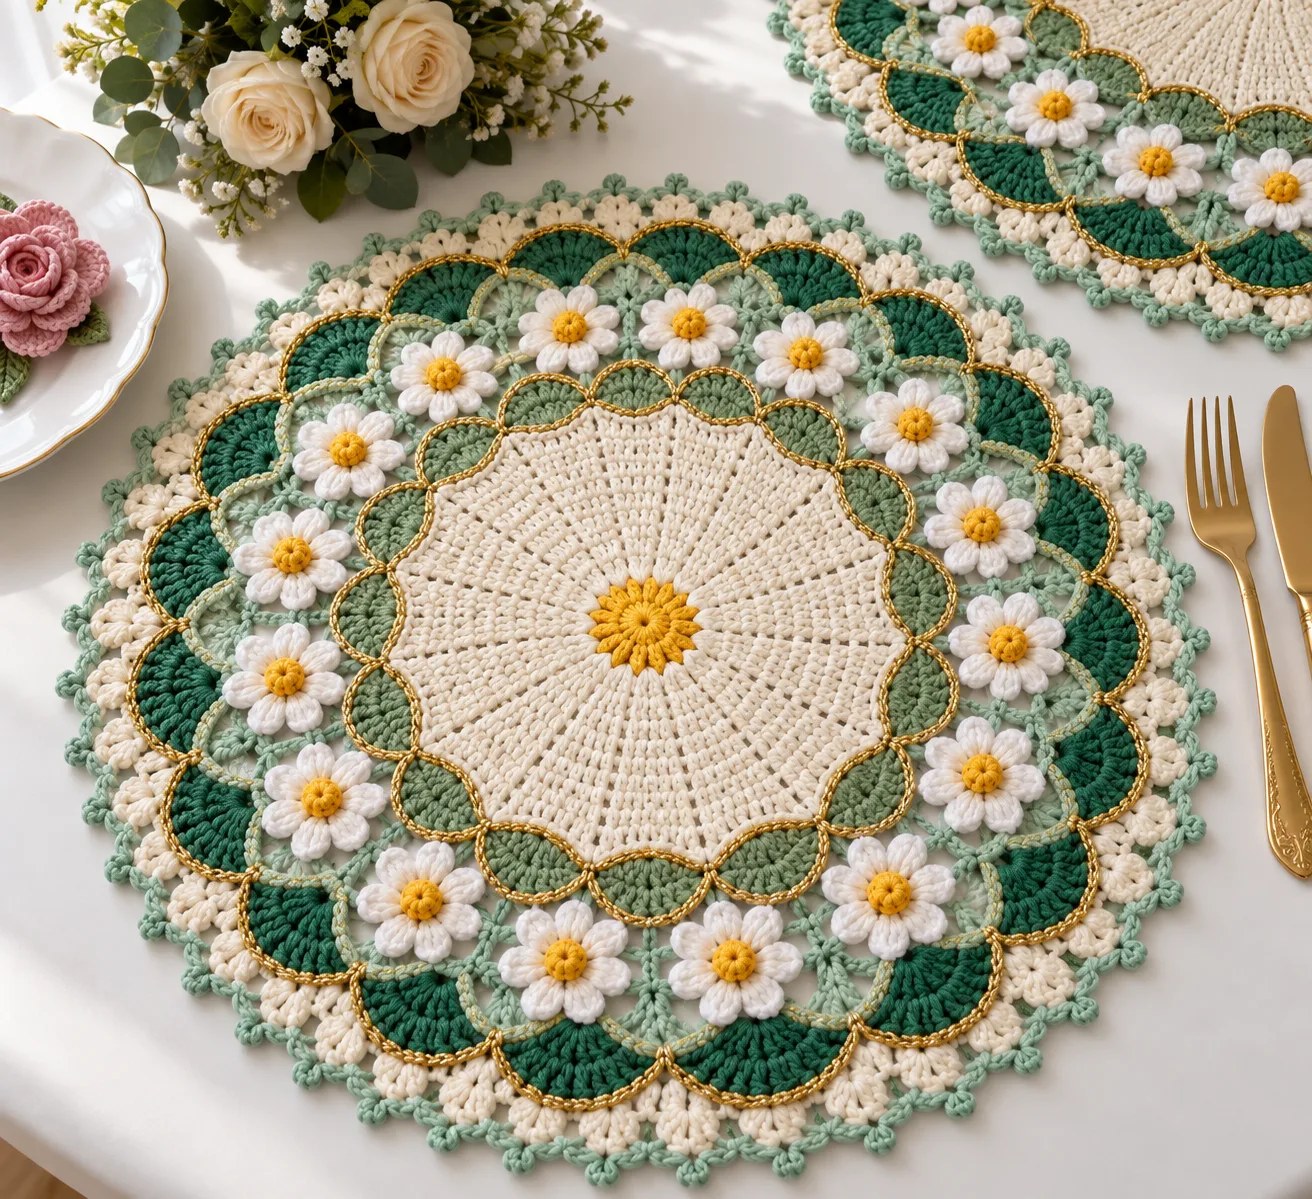
I have been dreaming about this design for months. I wanted to create a placemat that felt like spring on a table, something with layers of color and texture that would make people stop and stare.
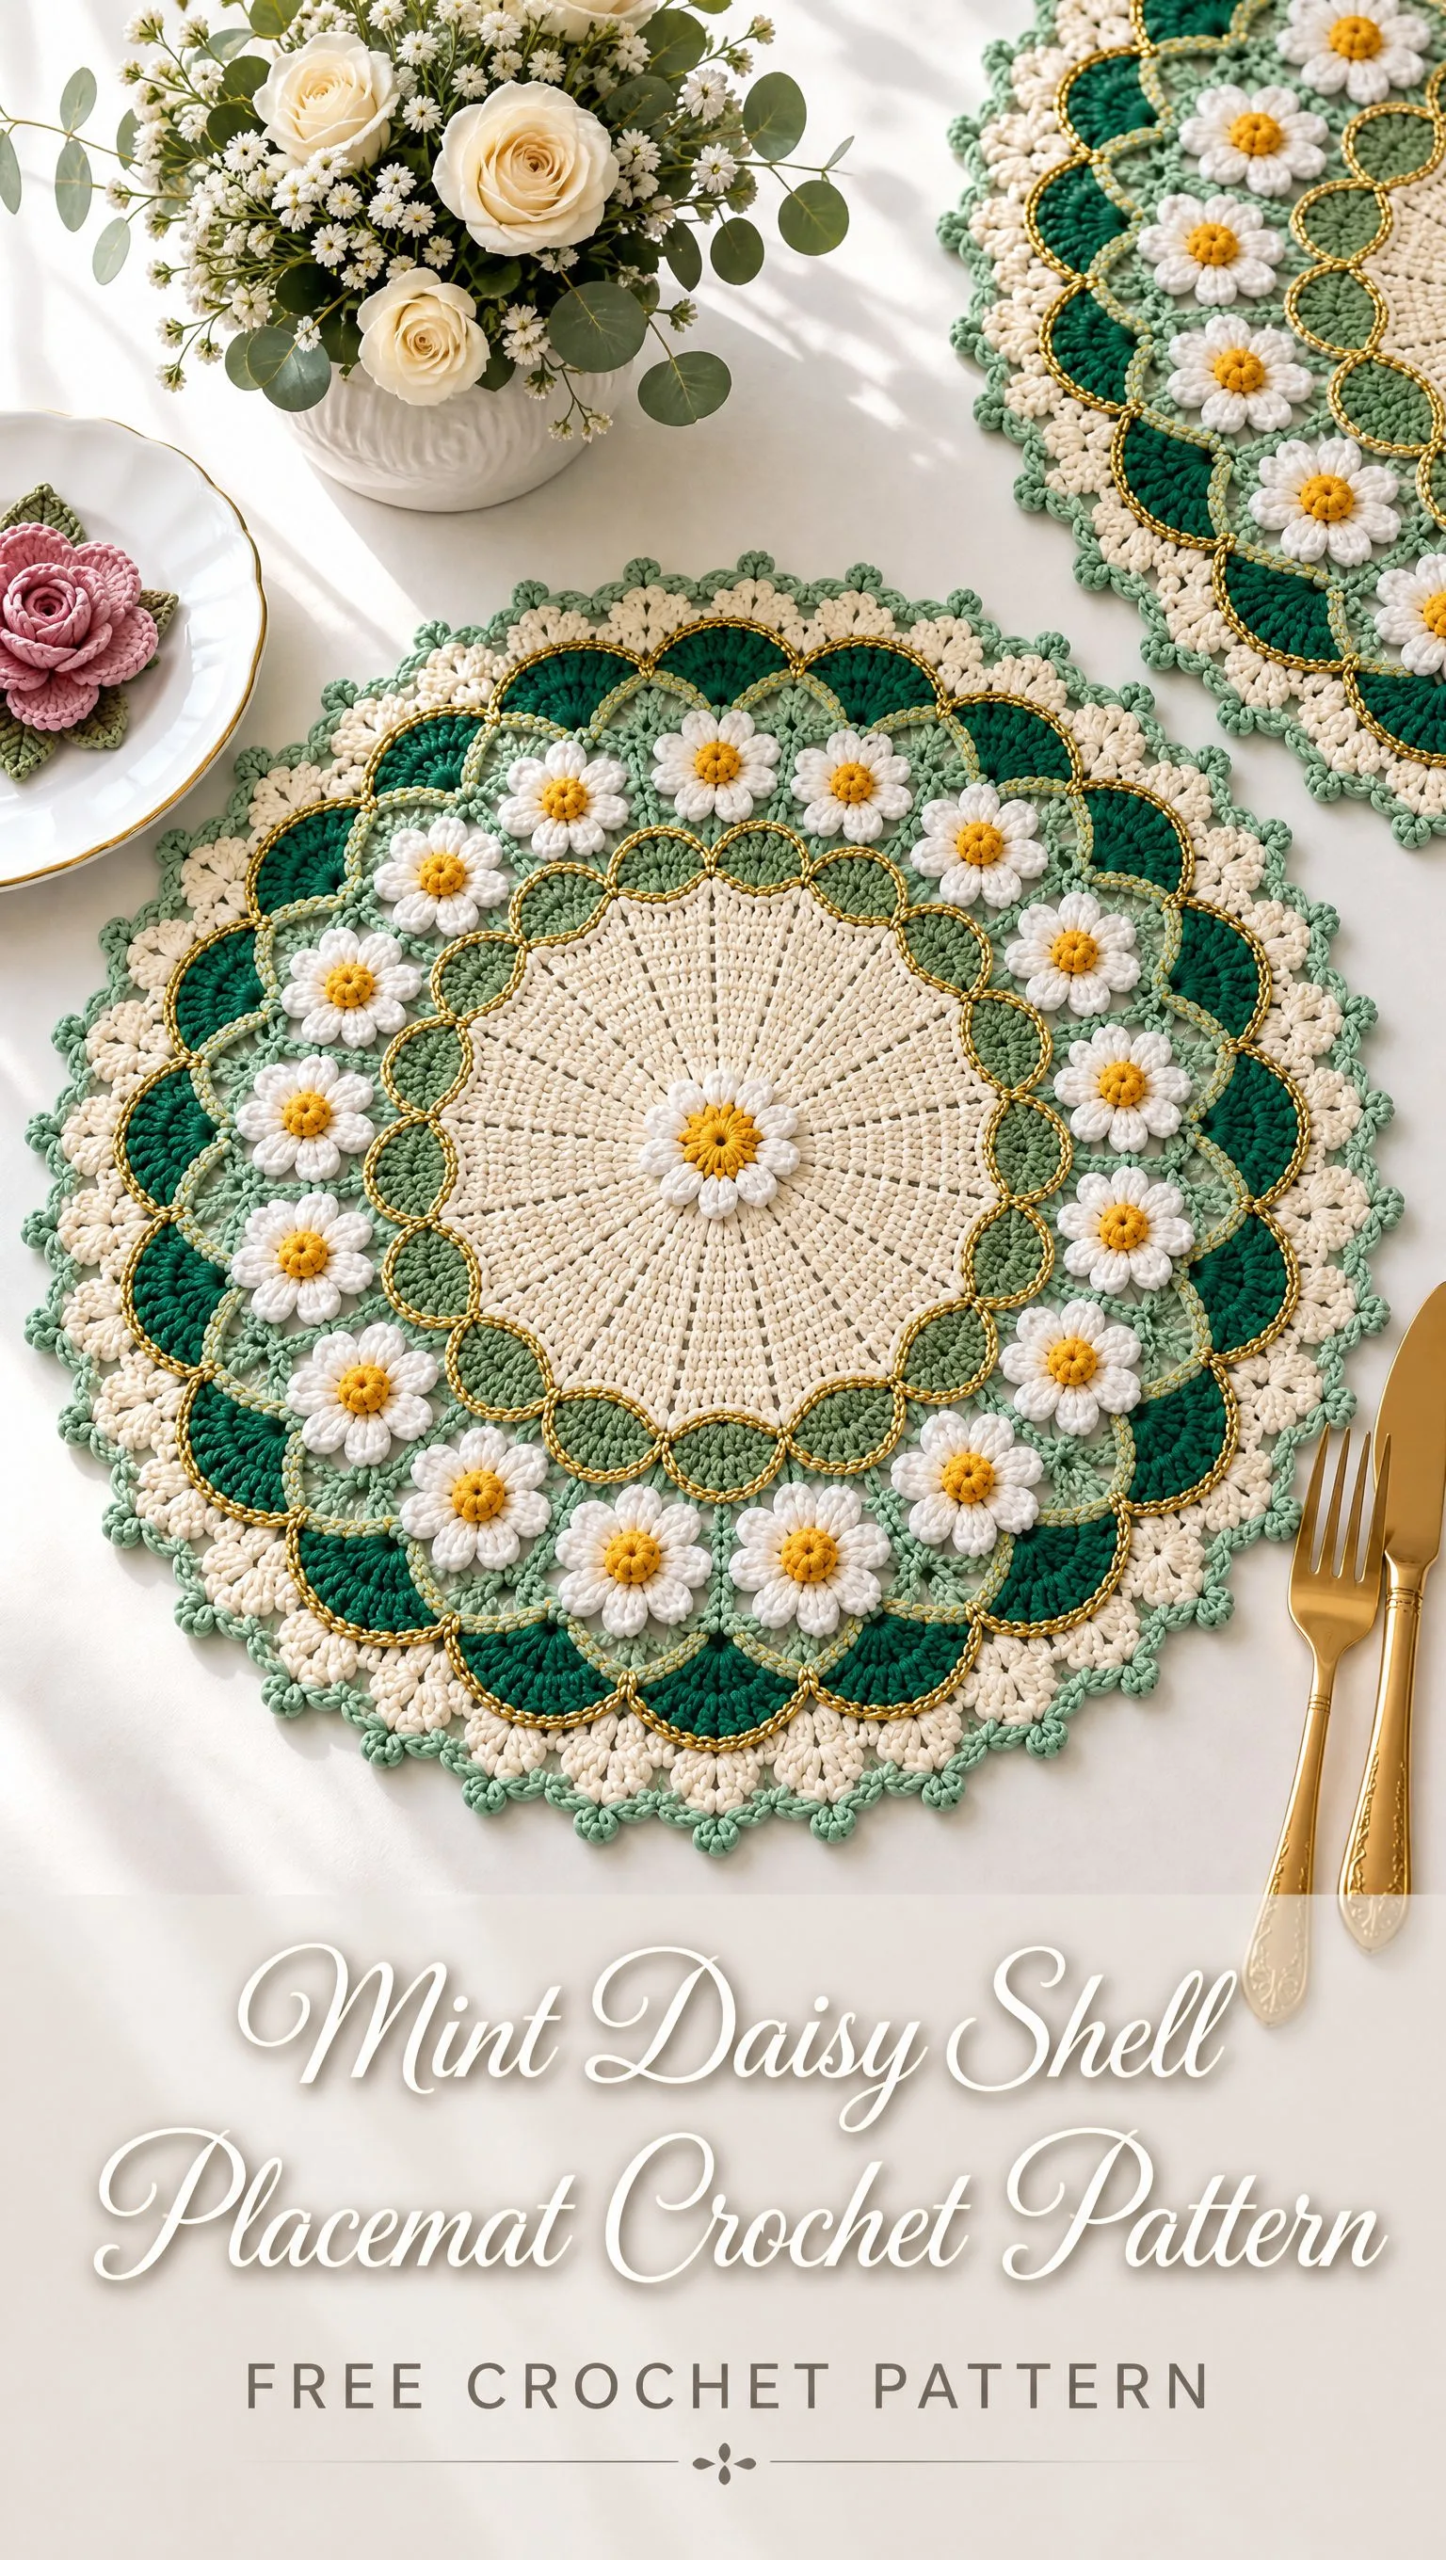
The goals were ambitious: a smooth center medallion with visible radiating lines, a ring of cheerful daisies, and an outer border that alternated between deep emerald and soft mint shells. Every element needed to work together without competing for attention.
I am SO pleased with how this turned out! The combination of the ivory center, sage scallops, and those sweet little daisy motifs creates something truly special. Let me walk you through every single step so you can make one for your own table.
About This Crochet Pattern
This Mint Daisy Shell Placemat is a confident intermediate project that combines several techniques into one stunning piece. You will work joined rounds from the center outward, make 24 separate daisy motifs, and join everything together with elegant shell borders.
The finished placemat measures approximately 15 to 16 inches (38 to 41 cm) in diameter after blocking. The center plate area spans about 9.5 to 10 inches before the floral border begins, with the decorative border adding roughly 2.5 to 3 inches of depth.
This is the kind of project that looks incredibly impressive but breaks down into manageable sections. You will tackle the center medallion first, then the sage transition, then make all your daisies, and finally complete the outer shells and picot edging.
Skill Level
This pattern is designed for confident intermediate crocheters. You should be comfortable with the following techniques:
If any of these feel unfamiliar, I recommend practicing on a small swatch first. The individual techniques are not difficult, but combining them all requires attention to detail.
Materials You Will Need
Yarn
You will need sport weight or light DK mercerized cotton in six colors. Here are the approximate yardages:
The total yardage comes to approximately 230 to 280 yards (210 to 255 meters) across all colors.
Hook and Tools
Gauge and Blocking Checkpoints
Gauge matters most in the flat center medallion. Measure after gently steaming or wet blocking at each checkpoint.
| Checkpoint | Target Size | What to Check |
|---|---|---|
| After Center Round 5 | 4.5 to 5 inches (11.5 to 12.5 cm) | If larger, go down 0.25 to 0.5 mm hook. If smaller, go up. |
| After Center Round 10 | 9.5 to 10 inches (24 to 25.5 cm) | Must lie flat with no cupping or waves |
| After Daisy Ring | 12.5 to 13 inches (32 to 33 cm) | Daisies should sit flat with arches open but not floppy |
| Finished | 15 to 16 inches (38 to 41 cm) | Block to a true circle, pin every 2 to 3 picots |
Abbreviations and Stitch Definitions
Before we dive into the step by step instructions, let me define every stitch and abbreviation you will encounter.
ch = chain: Wrap yarn over hook and pull through the loop on your hook. This creates one chain stitch.
sl st = slip stitch: Insert hook into indicated stitch, yarn over, and pull through both the stitch and the loop on your hook in one motion.
sc = single crochet: Insert hook into stitch, yarn over and pull up a loop (2 loops on hook), yarn over and pull through both loops.
hdc = half double crochet: Yarn over, insert hook into stitch, yarn over and pull up a loop (3 loops on hook), yarn over and pull through all 3 loops.
dc = double crochet: Yarn over, insert hook into stitch, yarn over and pull up a loop (3 loops on hook), yarn over and pull through 2 loops, yarn over and pull through remaining 2 loops.
tr = treble crochet: Yarn over twice, insert hook into stitch, yarn over and pull up a loop (4 loops on hook), yarn over and pull through 2 loops three times.
sp = space
st/sts = stitch/stitches
rnd = round
rep = repeat
sk = skip
yo = yarn over
Special Stitches
Yellow Bobble: Yarn over, insert hook in indicated stitch, pull up a loop, yarn over and pull through 2 loops. Repeat 4 more times in the same stitch (you will have 6 loops on hook). Yarn over and pull through all loops, chain 1 to close. The bobble should project toward the front of your work.
3-dc Cluster (cl): In indicated space, work 3 double crochet stitches, leaving the last loop of each dc on your hook. Yarn over and pull through all 4 loops, chain 1 to secure.
5-dc Shell: Work 5 double crochet stitches in the same indicated space.
7-dc Fan: Work 7 double crochet stitches in the same indicated space.
Picot: Chain 3, slip stitch in the first chain made.
Standing dc (optional): With a slip knot on hook, yarn over, insert in indicated space, pull up a loop and complete a double crochet. Use this in place of chain 3 starts for an invisible join.
Invisible Join: Cut yarn, pull tail through last stitch, thread tail on needle, pass under both loops of the first stitch, then back down through the top of the last stitch to imitate a normal stitch top.
Reading Stitch Counts: Numbers shown in parentheses at the end of each round are the total stitches or repeat units. Beginning chains count as a stitch only when explicitly stated.
Center Medallion Instructions
Work all rounds with the right side facing you. The increase points shift slightly from round to round so the disk stays round instead of becoming a 12-sided polygon. Place a marker in the first stitch of each round to keep track.
Sunflower Starburst (Rounds 1 to 2)
Round 1 with Yellow (B): Make a magic ring. Chain 2 (this does not count as a stitch), work 12 double crochet into the ring. Join with slip stitch to first dc. Tighten the ring securely. (12 dc)
Round 2 with Yellow (B):Chain 1, then work around the entire round. Join to first sc. Fasten off.(12 pointed rays)
You now have a cheerful sunflower center with 12 little rays pointing outward. This creates the focal point of your entire placemat.
Ivory Radiating Double Crochet Disk (Rounds 3 to 12)
Round 3: Join Ivory (A) in any sc from Round 2. Chain 3 (counts as dc), dc in same stitch, 2 dc in each remaining sc around. Join to top of ch-3. (24 dc)
Round 4: Chain 3, dc in next stitch, 2 dc in next stitch. Dc in next stitch, 2 dc in next stitch. Repeat from around. Join. (36 dc)
Round 5: Chain 3, dc in next stitch, 2 dc in next stitch. Dc in next 2 stitches, 2 dc in next stitch. Repeat from around, ending with dc in last stitch. Join. (48 dc)
Round 6: Chain 3, dc in next 2 stitches, 2 dc in next stitch. Dc in next 3 stitches, 2 dc in next stitch. Repeat from around. Join. (60 dc)
Round 7: Chain 3, dc in next 3 stitches, 2 dc in next stitch. Dc in next 4 stitches, 2 dc in next stitch. Repeat from around. Join. (72 dc)
