

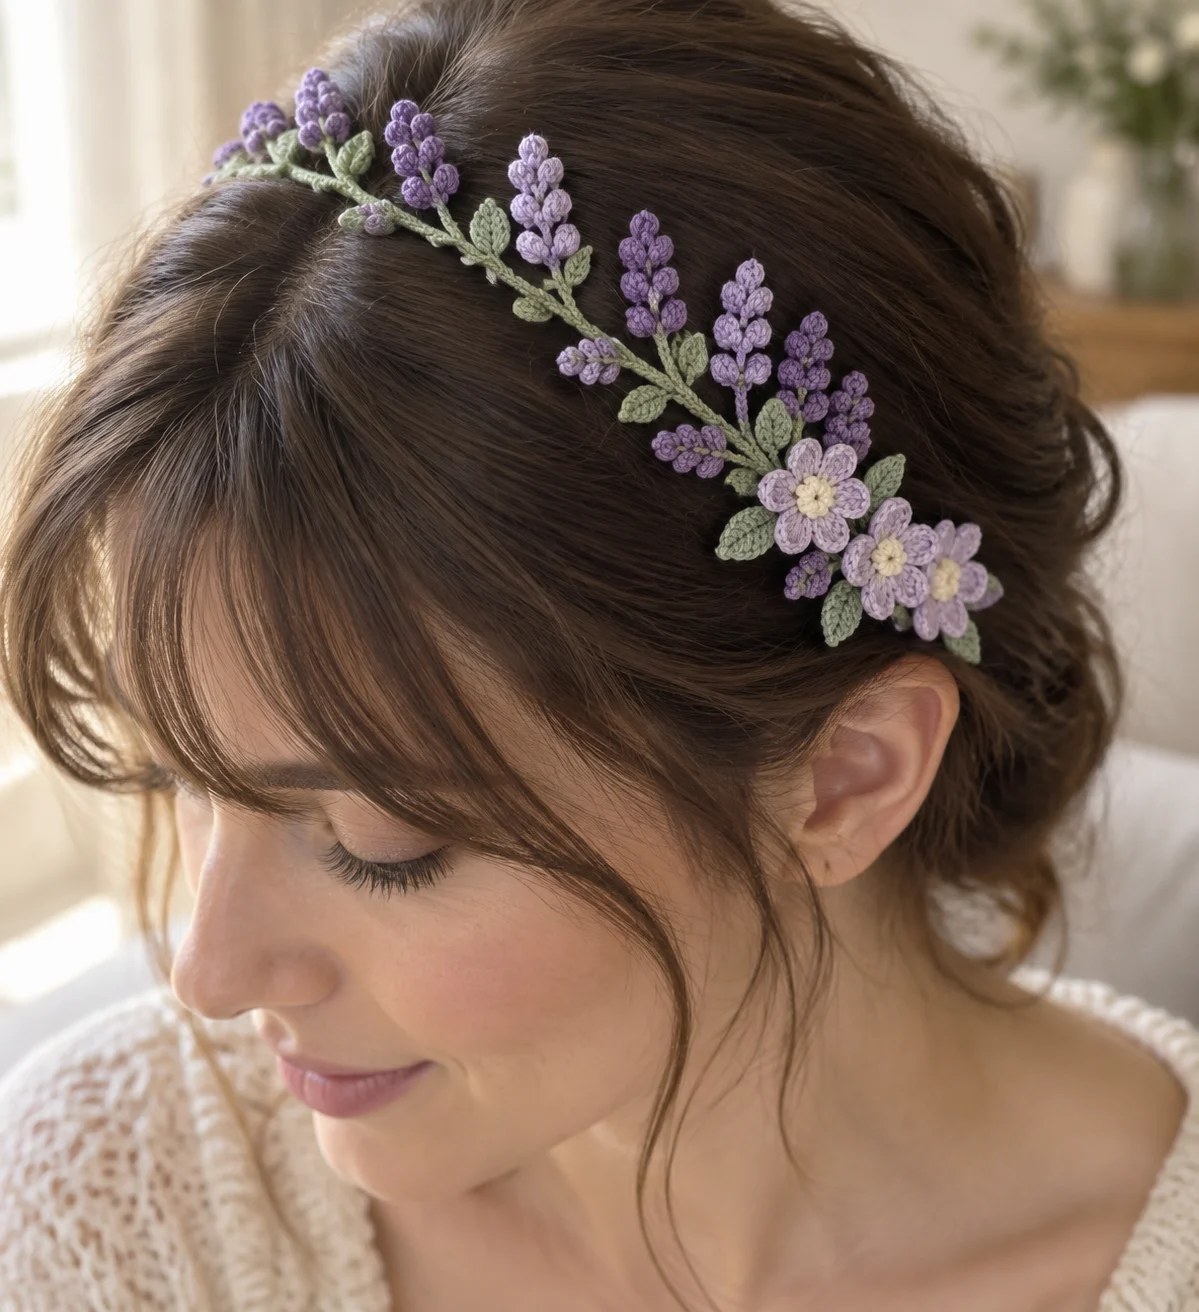
Go dig through your stash right now. I know you have those small amounts of fine cotton yarn tucked away, the ones you have been saving for something special. This is that project.
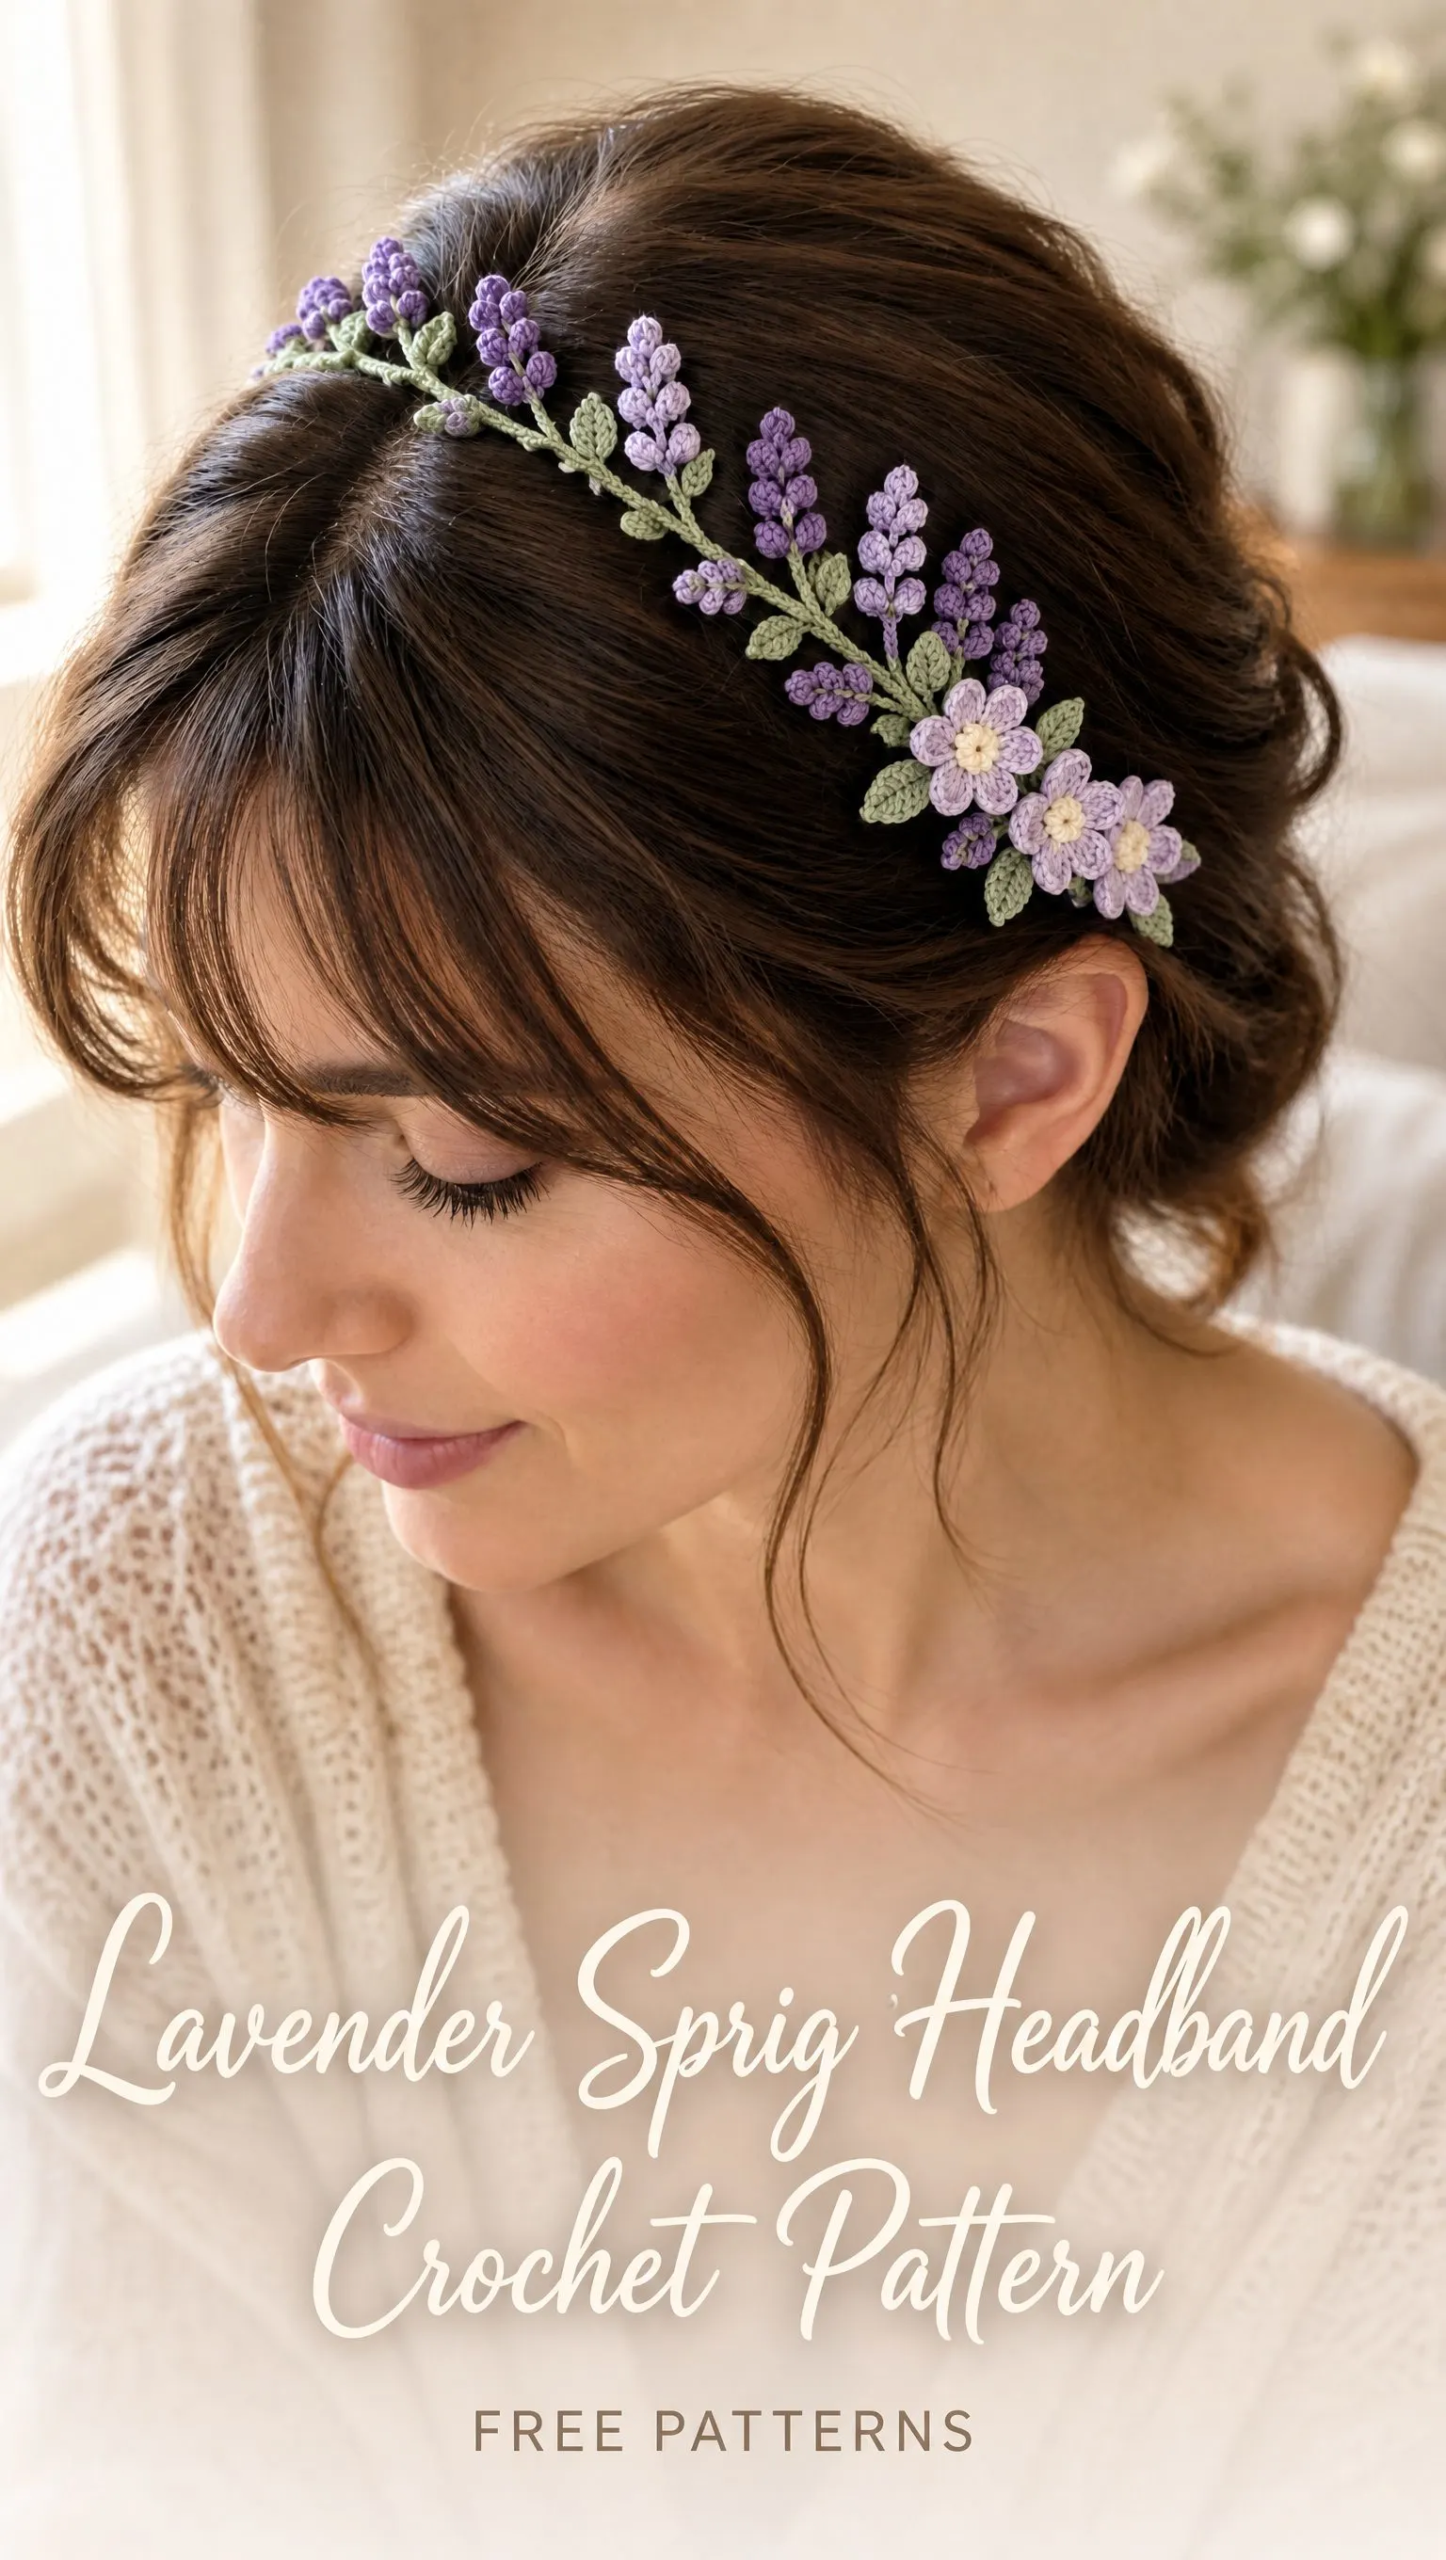
This lavender sprig headband is one of those patterns that looks incredibly intricate but breaks down into surprisingly manageable pieces. You are basically making a simple band, a chain stitch vine, some tiny leaves, puff stitch buds, and five petal flowers. Then you arrange them all together like a little botanical garden for your hair. The construction is modular, which means you can take your time with each element and assemble everything at the end.
I will be honest with you. This is not a quick weekend project, and the fine yarn with a tiny hook requires some patience. But if you have worked with fingering weight cotton before and feel comfortable with basic stitches plus puff stitches, you can absolutely do this. The result is a delicate, lightweight accessory that looks like it belongs in a spring wedding or a garden party.
Why This Botanical Headband is Worth the Effort
The asymmetric design sets this headband apart from typical crochet hair accessories. Instead of even embellishments all the way around, you create a cascading floral cluster that sweeps diagonally from the crown toward one ear. The effect is romantic and organic, like someone tucked a sprig of real lavender into your hair.
The color palette does a lot of heavy lifting here. You will use olive green for the vine base and leaves, multiple shades of lavender and violet for the puff stitch buds, pale lilac for the five petal flowers, ivory or cream for the flower centers, and mint green for accent leaves. This gradient of purples against the greens creates that realistic botanical look.
Finished measurements come out to approximately 52 to 56 cm in head circumference for an adult size. The band itself is slim at just 1.5 to 2 cm wide, while the floral cluster spans about 18 to 22 cm in length. The finished piece has a flexible stretch fit, so it sits comfortably without squeezing.
Materials You Will Need
Gather everything before you start. There is nothing worse than getting halfway through a project and realizing you are missing a color.
Yarn: Fine cotton crochet yarn in sport or fingering weight. You will need small amounts of each color:
Hook: 1.5 to 2.0 mm crochet hook. Yes, this is tiny. The small hook creates the delicate, crisp stitches that make this headband look so refined.
Notions:
Abbreviations and Stitch Definitions
Let me walk you through each stitch you will use. If any of these are new to you, practice them with scrap yarn before starting the actual project.
ch (chain): The foundation stitch. Yarn over, pull through the loop on your hook. This creates the base for most crochet work.
sc (single crochet): Insert hook into stitch, yarn over and pull up a loop (two loops on hook), yarn over and pull through both loops. This is your basic, short stitch.
sl st (slip stitch): Insert hook into stitch, yarn over and pull through both the stitch and the loop on your hook in one motion. Used for joining and creating flat, tight connections.
hdc (half double crochet): Yarn over, insert hook into stitch, yarn over and pull up a loop (three loops on hook), yarn over and pull through all three loops. Slightly taller than single crochet.
dc (double crochet): Yarn over, insert hook into stitch, yarn over and pull up a loop (three loops on hook), yarn over and pull through two loops, yarn over and pull through remaining two loops. A taller stitch that creates the flower petals.
puff st (puff stitch): This one creates those rounded lavender buds. Yarn over, insert hook, pull up a loop. Repeat this sequence five times in the same stitch so you have multiple loops on your hook. Yarn over and pull through all the loops at once. Chain one to close and secure it. The result is a puffy, rounded cluster.
rep (repeat): Do the indicated steps again.
Part 1: Crochet the Narrow Vine Headband
This is your foundation, the part that actually wraps around your head. It needs to be sturdy but slim.
Foundation Band
Chain 120. If you have a larger or smaller head, adjust this number. The chain should stretch comfortably around your head with a little overlap.
Row 1: Single crochet (sc) in the second chain from the hook and across the entire row. Turn your work.
Rows 2 through 5: Chain 1, single crochet across the entire row. After Row 5, fasten off.
You now have a flat rectangular strip. Fold this strip lengthwise so the long edges meet, then sew those edges together neatly. This creates a slim, flexible tube that sits more comfortably than a flat band would. Weave in and hide all your yarn ends inside the tube where they will not show.
Part 2: Olive Green Chain Stitch Vine
The vine is the backbone of your floral arrangement. Everything else attaches to it.
Attach your olive green yarn near one side of the headband. You will build the vine outward from this attachment point.
Creating the curved vine:
Tuck all your ends to the back side of the work and secure them. You do not want anything unraveling later.
Part 3: Mint Green Lance Leaves
These little leaves fill in the spaces and add that fresh garden feel. The instructions create a pointed, lance shaped leaf.
For each leaf:
Chain 7.
Now slip stitch back along the chain with varying stitches to create the leaf shape:
