

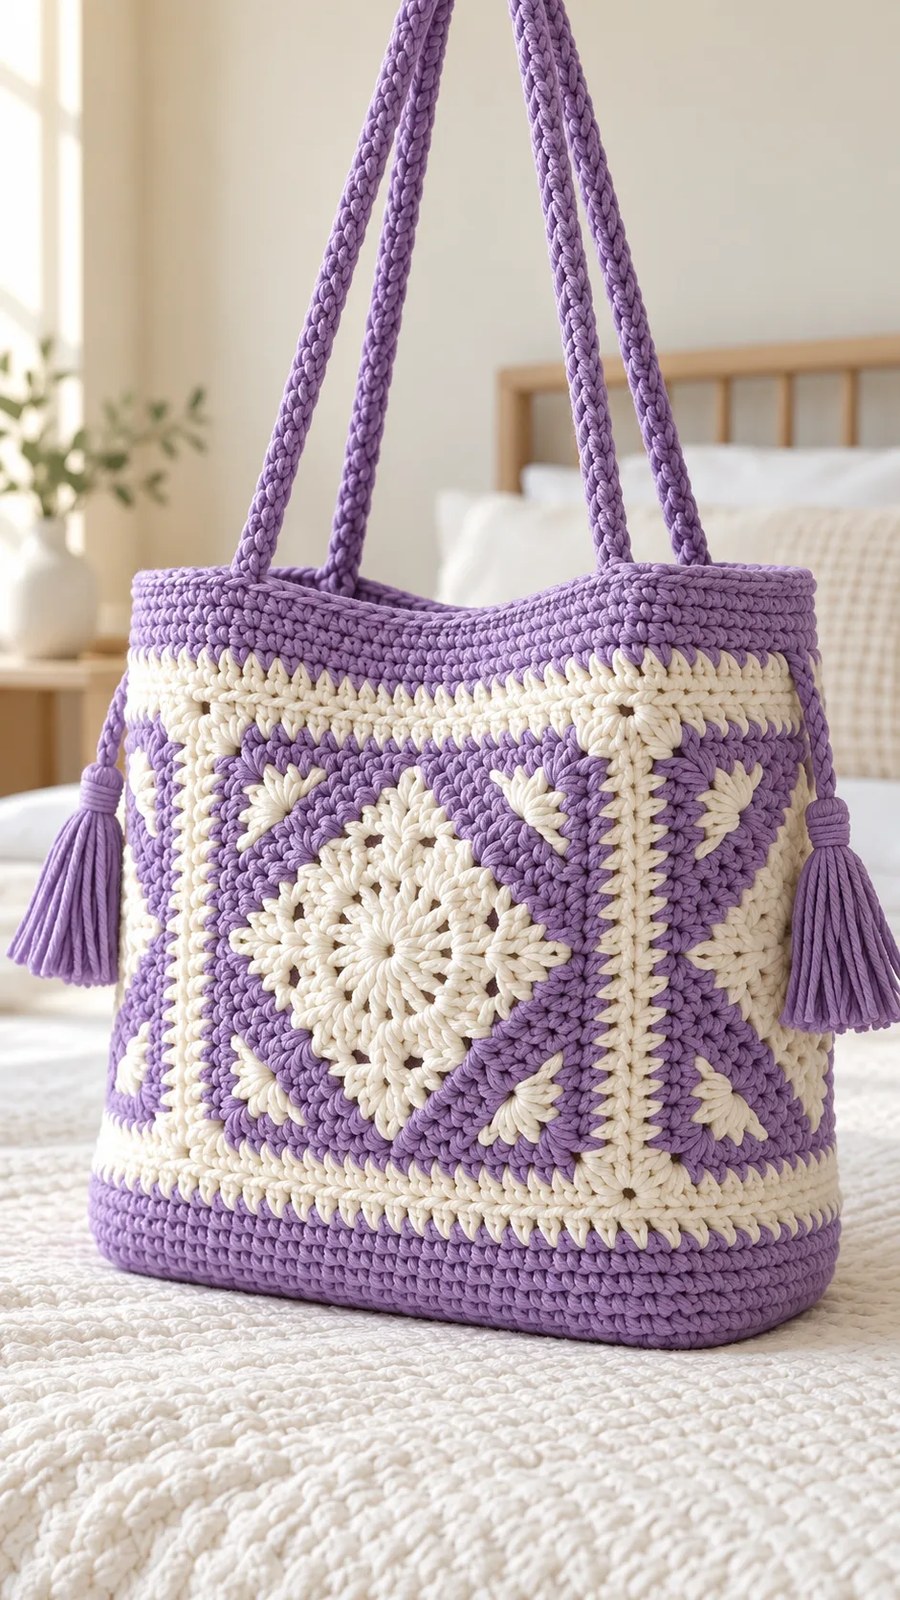
Go dig through your yarn stash right now. That gorgeous lavender cotton you’ve been saving? This is the project it’s been waiting for.
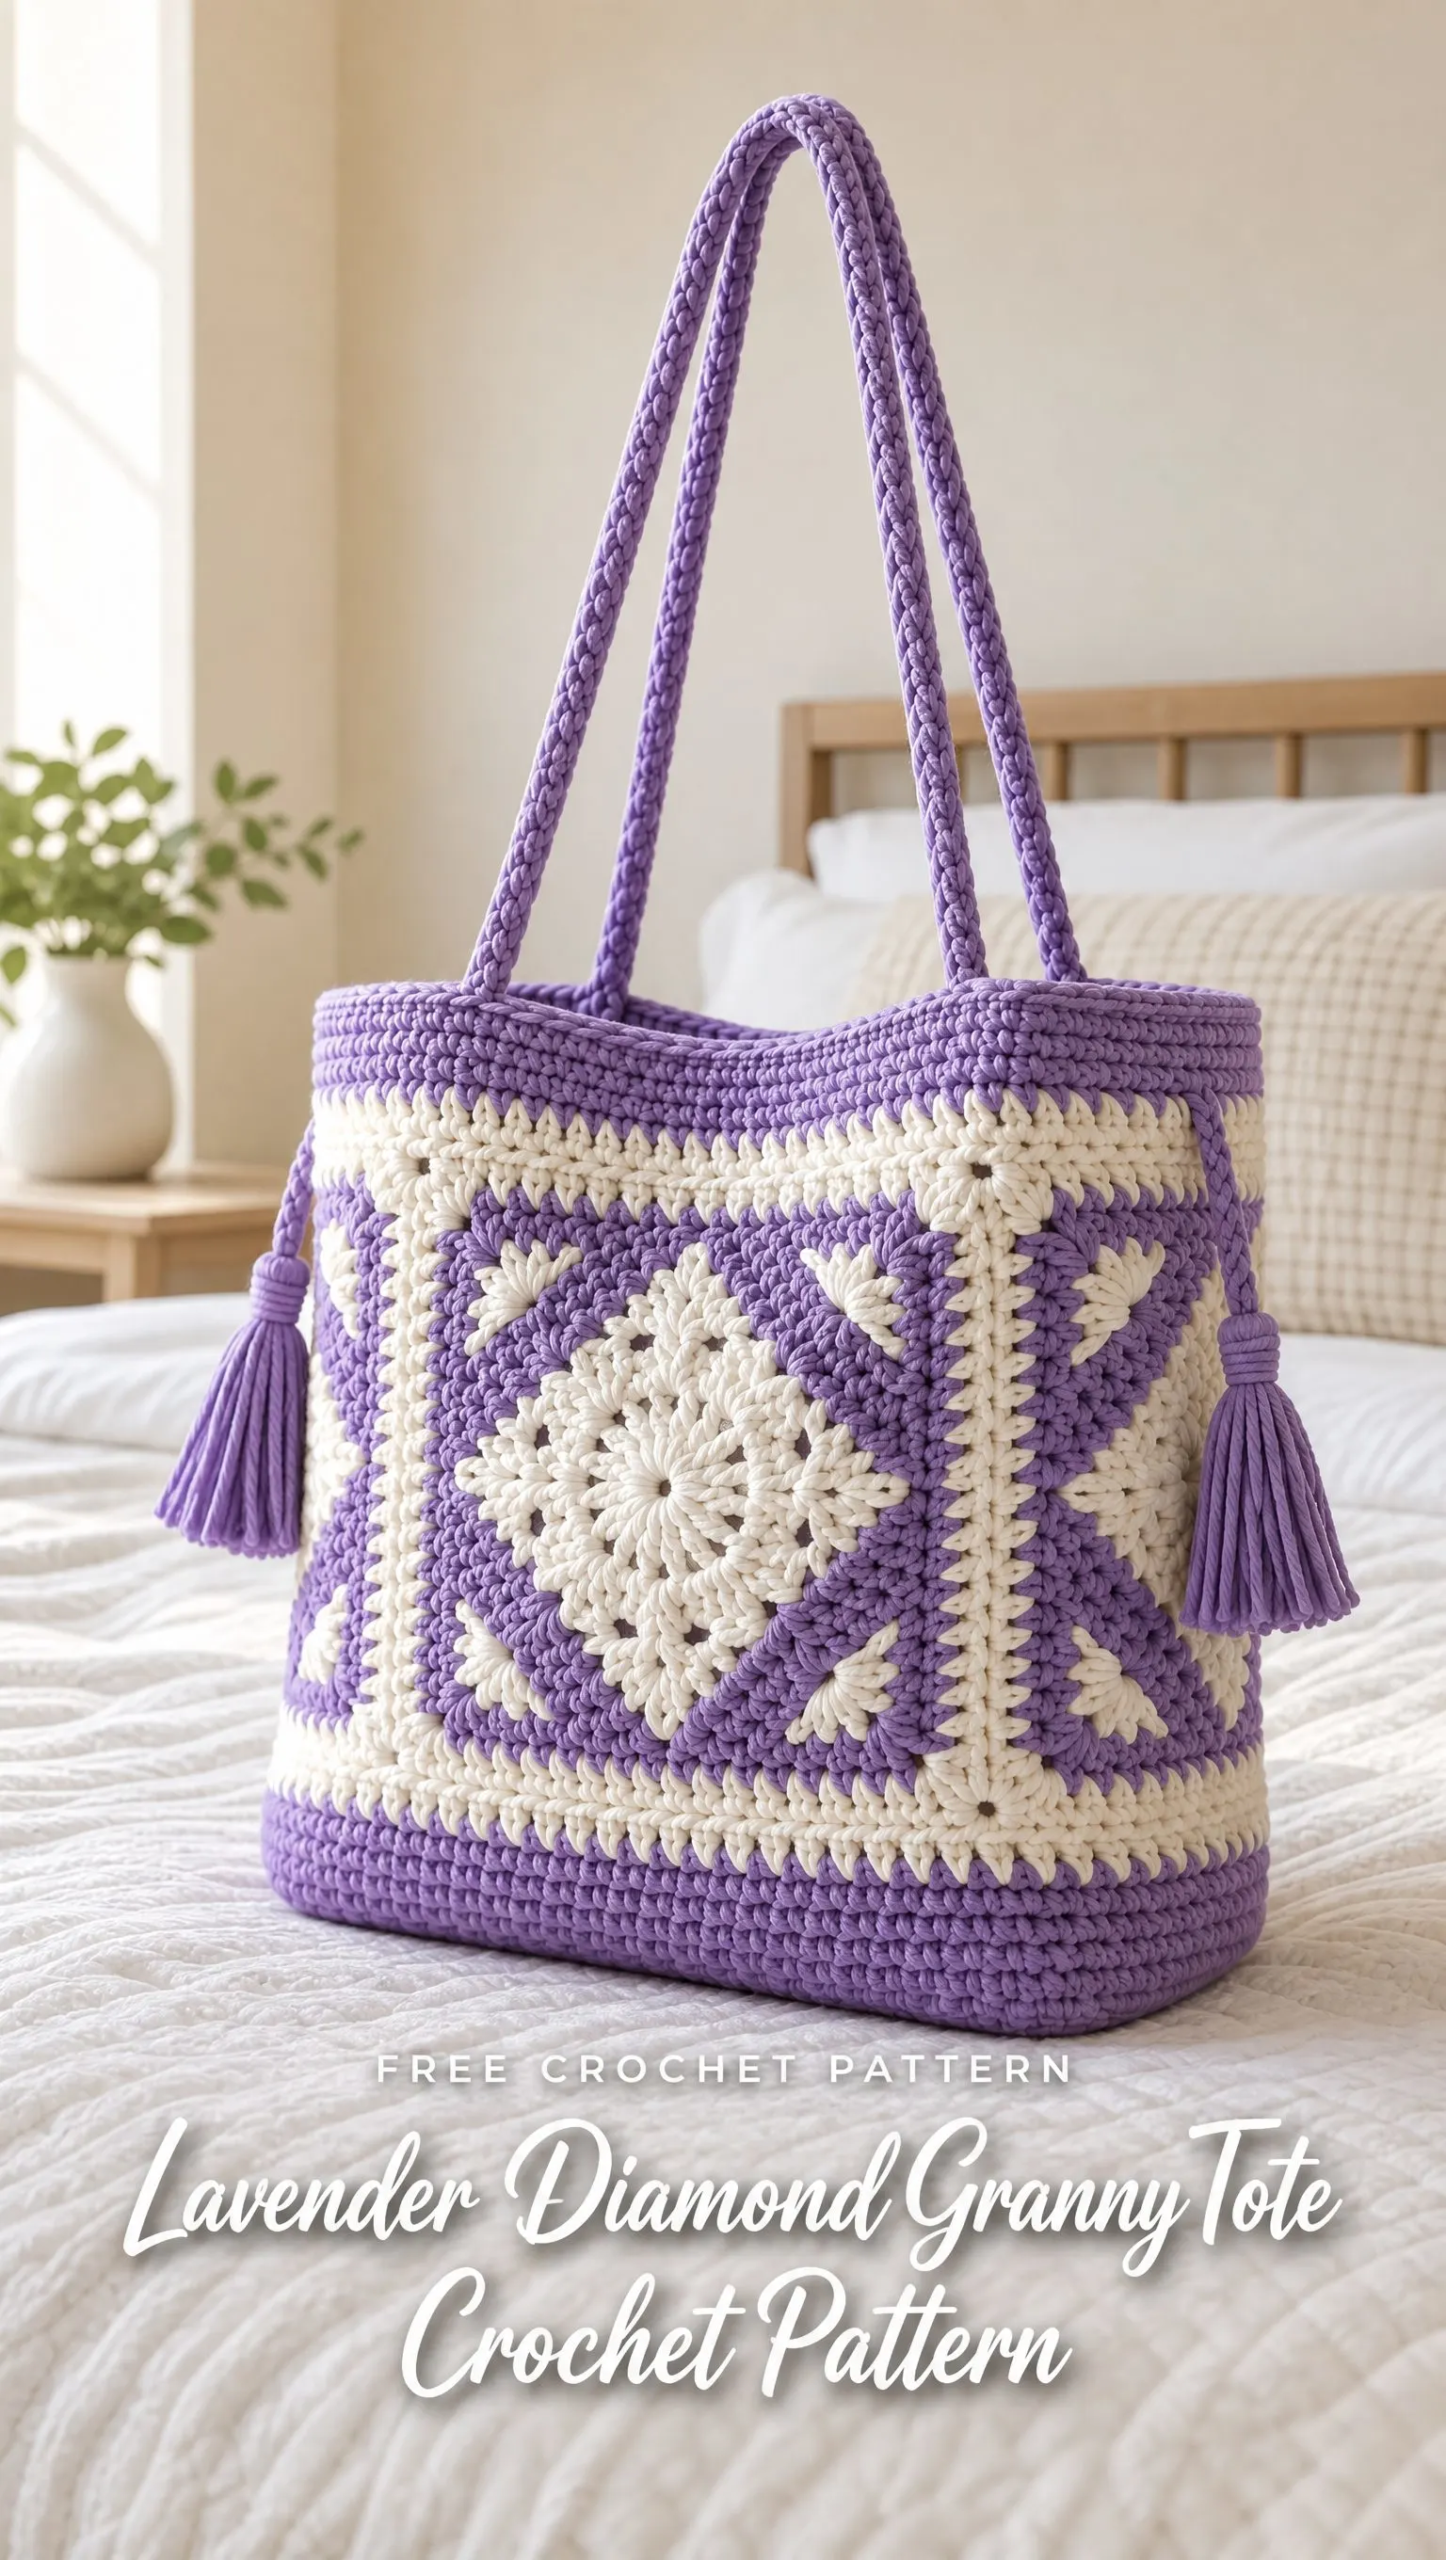
The Lavender Diamond Granny Tote combines classic granny square construction with a structured oval base, giving you a bag that actually holds its shape. You’ll work four flower-center squares, join them into a ring, then build up dense bands and sturdy straps. The construction is more interesting than your average granny bag, and the two-color design creates those beautiful stepped diamond frames you see radiating from each center.
I’ll be honest with you: this is an intermediate project. You’ll need to be comfortable with joining rounds, working in continuous spirals for the base, and seaming pieces together. But if you’ve made a few granny squares before and you’re ready to level up, this tote will teach you some great techniques without overwhelming you.
Why This Granny Tote Pattern Works
The magic of this design is in the structure. Unlike floppy granny bags that lose their shape the moment you set them down, this tote has a crocheted oval base with a built-in wall. The dense single crochet bands at the top and bottom give the whole piece stability. Add the optional cotton lining and webbing-reinforced straps, and you’ve got a bag that can actually handle daily use.
The four squares join into a ring with a 72 cm circumference, giving you a finished bag that measures approximately 34 to 36 cm wide when laid flat and 25 to 28 cm high. The handle drop sits at about 23 to 25 cm, which is perfect for carrying over your shoulder.
Materials You’ll Need
Before you start, gather everything so you’re not hunting for supplies mid-project.
Yarn:
Hooks:
Notions:
Optional additions:
Gauge and Sizing
Getting gauge right matters here because four squares need to match perfectly before you can join them.
Square gauge: One blocked 7-round square should measure 18 cm along each side. Four squares give you 72 cm circumference.
Band gauge: Approximately 20 single crochet stitches per 10 cm.
Make a complete square and a 10 cm single crochet swatch before committing to assembly. If your squares are too big, go down a hook size. Too small? Go up.
Abbreviations and Stitch Definitions
Let me walk you through every abbreviation you’ll see in this pattern:
Important: Turning chains do not count as a stitch unless a step explicitly says they do.
Pattern Conventions
Work all joined rounds with the right side always facing you. Chain 3 counts as a double crochet, and you’ll join to its top. Chain 1 before single crochet does not count as a stitch.
When changing colors, do it on the final pull-through of the last stitch before joining. Or you can fasten off and join the new color neatly. Either method works.
Flower Squares: Make Four
These squares form the body of your tote. Each one features an ivory flower center with lavender framing and a thin ivory accent stripe.
Round 1, Color B (Ivory)
Work into an adjustable ring: ch 3, work 11 dc, join to top of ch-3. (12 dc)
Tighten your center ring so there’s no gap.
Round 2, Color B
Ch 3, dc in same st. Work 2 dc in each of the remaining 11 sts, join. (24 dc)
Work loosely enough so your round lies flat. The paired stitches form a radiating flower center.
Round 3, Color B
Ch 3, work (dc, ch 2, 2 dc) in same st for your first corner. Dc in the next 5 sts. Repeat the following 3 more times: (2 dc, ch 2, 2 dc) in next st, dc in next 5 sts. Join. (36 dc, four corner ch-2 spaces, 9 dc between corner spaces)
Round 4, Color A (Lavender)
Join Color A in any corner space. In each corner, work (2 dc, ch 2, 2 dc). Work dc in every dc along each side. Join. (52 dc total, 13 dc between corners)
Round 5, Color A
Repeat Round 4, working a stitch in every side stitch. (68 dc, 17 dc between corners)
Round 6, Color B
Repeat Round 4. (84 dc, 21 dc between corners)
Round 7, Color A
Repeat Round 4. (100 dc, 25 dc between corners)
Fasten off.
Blocking: Block each square to 18 x 18 cm without distorting the corner angles. All four squares must match in size. When you look at the right side, you’ll see a large pale center with broad lavender framing and a thin ivory accent stripe.
Join the Body and Make the Base
Creating the Body Ring
Arrange your four squares side by side with all right sides facing up. Sew adjacent vertical edges using Color B through outer loops only. Match the 25 dc between corner spaces, then secure each corner with 2 small stitches.
Join the last square to the first to form a ring. Leave the top and bottom open.
When you lay the ring flat, center one square on the front. The seams will sit near the curved side edges.
Oval Base Round 1, Color A
Switch to your smaller hook. Ch 22.
