

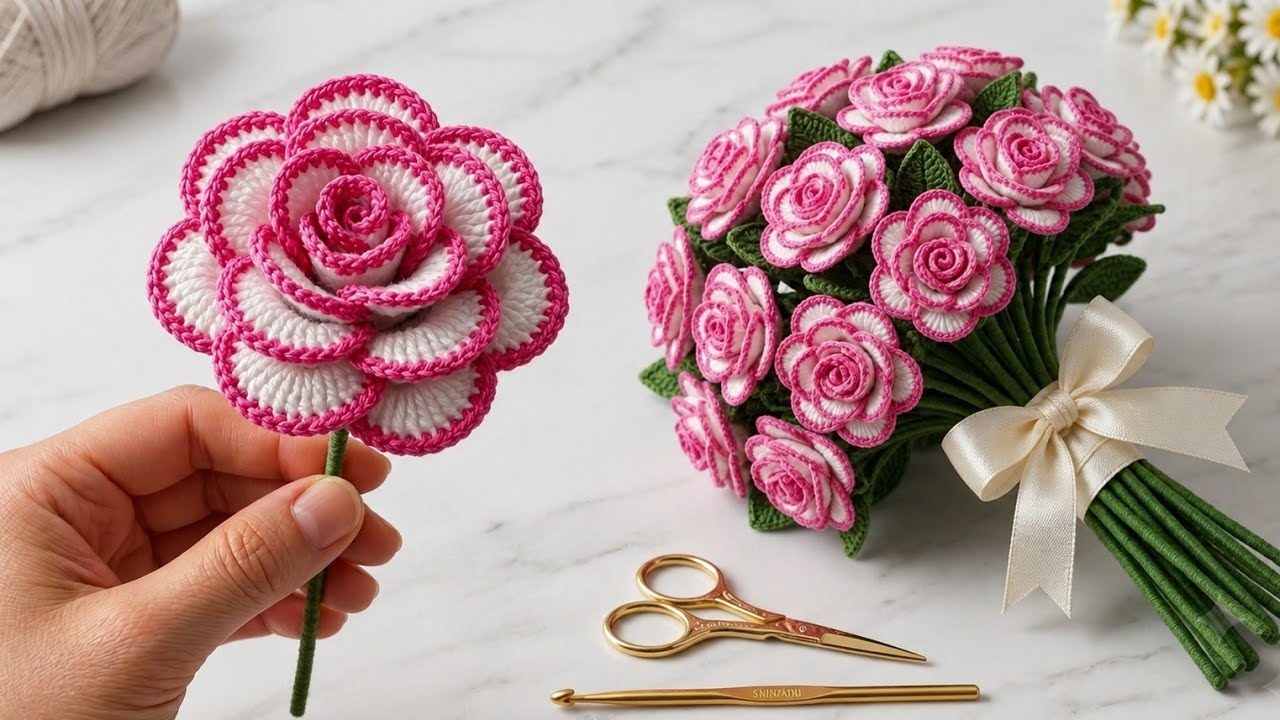
Now we transform the simple foundation strip into a rich, ruffled wall of petals by working directly into those arches.
- (does not count as a stitch).
- In the very first , work your first set of petals: (1 sc, 1 hdc, 3 dc, 1 hdc, 1 sc) all packed into that single arch.
- Move directly to the next arch space and repeat that exact same petal cluster: (1 sc, 1 hdc, 3 dc, 1 hdc, 1 sc).
- Continue working this petal cluster into every single arch space all the way down the strip.
- As you work, you will notice the strip naturally curling and twisting into a long, wavy ruffle. Fasten off your yarn, leaving a generous 10-to-12-inch tail for assembly.
🌀 Step 3: Rolling and Shaping the Rose
The magic happens here as you assemble the flat ruffle into a 3D blooming rose.
- The Tight Center Bud: Take one end of your ruffled strip (start at the beginning tail) and begin rolling it tightly upon itself like a cinnamon roll. This tight inner core forms the closed bud of the rose.
- Expanding the Outer Petals: As you continue rolling the strip around the center core, gently allow the outer petal ruffles to flare and cascade slightly downward. This creates the natural, unfolding depth of a fully bloomed garden rose.
- Securing the Base: Flip your rolled rose over so you are looking at the flat bottom base where all the raw tail ends meet. Pass your tapestry needle (threaded with your long yarn tail) back and forth horizontally and vertically through the entire bottom stack of layers, anchoring every single row securely together.
- Tie a strong, secure knot and trim any excess yarn. (Alternatively, you can apply a generous drop of hot glue directly to the bottom base to lock the petals in place).
🍃 Step 4: Adding a Leafy Calyx (Optional)
To give your rose a professional, finished look—especially if you plan to mount it onto a stem or hair accessory—add a simple green star base:
- With Green Cotton Yarn, and join with a to form a tiny ring.
- , and work a round of small pointed sepals ( repeated 5 times).
- Fasten off and glue or sew this green star calyx directly onto the bottom flat base of your finished rose.
✨ Pro-Tips for Perfection
- Vary the Sizes: To create a realistic floral arrangement or bouquet, make multiple rose strips of varying lengths (e.g., chain 35 for a tight rosebud, chain 51 for a medium bloom, and chain 65 for a giant, dramatic statement rose).
- Steam-Setting: Hold your finished cotton rose over the gentle steam of a kettle for a few seconds to soften the fibers, then use your fingers to gently roll open the outer petals. As it cools, the cotton will permanently hold its romantic, open-bloom shape!
Pages: 1 2
