Embroider the white icing outline
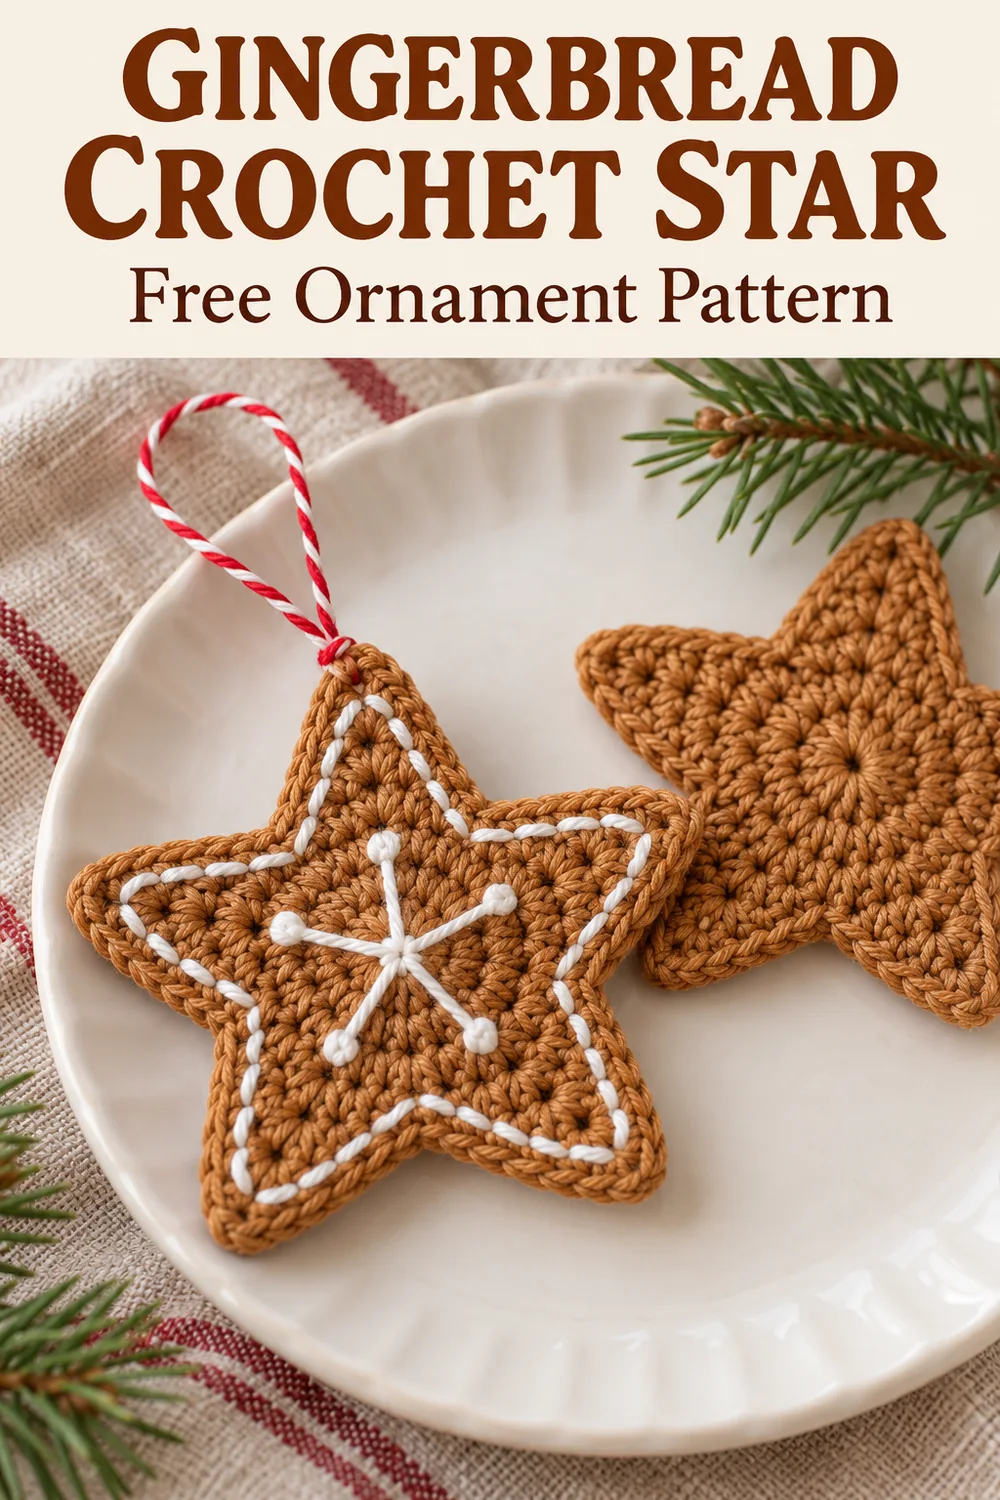
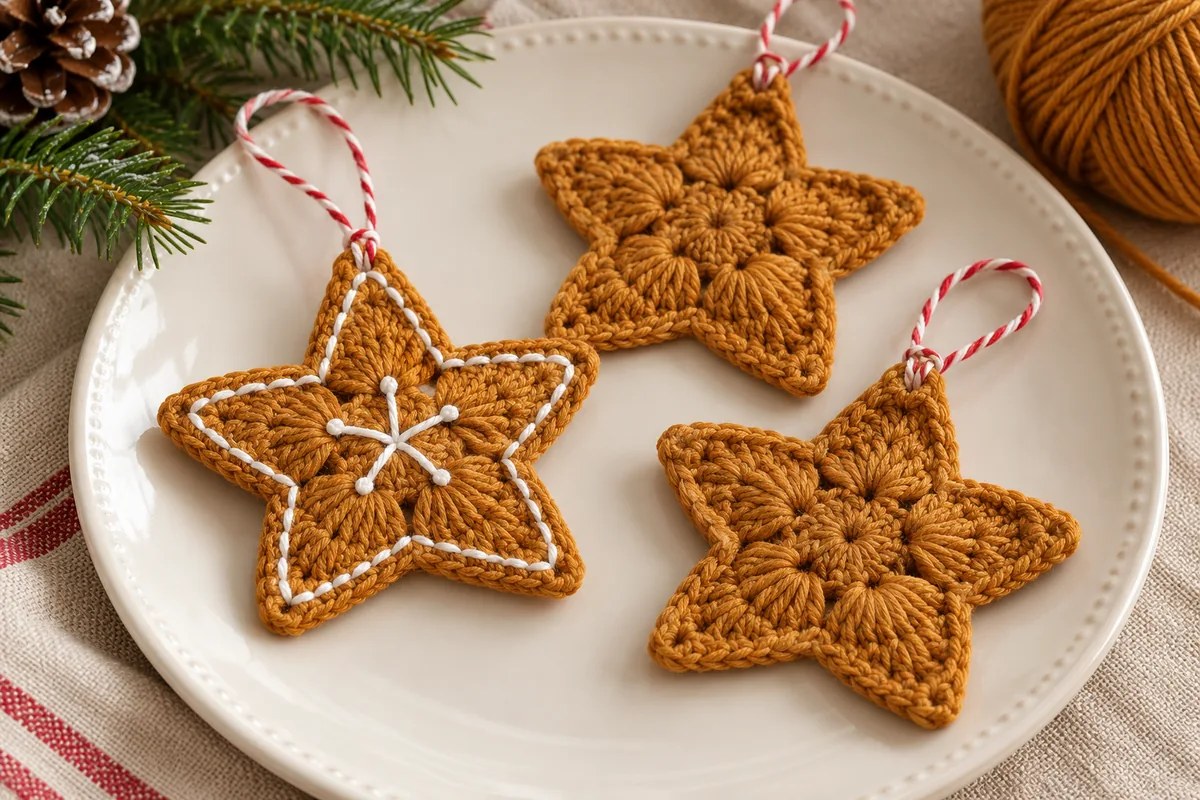
Thread a blunt needle with white yarn. For a delicate line, use yarn slightly finer than the caramel yarn. Keep the front of the star facing you and plan a path just inside the outer edge, leaving a visible caramel border around it. Follow the shape of the five points and valleys rather than passing straight across them.
Secure the yarn on the back. Bring the needle up at the start of the path. To backstitch, insert it a short distance behind that starting point, then bring it up the same short distance ahead. For the next stitch, insert into the previous starting point and bring it up farther along the path. Continue so the stitches meet end to end on the front.
Use shorter stitches at tips and valleys, where the direction changes sharply. Pass through the crochet fabric rather than stretching white yarn across an open tip space. Every few stitches, lay the ornament flat and relax the embroidery if it begins to pucker. There is no fixed embroidery stitch total because stitch length and motif size vary.
When the line returns to its starting point, join the last stitch neatly to the first. Secure the white yarn through the backs of several caramel stitches, taking care not to show white strands outside the outline.
Add the center asterisk
Bring white yarn up near the center and make one straight stitch toward the base of a point, stopping well inside the icing outline. Return through the back to the center and repeat toward the other four points. Five straight stitches make a five-spoke motif. Keep the central entries close together without repeatedly piercing the same yarn strand.
A six-spoke asterisk is an optional decorative variation seen in some styling images: divide the center into six directions instead. It does not change the crochet count. Keep the white stitches short enough that they rest on the surface without snagging or pulling the star inward.
Attach a hanging loop
Fold a length of red-and-white cord into a loop and sew its ends securely through several caramel stitches beside one tip. Catch the crochet fabric on both sides of the chain-two space. Avoid suspending the ornament from the white embroidery alone.
Hide the cord ends on the back and check the hanging position. For a gift tie, pass a separate cord through the same reinforced area so removing the package tie does not pull out the icing stitches. One plain star can also be used as an applique after its ends are secured.
Troubleshooting your gingerbread crochet star
I have only four points
Count the center: Round 1 needs 15 real dc. Each point uses three of them. If you worked five base stitches into one fan instead of putting the entire fan in a single stitch, you will run out of center stitches early.
The final repeat does not fit
Check whether you counted the initial ch 2 or joining slip stitch as a dc. Also check for a skipped valley sc. The five repeats must consume all 15 center stitches once, with no shared or unused bases.
One tip is blunt or twisted
Check for both treble stitches and the chain-two space between them. Untwist the space gently, then compare the tension of the two tr stitches. Do not pull the embroidery tightly around the tip to sharpen it.
The white line disappears into the crochet
Move the path slightly farther inside the edge and take smaller backstitches over stable parts of the fabric. A very fine thread may need to be doubled, but avoid a thick white line that overwhelms the caramel stitches.
The star curls after embroidery
Loosen or remove the affected white stitches. The plain motif should already be shaped before decoration. Rework that section with relaxed tension and check it flat after each short run.
Display and care
Mix plain and iced stars on a garland, or repeat one embroidery treatment for a coordinated set. Keep any added knots small so the back remains flat. For a tree display, pair them with the spiral crochet Christmas tree; the crochet pinecone ornament adds another warm woodland texture.
Clean according to the yarn and cord labels. Store flat with the hanging loop laid above the star, avoiding folds across the points. These are textile decorations rather than food; keep display pieces separate from actual cookies and serving dishes in use.
Gingerbread crochet star: pins and diagram guides
The first three images show styling options. The final three cover the overall five-sector structure, one three-base-stitch repeat and the icing embroidery. The overview deliberately abbreviates stitches; use the written pattern and count table for the full sequence. Image texture and decorative details illustrate the idea rather than documenting a physically tested sample.