

R1: ch 4, starting from 2nd chain: 2 sc, 3 sc in one stitch, on the other side 1 sc, inc (8)
R2: inc, 1 sc, 3 inc, 1 sc, 2 inc (14)
R3: 3 sc, 2 inc, 2 hdc, 2 inc, 5 sc (20)
R4: 20 sc in back loops only
R5–R6: 20 sc
R7: 6 sc, 3 dec, 6 sc, 1 dec (16)
R8: 4 sc, 4 dec, 4 sc (12)
Ami_esnek (yatay)
Start stuffing firmly.
R9: (4 sc, dec) x2 (10)
R10–R11: 10 sc
R12: (4 sc, inc) x2 (12)
R13–R16: 12 sc
Stuff completely.
R17: 6 dec
Close, fasten off, hide yarn inside.
Ears
Work in rows.
R1: ch 3, 2 sc in first stitch, ch 1, turn (2)
R2: 2 inc, ch 1, turn (4)
R3: inc, 2 sc, inc, ch 1, turn (6)
R4: inc, 4 sc, inc, ch 1, turn (8)
R5–R9: 8 sc, ch 1, turn
R10: 8 sc
Ami_esnek (yatay)
You’ll get a flat triangle.
Now crochet around the edge:
9 sc along one side, 3 sc in tip, 9 sc along other side.
Slightly bend the piece to give a natural floppy ear look.
Fasten off, leave tail for sewing.
Tail
R1: 6 sc in MR
R2: 2 sc, 2 inc, 2 sc (8)
R3: 2 sc, 4 hdc, 2 sc (8)
R4–R7: repeat R3
R8: dec, 4 sc, dec (6)
Do not stuff.
Shape slightly curved like a real tail.
Fasten off, leave tail.
Ami_esnek (yatay)
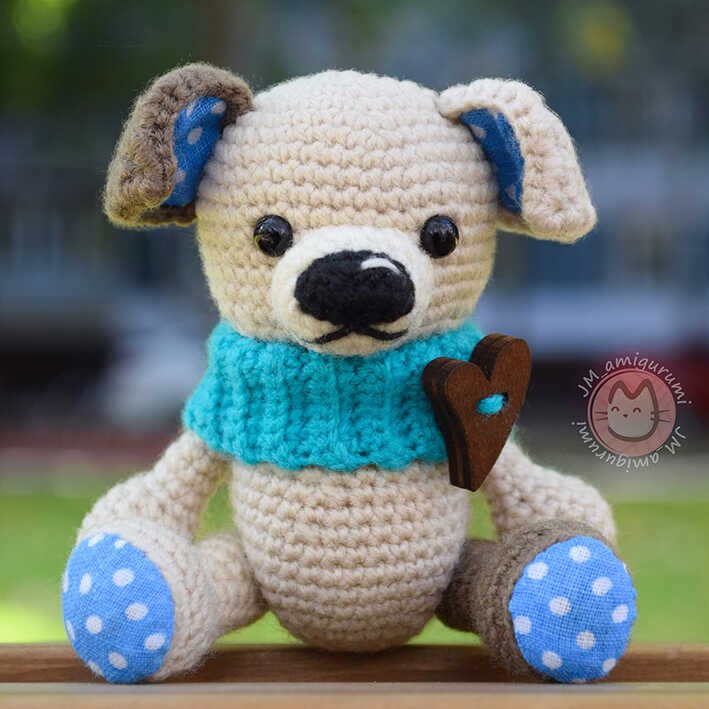
Snood
Work in rows (back loops only):
R1: ch 11, starting from 2nd chain: 10 sc
R2–R32: 10 sc
Fasten off, leave a small tail.
Body
R1: 6 sc in MR
R2: inc x6 (12)
R3: (1 sc, inc) x6 (18)
R4: (2 sc, inc) x6 (24)
R5: (3 sc, inc) x6 (30)
R6: (4 sc, inc) x6 (36)
R7–R10: 36 sc
R11: (10 sc, dec) x3 (33)
R12: 33 sc
R13: (9 sc, dec) x3 (30)
R14–R16: 30 sc
R17: (3 sc, dec) x6 (24)
R18: (2 sc, dec) x6 (18)
R19: (1 sc, dec) x6 (12)
Stuff firmly, fasten off.
Ami_esnek (yatay)
Assembly
• Cut fabric pieces for ears and paws with a small seam allowance
• Sew fabric onto crocheted parts, folding edges inward
Assembly order:
Ami_esnek (yatay)
1. Sew head to body
2. Attach ears symmetrically between R5–R12, folding slightly in the middle
3. Sew arms 2 rows below head
4. Put snood on and sew ends together
5. Fold top edge slightly for volume
6. Decorate snood with buttons or beads if desired
7. Attach legs between R7–R8 of body (thread joint optional)
8. Sew tail between legs around R9
9. Add spots if desired (embroider, felt, or crochet)
Copyright & Credits
This pattern is designed by Olga Av; you may sell finished toys made from this pattern, but please credit the designer by tagging @v_vilka and linking to their social media when sharing your work.
Soft textures and playful details make crochet puppies a favorite in amigurumi collections. These charming designs highlight cozy accessories, simple stitches, and lovable shapes that bring warmth to handmade toys and everyday decor.
Ami_esnek (yatay)
Cute Amigurumi Puppy Designs for Your Next Crochet Project
CONTENT END 1
