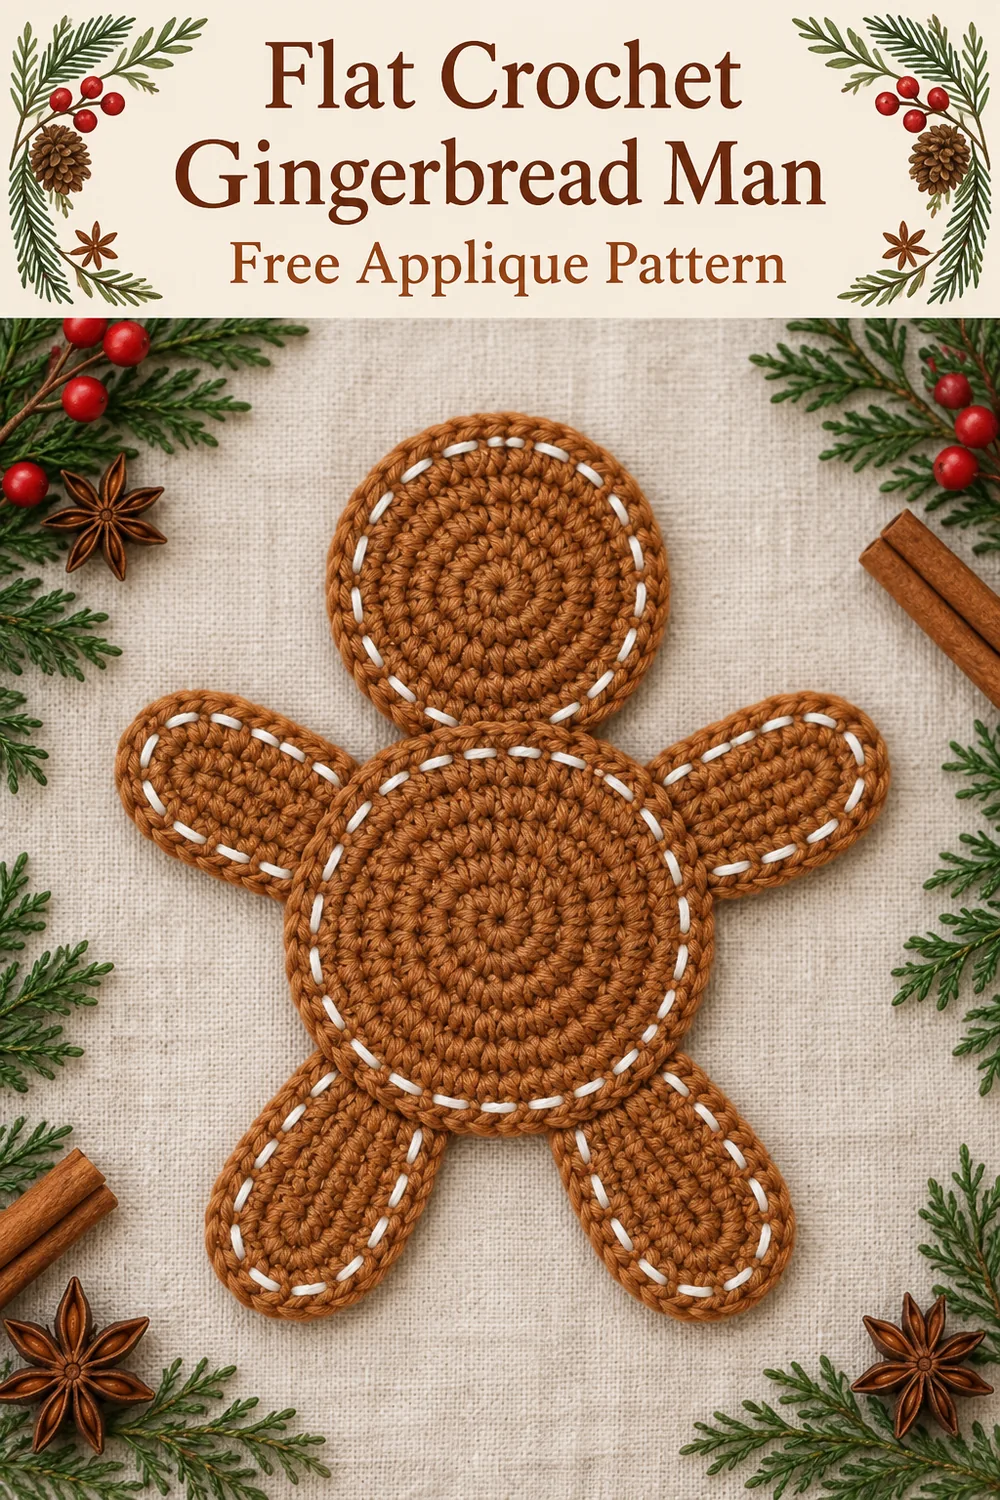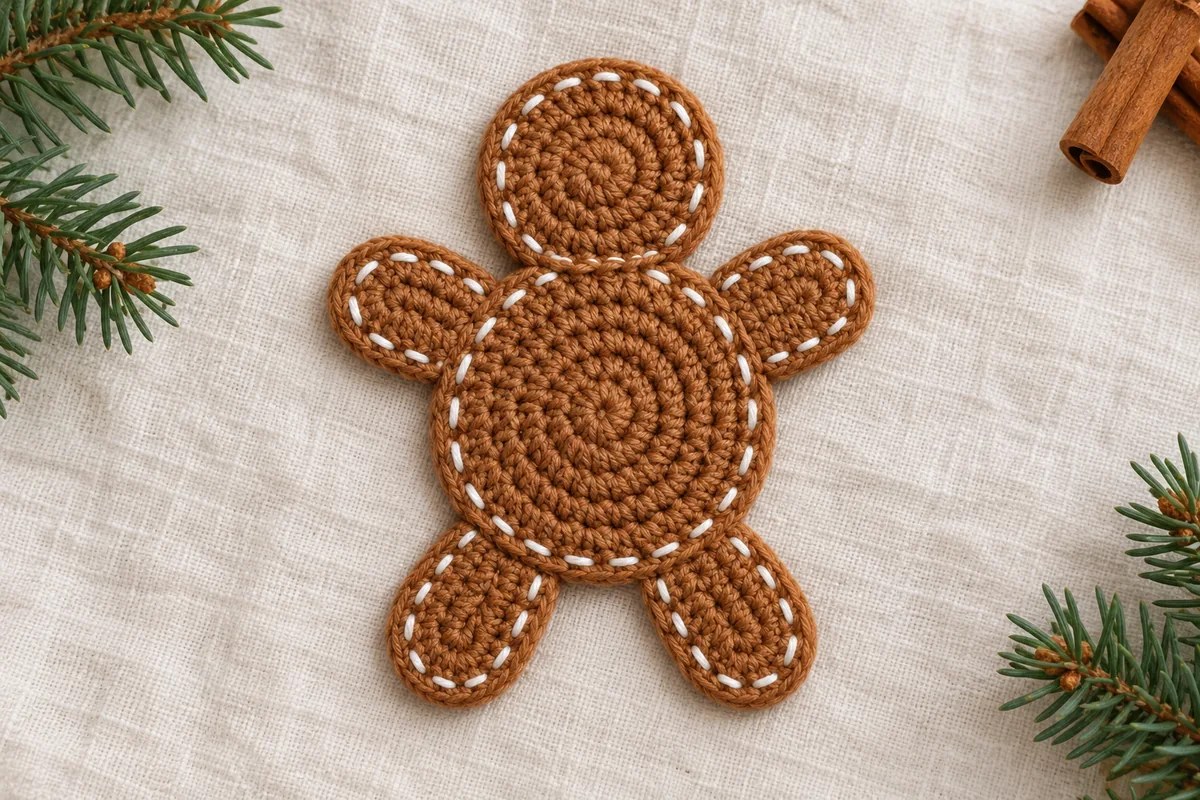
With brown, ch 5. Starting in the second chain from the hook, work 1 hdc in each of the next 3 chains. Work 5 hdc in the last chain. You have used all four available foundation positions. 8 hdc so far.
The last chain is the one beside the starting tail. Mark it before working the five stitches if the foundation is hard to see. The five hdc share that single chain and turn the fabric around its far end.
Return side and second rounded end
Rotate the work and use the unused strands along the opposite side of the foundation chain. Work 1 hdc in each of the next 2 chain positions. Work 4 hdc in the final foundation position, which already holds the first hdc made at the start. Join with a sl st to that first hdc. Fasten off with a sewing tail. 14 hdc total.
The end beside the join has five stitches in total: the original first hdc plus the final four. The far end has the other five. Two straight-side stitches between the ends on each side complete the count: 5 + 2 + 5 + 2 = 14. Do not put four extra hdc into the skipped chain.
Make four ovals altogether. Two become arms and two become legs; their roles come from placement. Do not turn back across the tops of the first eight stitches, because that makes a row instead of an oval around the foundation.
Counts for all six pieces
| Piece | Quantity | Round counts |
|---|---|---|
| Head | 1 | 12 dc, 24 dc |
| Belly | 1 | 12 dc, 24 dc, 36 dc |
| Arm oval | 2 | Ch 5; 14 hdc around foundation |
| Leg oval | 2 | Ch 5; 14 hdc around foundation |
Assemble the flat crochet gingerbread man
- Lay all six pieces right side up. Block gently first if the circles curl, following the yarn label.
- Put the head above the belly and tuck its lower edge behind the belly’s upper edge. Overlap enough to sew through several neighboring stitches, while leaving most of the head visible.
- Slide one end of each arm behind the upper sides of the belly, near the ten-o’clock and two-o’clock positions. Angle their free ends slightly upward.
- Place the legs behind the lower sides, near seven o’clock and five o’clock. Angle the free ends down and outward, leaving a visible gap between them.
- Use brown tails to sew each overlap securely. Catch the backs of belly stitches when possible to keep the front tidy. Use several small stitches across each attachment, rather than one stitch at a single point.
Check the figure from the front before weaving in the sewing tails. If an arm sits higher than the other, reposition its concealed end rather than pulling the seam tight to force it into place. Both hands and feet should remain rounded and free of puckers.
Add white running-stitch icing
Thread white yarn on a blunt needle. Bring it up just inside the outer edge, then take it down a short distance farther along the outline. Bring it up again after a similar gap. Continue with small, even running stitches, allowing the white strand to lie on the surface without tightening the brown fabric.
Follow the visible outside silhouette: around the exposed head, out around an arm, down the belly side, around a leg, across the gap between the legs, and up the opposite side. At a seam, carry the yarn discreetly across the back to the next exposed edge. You may instead use separate short lengths for each section if that makes the junctions neater.
The icing is embroidery, so it has no crochet stitch count and does not add another round. Do not embroider across concealed overlap edges before sewing. Keep the face plain to match this version, and secure the white tails on the back without making a large knot at the neck.
Troubleshooting circles, ovals and seams
The circle has a raised cup: count the actual dc and check that you did not miss the stitch beside the beginning ch 2. The head must end at 24 and the belly at 36. If the counts are right, assess your tension and hook choice on one circle before making a full set.
The edge has a bump at the join: do not crochet into the beginning ch 2 as though it were another dc. Put a marker in the first dc and join there. Adding a stitch at each join increases the count unexpectedly.
The oval is pointed at one end: check the two groups of five hdc. One group is made together in the last chain; the other is split between the first hdc and the final four. Missing that last group removes the second curve.
A seam folds the belly: loosen and resew the attachment with the figure lying flat. Spread the sewing stitches over the overlap instead of drawing them into a tight bundle. Add the icing only after the seams sit smoothly.
The white outline puckers: pull a little slack back into each running stitch. The strand should decorate the surface while leaving the brown edge its original length. Shorter stitches are easier to turn around the tight spaces under the arms.
Use the applique and follow the charts
Sew the flat crochet gingerbread man to a fabric bag with small matching stitches around the back of its outline. For a hanging decoration, add a separate cord through the top of the head and secure the ends; no additional crochet loop is required in this pattern. Keep the attachment centered so the figure hangs upright.
The flat crochet baubles are another circle-based project. For a different kind of gingerbread figure with volume, see the oversized gingerbread amigurumi.
The complete chart below shows both circles and all four ovals with every crochet stitch, beginning chain and join. The two detail guides enlarge the oval ends and explain the sewing and icing. The charts follow the written counts; they do not claim physical testing. Embroidery and sewing are shown as finishing guides rather than crochet stitches.