Using the cap color, make a slip knot and ch 10. Fasten off, leaving tails at both ends. This is a separate chain strand, with no crochet joining stitch.
Fold the chain into a loop. Its ends will be sewn to the upper center of the cap during finishing. The ten-chain loop is a starting decorative size; if you need it to pass around a thick branch, use a separate attachment cord rather than stretching it.
Count check
| Section | Repeat calculation | Finished count |
|---|---|---|
| Round 1 | 12 dc in ring | 12 dc |
| Round 2 | 12 × 2 | 24 dc |
| Round 3 | 12 × (1 + 2) | 36 dc |
| Round 4 | 12 × (1 + 1 + 2) | 48 dc |
| Cap | 5 sc × 4 rows | 20 sc |
| Hanger | Separate chain strand | 10 ch |
The disk has twelve increases in every round after the center. Count stitch tops rather than the vertical posts, and keep the chains and joining slip stitches separate from the totals.
Block and sew the cap
Lay the disk flat before adding the other pieces. If the yarn care label permits wet blocking, dampen it gently, press out excess water in a towel and arrange the edge into an even circle. Pin without stretching individual stitches and allow it to dry completely.
Choose a top position, preferably where the cap can cover the round joins. Center the cap’s five-stitch foundation edge over five consecutive outer dc. Let the bottom edge overlap the disk slightly so the pieces have a firm sewing area.
With the sewing tail, attach the cap through its foundation loops and those five outer dc. Take a second relaxed pass if needed, without pulling the disk into a fold. Secure the tail on the back.
Sew both ends of the ten-chain hanger to the upper center of the cap. Carry and secure the tails down the back through the cap and into a few disk stitches so the hanging load is shared. Keep the tails hidden from the front.
Add the white reflected shine
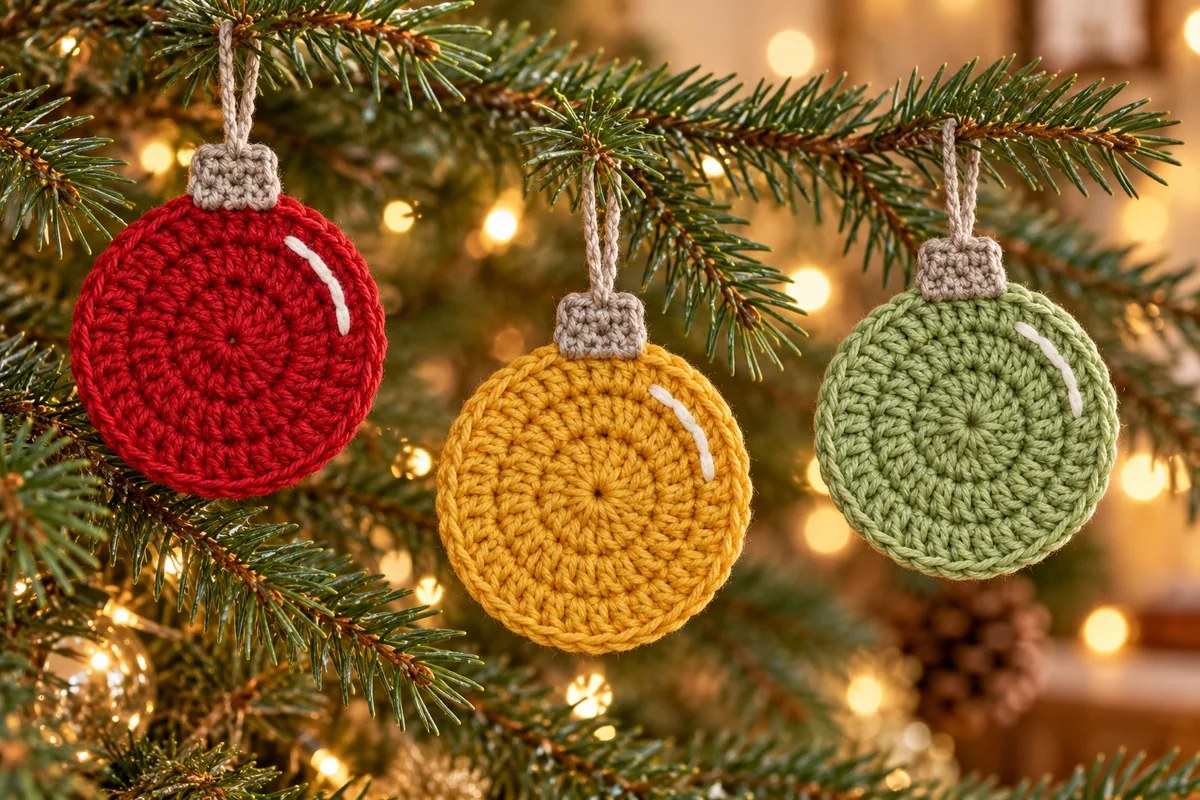
Thread the needle with white yarn and plan a short curved line in the upper-right section of the disk, just inside the outer edge. A left-side highlight is an optional styling variation shown in the collage. Keep it clear of the cap seam.
Work a few small backstitches along the curve: bring the needle up ahead, then insert it back into the end of the preceding stitch. Let the white yarn rest on the crochet surface without pulling. Secure both ends on the back, and check that the circle still lies flat.
There is no fixed embroidery stitch total because the line length depends on your disk size and stitch length. A short soft arc is enough; avoid a long loose strand that could snag.
Troubleshooting flat crochet baubles
The circle cups
Check for a missed increase. Round 3 repeats one dc followed by two dc in the same stitch; Round 4 repeats two plain dc followed by an increase. If every count is correct, try a different hook size on a new disk rather than forcing the center flat.
The outside edge ruffles
Count 48 dc in the final round. An increase accidentally worked in every other stitch of Round 4 adds too many stitches. Do not crochet into the joining slip stitch or starting ch 2 as extra bases.
The cap tilts
Check its five-stitch width and the five attachment dc. Reposition it before tightening the seam. A seam pulling from one corner can tilt the rectangle even when its crochet counts are correct.
The hanger stretches the top
Make sure its sewing tails catch cap and disk stitches on the back. Use a separate cord around the branch, and keep the crocheted chain as a small loop rather than pulling it over a large branch.
The shine puckers the disk
Loosen the white stitches or remove and resew them. Short backstitches should follow the fabric’s curve without gathering it. Complete blocking before adding this detail.
Display and storage
Use the same yarn and hook for a coordinated set, or change disk colors while keeping the caps neutral. The pieces can hang individually or become appliques on gift bags. Sew an applique around its edge with relaxed stitches rather than depending on its hanger.
Pair them with the crochet jingle bell star or the spiral crochet Christmas tree. Store the disks flat, with the loops laid above them. Clean according to the yarn and cord labels and let them dry completely before packing them away.
Flat crochet baubles: pins and complete chart
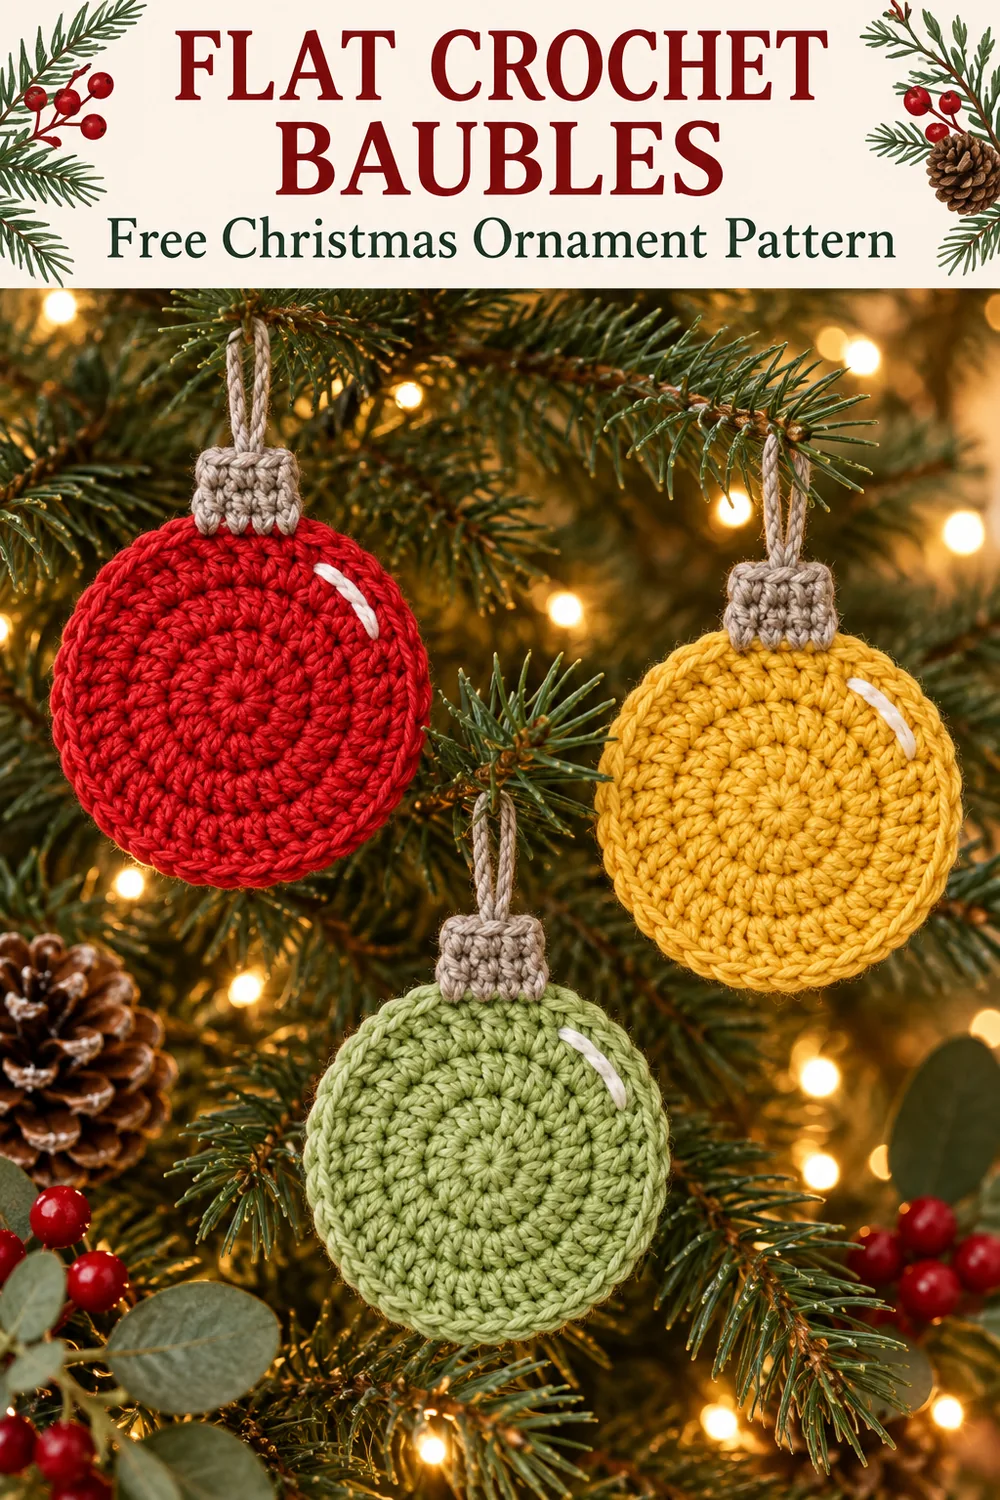
The first three images offer styling ideas. The final three show the complete symbol chart, the increase repeats and the finishing positions. The complete chart includes every dc in all four rounds, starting chains and joins, all cap stitches and its turning chains, plus the separate ten-chain hanger. It follows the written counts without claiming physical testing.